
Scarecrows have been a popular decoration for gardens and farms for centuries.
They not only serve as a practical tool to keep birds away from crops but also add a charming touch to the landscape.
In this blog post, we’ll explore how to create your own DIY decorative scarecrow using materials you can find around your home.
Gathering Your Scarecrow Supplies
Before you start building your scarecrow, you’ll need to gather the following supplies:
Structure
- Old clothes
- Straw
- Hay
- Burlap sacks
- Wire hangers
- Wooden stakes
Head
- Pumpkins (real or fake)
- Buckets
- Burlap
- Papier mache
- Cobs of corn
Stuffing
- Leaves
- Crumpled newspaper
- Plastic bags (for outdoor weatherproofing)
Decorations
- Buttons
- Twine
- Paint
- Fabric scraps
- Ribbons
- Hats
- Bandanas
- Anything to personalize your scarecrow!
Step-by-Step Guide Building Your Scarecrow Buddy
Here’s a step-by-step guide to help you build your scarecrow buddy:
- Read also: DIY Broccoli Planters Made from Everyday Items
- Read also: Garden Up! Easy DIY Vertical Gardens in Small Spaces
Creating the frame
Begin by driving a sturdy wooden stake into the ground to serve as the scarecrow’s backbone.
Next, attach crossbars made from sticks or wire hangers to the stake, forming a T-shape.
This provides a basic structure for your scarecrow.
For added flexibility and poseability, consider using wire to connect the limbs.
Stuffing your scarecrow
When it comes to stuffing your scarecrow, opt for loose materials such as straw or dried leaves.
Avoid overstuffing, as this can make your scarecrow stiff and difficult to position.
If you’re placing your scarecrow outdoors, incorporating plastic bags into the stuffing mix can help prevent mold and mildew.
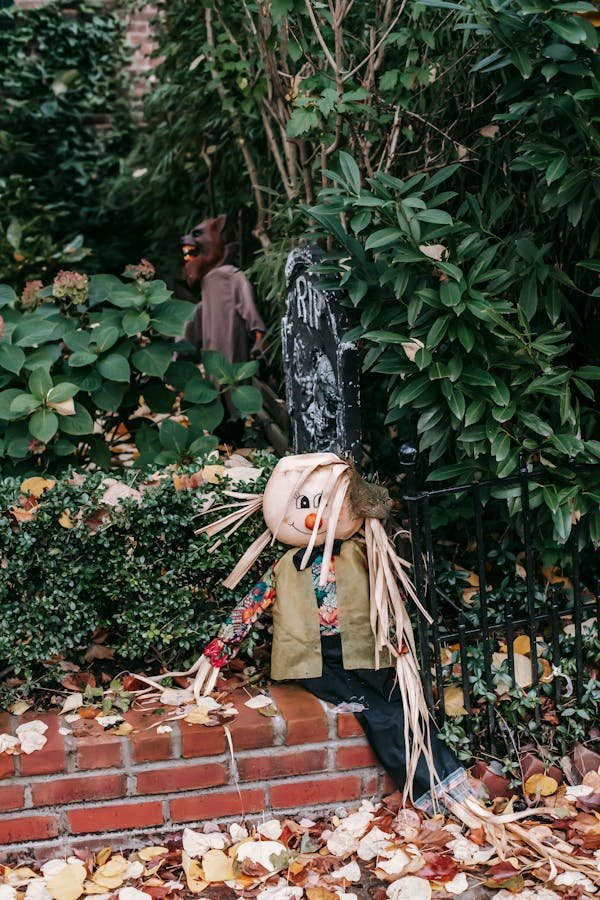
Shaping the head
There are various options for crafting the head of your scarecrow.
You could paint a friendly face on a pumpkin, stuff a burlap sack to create a traditional look, or use papier mache for a more customizable appearance.
Don’t forget to add decorative elements like cobs of corn or fabric scraps to enhance the scarecrow’s character.
Attaching the head and limbs
Once you’ve crafted the head and limbs, it’s time to securely attach them to the body frame.
Use twine or wire to fasten the head and limbs in place, ensuring they’re tightly secured to prevent any mishaps.
Take care to tie the twine or wire firmly to avoid the scarecrow falling apart.
Benefits of Using DIY Decorative Scarecrows
DIY decorative scarecrows have several benefits, including:
Creativity
Crafting your scarecrow allows you to unleash your creativity and tailor your decorations to match your style and preferences.
You can experiment with different designs, colors, and accessories to create a scarecrow that reflects your unique personality.
Cost-effectiveness
DIY scarecrows are often made using materials you already have at home, such as old clothes, hats, and household items.
This makes them a budget-friendly option for decorating your home or garden, as you can repurpose items that might otherwise go to waste.
Environmentally friendly
By using recycled materials like plastic bags and old clothes, DIY scarecrows contribute to reducing waste and promoting sustainability.
Repurposing items for decoration helps minimize your environmental footprint and encourages eco-friendly practices.
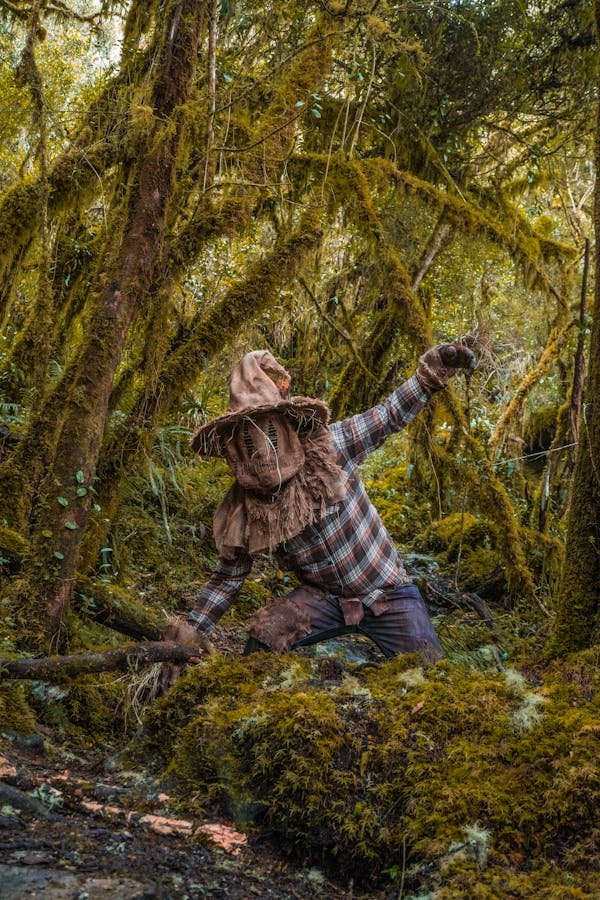
Seasonal charm
Scarecrows are synonymous with the fall season, making them an ideal addition to your seasonal decor.
They evoke a sense of autumnal charm and nostalgia, helping you celebrate the changing seasons and infuse your space with a festive atmosphere.
Educational value
Involving children in the creation of DIY scarecrows can be a fun and educational activity.
It teaches them about creativity, resourcefulness, and the importance of reusing materials.
They can learn valuable lessons about sustainability and environmental stewardship while enjoying hands-on crafting.
Personal satisfaction
Completing a DIY scarecrow project brings a sense of accomplishment and satisfaction.
Knowing that you’ve created something unique and personalized adds to the enjoyment of decorating your space.
It’s a rewarding experience that allows you to showcase your creativity and craftsmanship.
- Read also: DIY Plant Humidifier: Simple Solutions for Healthy Indoor Greenery
- Read also: DIY Plant Covers for Winter: Protect Your Greenery
Conclusion
Crafting a DIY decorative scarecrow is an enjoyable and fulfilling endeavor that injects personality into your garden or farm.
With just a touch of creativity and a few essential materials, you can fashion a one-of-a-kind scarecrow that not only keeps birds at bay but also enhances the appeal of your outdoor area.
FAQs
You can use loose materials like straw or leaves, or mix in plastic bags for outdoor weatherproofing.
Use twine or wire to securely attach the head and limbs to the body frame.
Yes, you can use real pumpkins, but make sure to clean and dry them thoroughly before using.
Using plastic bags mixed with other stuffing can help prevent mold and mildew.
You can add buttons, twine, paint, fabric scraps, ribbons, hats, bandanas, or anything else that suits your style.


