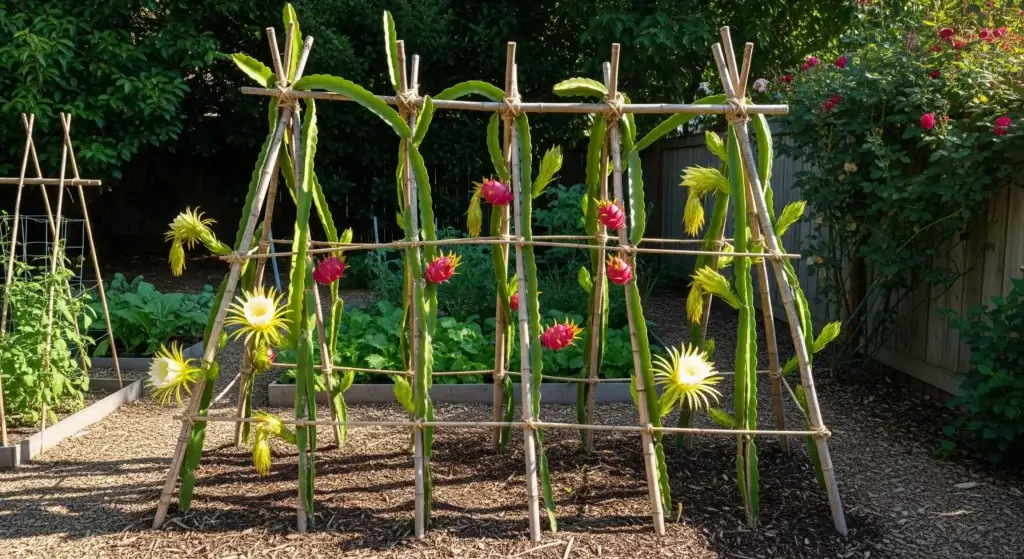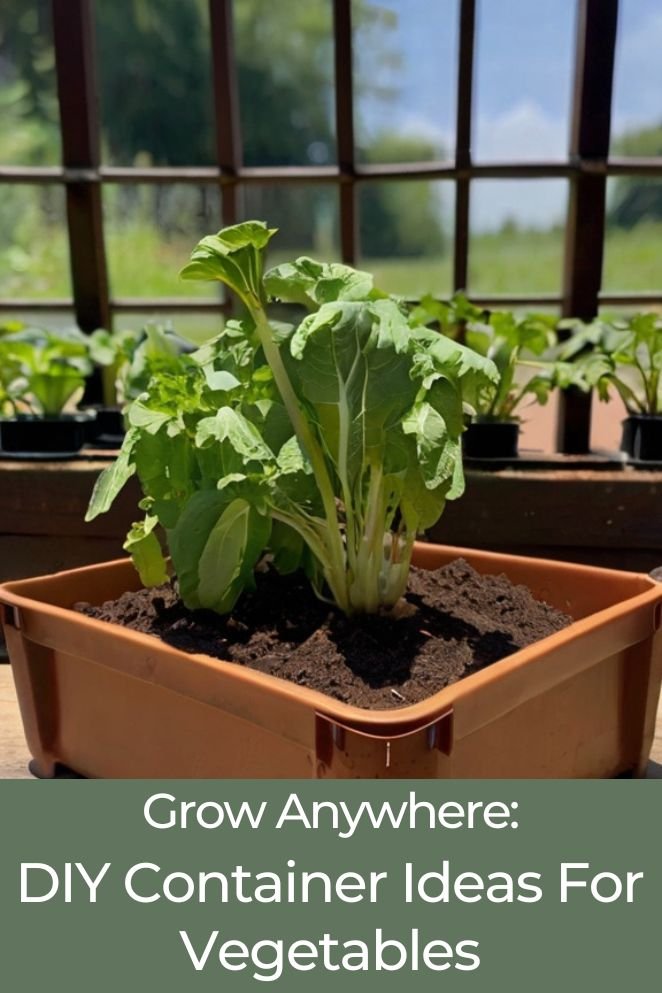
Gardening in containers is a fantastic way to grow fresh vegetables in limited spaces, and it’s also an excellent opportunity to showcase your creativity.
In this blog post, we’ll explore various DIY container ideas for vegetables, from upcycled containers to creative garden containers.
How to Choose the Right Container
When selecting a container for growing vegetables, consider the following factors:
- Size: Ensure the container is large enough for the plant’s root system and the expected growth.
- Drainage: Containers should have drainage holes or be lined with a material that allows excess water to escape.
- Material: Choose a material that is durable, lightweight, and resistant to weather conditions.
- Sunlight: Most vegetables require at least 6 hours of sunlight per day, so choose a container that allows for adequate sunlight exposure.
Upcycled Container Ideas
Upcycling existing containers is a cost-effective and eco-friendly way to create unique vegetable gardens. Here are some ideas:
- Read also: DIY Broccoli Row Covers: Protecting Your Garden with Solutions
- Read also: DIY Cauliflower Row Covers for Garden Protection
Plastic buckets
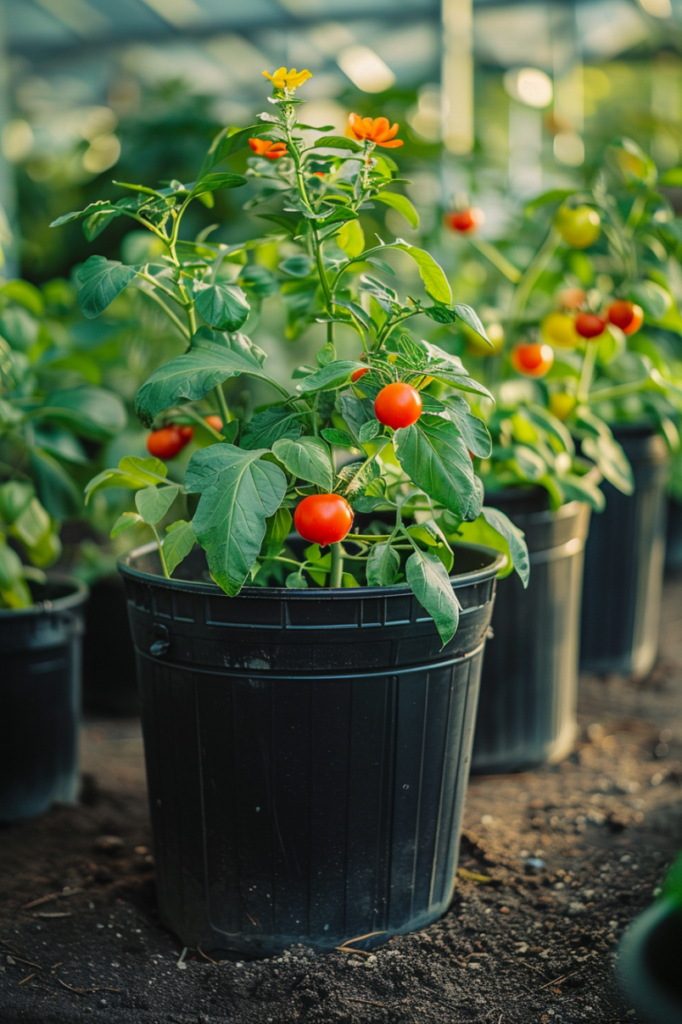
Step-by-step guide
Step 1: Prepare the containers
Before you begin your project, ensure your plastic buckets are squeaky clean.
Give them a good wash to rid them of any grime, dirt, or leftover residue.
A thorough cleaning ensures a fresh canvas for your creative endeavor.
Step 2: Drill drainage holes
With a drill and a suitable drill bit, create drainage holes in the bottom of your buckets.
Adequate drainage is crucial for the health of your plants, preventing waterlogging and root rot.
Make sure the holes are evenly spaced and plentiful enough to allow excess water to escape freely.
Step 3: Prime the surface
To achieve a flawless finish and enhance paint adhesion, apply a primer specifically designed for plastic surfaces.
This step ensures that your chosen paint adheres smoothly and lasts longer.
Allow the primer to dry completely before moving on to the next step.
Step 4: Paint the containers
Select outdoor paint formulated for use on plastic surfaces.
Choose your favorite color or design to customize your planters according to your style preferences.
Apply the paint evenly to the surface of the buckets, covering them entirely.
Allow each coat to dry thoroughly before adding subsequent layers for optimal coverage and durability.
Step 5: Optional decoration
For an extra touch of personalization, consider adding decorative accents or designs to your painted buckets.
You can use stencils, decals, or even hand-painted motifs to express your creativity.
Let your imagination run wild and transform your plain buckets into unique and eye-catching pieces.
Step 6: Planting
Once your paint and decorations have dried completely, it’s time to fill your buckets with nutrient-rich soil and plant your favorite vegetables.
Whether you’re growing tomatoes, peppers, herbs, or salad greens, ensure your pants have ample space to thrive.
Position your newly adorned planters in your garden, on your patio, or indoors to create a visually appealing and functional vegetable container garden.
Old tires
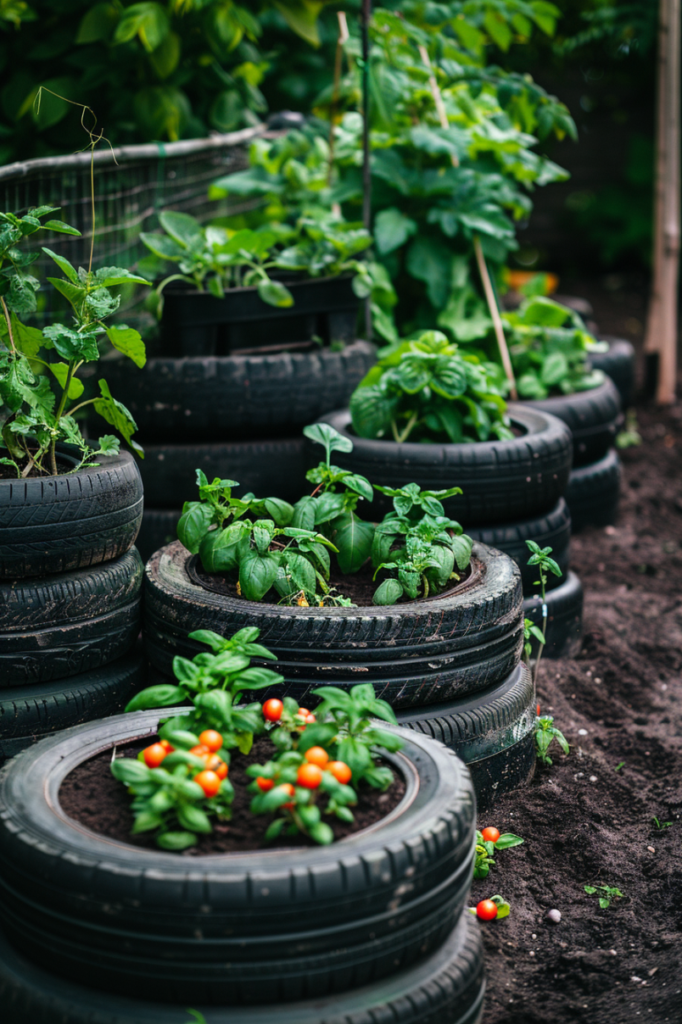
Step-by-step guide
Step 1: Select and clean tires
Begin your project by choosing old tires that are in good condition.
Ensure they are free from any major damage or defects.
Thoroughly clean the tires to remove dirt, grime, and debris.
This step is crucial to provide a clean surface for painting and ensure the longevity of your planters.
Step 2: Prepare for painting
If you wish to paint your tires, prepare them for painting by priming the surface.
Use a primer specifically formulated for rubber surfaces to ensure better adhesion and durability of the paint.
Allow the primer to dry completely before proceeding to the next step.
Step 3: Paint the tires
Select outdoor paint suitable for use on rubber surfaces.
Choose your desired color or design to customize the appearance of your planters.
Apply multiple coats of paint as needed, ensuring even coverage and allowing each coat to dry thoroughly before applying the next.
This will result in a smooth and uniform finish.
Step 4: Optional decoration
For added visual appeal, consider adding decorative elements to your painted tires.
Use stencils, decals, or hand-painted designs to personalize your planters and make them truly unique.
Let your creativity shine as you embellish your tires with patterns, motifs, or even inspirational quotes.
Step 5: Stacking and planting
Once your tires are painted and decorated to your satisfaction, it’s time to stack them and prepare them for planting.
Stack the tires in a sturdy and stable configuration, ensuring proper drainage between each layer.
You can stack them vertically or horizontally, depending on your preference and available space.
Fill each tire with nutrient-rich soil, leaving enough room for planting your chosen vegetables.
Ensure adequate drainage by adding gravel or small rocks to the bottom of each tire before adding the soil.
Plant your vegetables according to their spacing requirements, ensuring they have ample room to grow and thrive.
Step 6: Positioning
After planting, position your stacked tires in your garden or outdoor space to create a unique and eye-catching vegetable container garden.
Choose a sunny location that receives sufficient sunlight for optimal plant growth.
Arrange the tires in a visually pleasing manner, considering factors such as height, color, and accessibility.
Colanders and Strainers
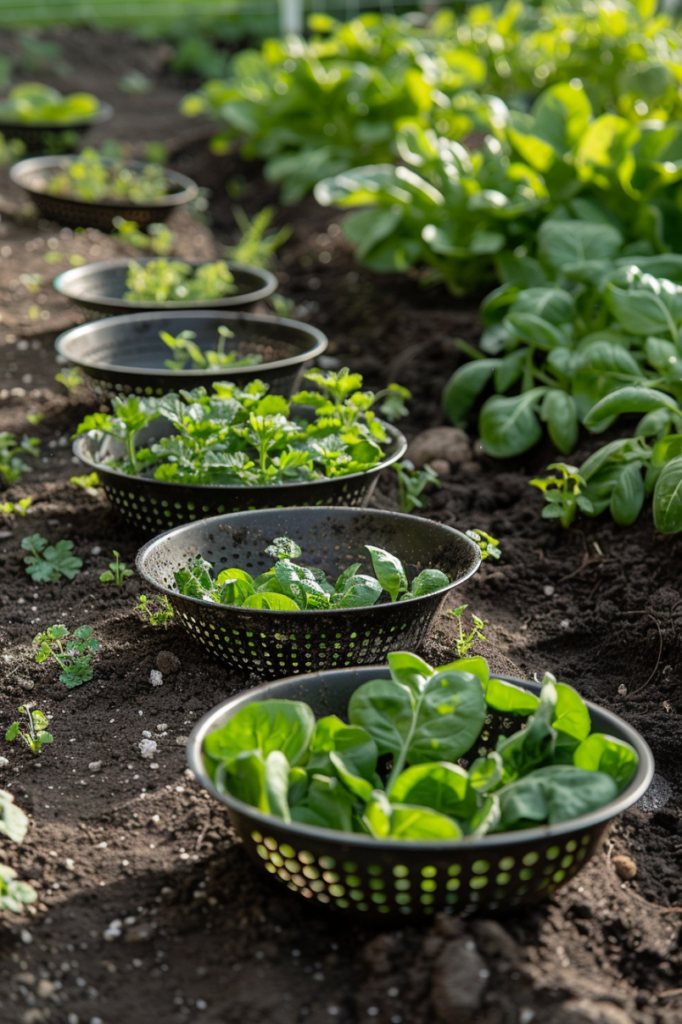
Step-by-step guide
Step 1: Select suitable colanders and strainers
Choose colanders and strainers that have drainage holes and are deep enough to accommodate the root systems of your selected vegetables.
Opt for sturdy and durable options that can withstand the weight of the soil and plants.
Step 2: Prepare for planting
Before filling your colanders and strainers with soil, create a drainage layer at the bottom.
Place a layer of small rocks or gravel to facilitate proper drainage and prevent waterlogging.
This layer allows excess water to drain away from the roots, promoting healthier plant growth.
Step 3: Fill with soil
Once the drainage layer is in place, fill each colander or strainer with potting soil.
Ensure you leave enough space at the top to accommodate the planting of your vegetables.
Use high-quality potting soil that is rich in nutrients and provides good aeration for the roots.
Step 4: Planting
Now it’s time to plant your chosen vegetables in the soil-filled colanders and strainers.
Select vegetables that are suitable for container gardening and consider the spacing requirements of each plant.
Plant the vegetables evenly, ensuring they have enough room to grow and develop without overcrowding.
Step 5: Watering and care
Water your vegetables regularly to keep the soil consistently moist but not waterlogged.
Check the moisture levels regularly, especially during hot or dry weather, and adjust your watering schedule accordingly.
Place the colanders and strainers in a sunny location where they can receive adequate sunlight for optimal growth.
If necessary, provide supplemental lighting to ensure your vegetables thrive.
Creative Garden Containers
Wooden pallets for vertical gardening with fabric pockets
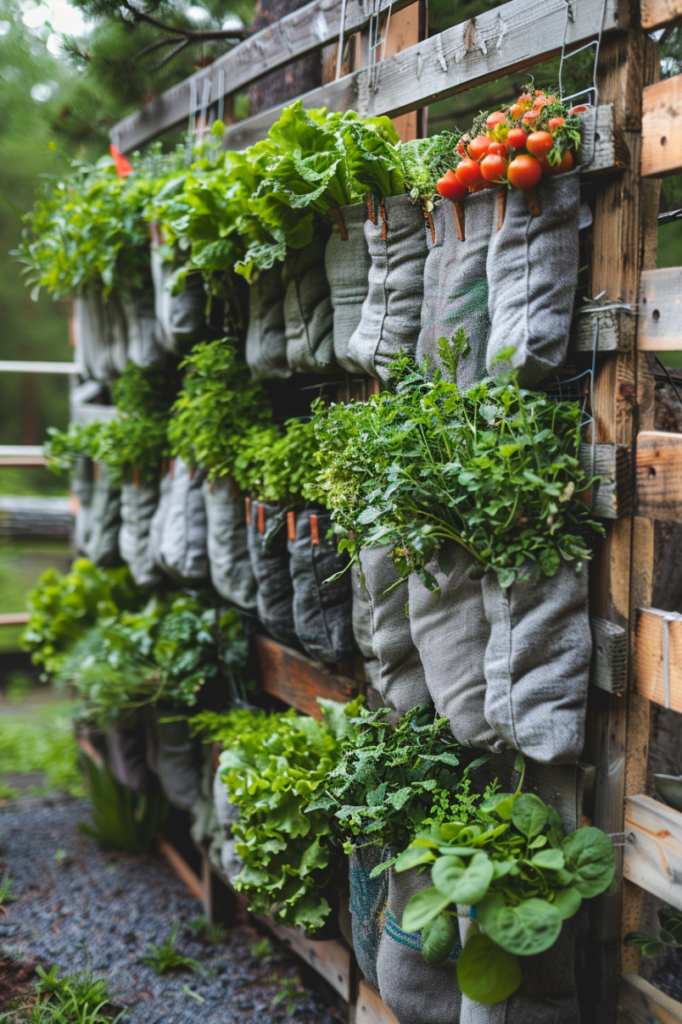
Step-by-step guide
Step 1: Select a wooden pallet
Begin by choosing a sturdy wooden pallet that is in good condition.
Ensure that it is free from rot, damage, or any harmful chemicals.
Look for a pallet with intact boards and sturdy construction to support the weight of the soil and plants.
Step 2: Prepare the pallet
Before you start planting, it’s essential to prepare the pallet for vertical gardening.
Sand down any rough edges or splinters to create a smooth surface that is safe to handle.
This step also helps to improve the overall aesthetics of the pallet.
Step 3: Attach fabric pockets
Secure fabric pockets to the front of the pallet using staples or nails.
These fabric pockets will serve as containers for holding the soil and plants.
Ensure that the pockets are securely attached and evenly spaced across the pallet to provide ample room for each plant to grow.
Step 4: Fill pockets with soil
Fill each fabric pocket with high-quality potting soil, leaving enough space at the top for planting your vegetables.
Choose a nutrient-rich soil mix that is suitable for growing vegetables and provides good drainage to prevent waterlogging.
Step 5: Planting
Now it’s time to plant your chosen vegetables in the soil-filled pockets.
Select a variety of vegetables that are well-suited for vertical gardening, such as leafy greens, herbs, or compact varieties of tomatoes and peppers. Ensure proper spacing between plants to allow them room to grow and thrive.
Step 6: Vertical installation
Hang the pallet vertically on a wall or fence using sturdy hooks or brackets. Make sure the pallet is securely anchored to support the weight of the soil and plants. Position the pallet in a location that receives adequate sunlight for optimal plant growth.
Rain gutters for hanging herb gardens
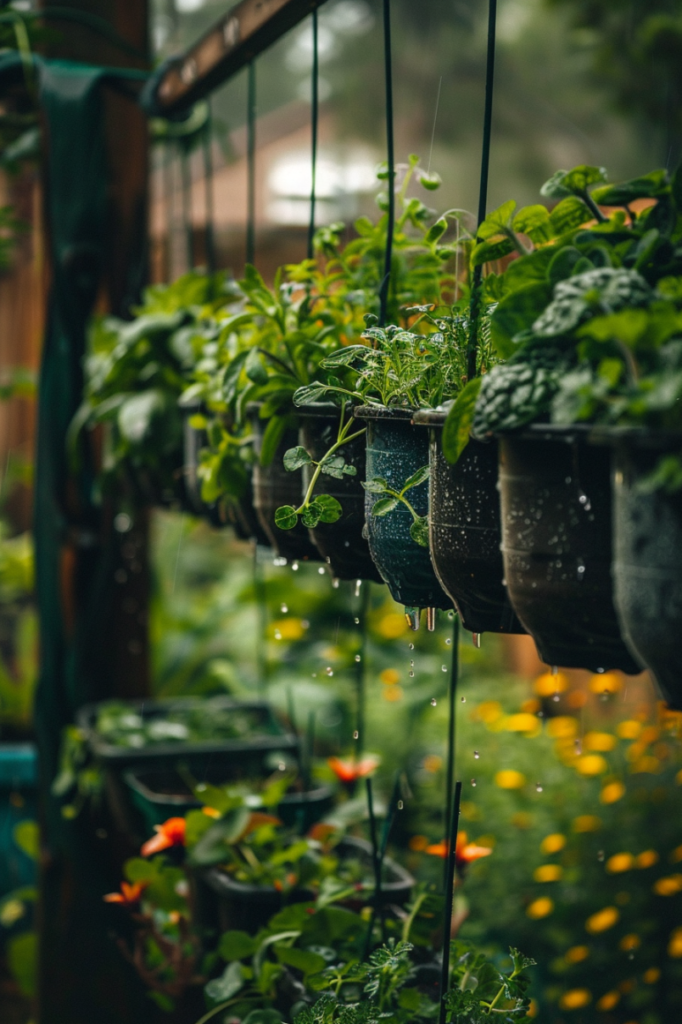
Step-by-step guide
Step 1: Select rain gutters
Start by choosing durable rain gutters in suitable lengths for your herb garden.
Opt for high-quality gutters that can withstand outdoor conditions and provide ample space for growing herbs.
Consider the length of your chosen location and how many herbs you want to grow.
Step 2: Prepare the gutters
Thoroughly clean the gutters to remove any debris or dirt that may have accumulated.
Use a hose or brush to scrub away dirt and grime, ensuring the gutters are clean and ready for planting.
This step is essential to create a clean environment for your herbs to thrive.
Step 3: Drill drainage holes
Using a drill, create drainage holes in the bottom of the gutters to prevent waterlogging.
Ensure the drainage holes are evenly spaced and sufficient in size to allow excess water to drain away freely.
Proper drainage is crucial to prevent root rot and maintain healthy herb growth.
Step 4: Mounting
Mount the gutters horizontally on a wall, fence, or railing using brackets or hooks.
Ensure the brackets are securely attached to support the weight of the soil and herbs.
Position the gutters at a convenient height for easy access and ensure they are level to prevent uneven water distribution.
Step 5: Fill with soil
Fill each gutter with high-quality potting soil, leaving enough space at the top for planting herbs.
Choose a nutrient-rich soil mix that provides good drainage and aeration for healthy herb growth.
Ensure the soil is evenly distributed along the length of the gutters to create a stable planting environment.
Step 6: Planting
Now it’s time to plant your chosen herbs in the soil-filled gutters. Select a variety of herbs that you use frequently in your cooking or enjoy for their aromatic qualities. Plant the herbs evenly spaced along the length of the gutters, ensuring they have enough room to grow and spread out.
Stacked cinderblocks for a raised garden bed
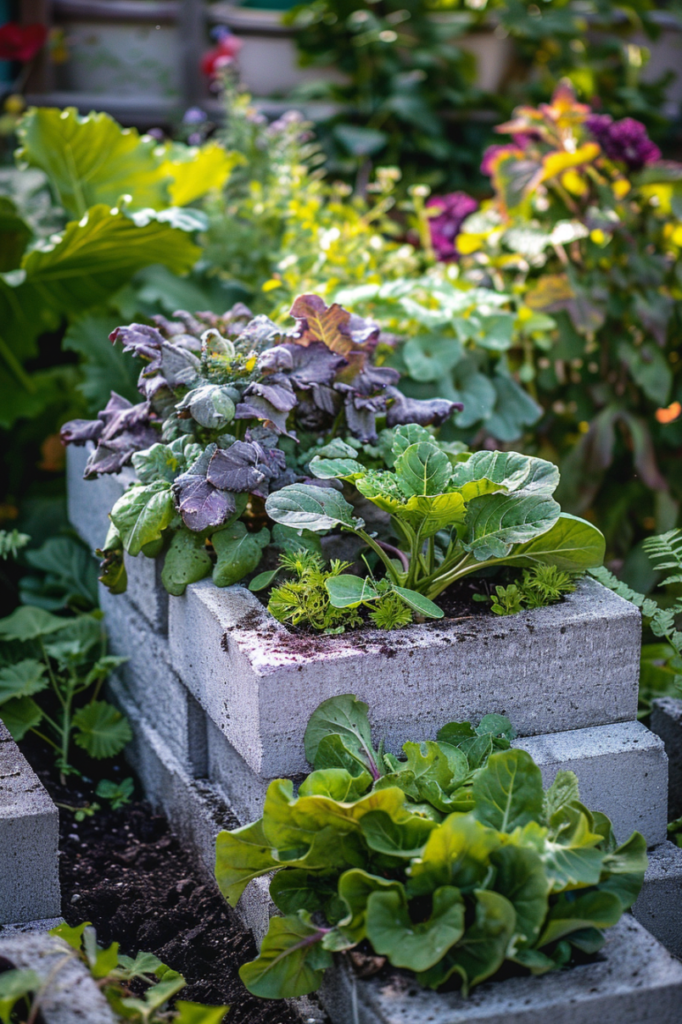
Step-by-Step Guide
Step 1: Select cinder blocks
Begin by selecting sturdy cinderblocks in appropriate sizes for your raised garden bed.
Opt for blocks that are durable and uniform in shape to ensure stability and consistency in your garden construction.
Consider the dimensions of your garden space and the desired height of your raised bed when choosing the size of the cinderblocks.
Step 2: Prepare the site
Clear and level the area where you intend to install your raised garden bed.
Remove any weeds, rocks, or debris from the site to create a clean and even surface for building.
This step ensures a stable foundation for your raised bed and promotes optimal plant growth.
Step 3: Stacking
Stack the cinderblocks in your desired configuration to create the walls of the raised bed.
Arrange the blocks in a square or rectangular layout, ensuring they are stacked securely and evenly.
Take care to align the edges of the blocks to create a neat and uniform appearance.
Consider staggering the blocks in a brick-like pattern for added stability.
Step 4: Fill with soil
Once the cinderblocks are stacked to the desired height, fill the raised bed with high-quality potting soil.
Use a shovel or garden trowel to evenly distribute the soil throughout the bed, ensuring it reaches the top of the cinderblocks.
Level the soil surface to create a smooth planting area for your vegetables.
Step 5: Planting
Now it’s time to plant your chosen vegetables in the soil-filled raised bed.
Select a variety of vegetables that are well-suited for raised bed gardening and consider the spacing requirements of each plant.
Plant the vegetables evenly, ensuring they have enough room to grow and develop without overcrowding.
- Read also: DIY Broccoli Planters Made from Everyday Items
- Read also: From Trash to Table: DIY Container Ideas For Herbs
Care Tips for Container Vegetables
Growing vegetables in containers is a fantastic way to enjoy fresh produce without the need for a full-sized garden. However, container gardening requires special care to ensure the plants thrive.
- Water regularly: Water the plants every day if the soil dries out quickly, and feel the potting mix daily to ensure it remains moist but not waterlogged.
- Fertilize regularly: Feed your container vegetables once a week during the growing season with a balanced fertilizer or slow-release fertilizer.
- Provide support: Use a trellis or a cage to provide vertical support and allow air circulation around the plants.
- Prune and harvest regularly: Pruning and harvesting regularly can help your container vegetables grow better.
- Monitor for pests and diseases: Container vegetables are generally less susceptible to pests and diseases than those grown in the ground, but it’s still essential to monitor the plants for any signs of problems.
- Rotate crops: Rotate your crops every year to prevent the buildup of soil-borne diseases and pests. This can also help maintain soil fertility.
Conclusion
DIY container gardens for vegetables offer endless opportunities for creativity and innovation.
By upcycling existing containers and exploring unique materials, you can create a beautiful and functional garden space.
Remember to choose the right container, follow proper care tips, and enjoy the bounty of fresh vegetables from your DIY container garden.

