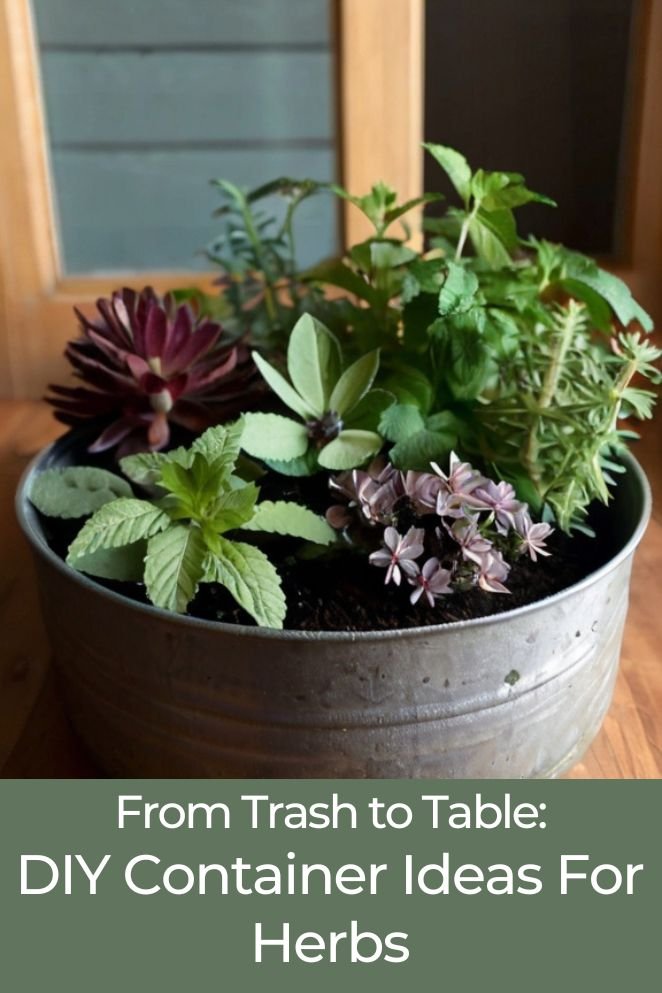
Discover the joy of growing herbs in containers—a convenient way to have fresh herbs for cooking and enjoy their delightful aroma and beauty.
In this guide, we’ll delve into DIY container ideas, necessary materials, and essential tips for successful herb cultivation in containers.
Different Types of Containers For DIY Growing Herbs
Different types of containers that can be used for growing herbs include:
Terra cotta pots

Creating your own herb container using terra cotta pots is a classic and aesthetically pleasing option.
Terra cotta pots have porous sidewalls that promote proper air circulation and soil drainage, essential for the health of your herbs.
- Read also: Easy DIY Vertical Gardens in Small Spaces
- Read also: DIY Moss Pole for Indoor Plants
Materials needed
- Terra cotta pots: Choose pots of appropriate size for your herbs, ensuring they have drainage holes at the bottom.
- Potting soil: Use high-quality potting mix formulated for container gardening.
- Herbs: Select your favorite herbs to plant, considering their sunlight and water requirements.
- Watering can or hose: You’ll need a watering device to ensure your herbs receive adequate moisture.
- Mulch (optional): Mulching helps retain soil moisture and suppresses weed growth.
Step-by-step guide
Choose the right size pot
Start by selecting terra cotta pots that are spacious enough to accommodate the root systems of your herbs.
These pots should have drainage holes at the bottom to prevent waterlogging and ensure healthy growth.
Prepare the potting soil
Fill each pot with well-draining potting soil, leaving some space at the top for watering.
Good drainage is essential to prevent water from accumulating around the roots and causing rot.
Plant your herbs
Carefully remove the herbs from their nursery pots, taking care not to damage the roots.
Gently loosen the roots before placing each herb in its designated pot.
Ensure that the soil level matches the top of the root ball to provide adequate support.
Water thoroughly
Once you’ve planted your herbs, water them thoroughly until excess water drains out from the bottom of the pots.
It’s crucial to ensure that the soil is evenly moist but not waterlogged to prevent root rot.
Provide adequate sunlight
Choose a sunny location for your herb containers, as most herbs prefer full sun to thrive.
However, some herbs may tolerate partial shade, so be sure to check the specific requirements of each herb.
Place the pots where they’ll receive at least 6-8 hours of sunlight per day.
Maintain moisture levels
Check the soil moisture regularly by inserting your finger into the soil up to the first knuckle.
Water your herbs as needed, ensuring that the soil doesn’t dry out completely between waterings.
Overwatering can be just as harmful as underwatering, so strike the right balance.
Fertilize as needed
Depending on the type of herbs and potting soil used, you may need to fertilize your herbs occasionally to provide essential nutrients for healthy growth.
Choose a balanced fertilizer specifically formulated for herbs and follow the manufacturer’s instructions for application.
Monitor for pests and diseases
Keep a close eye on your herbs for any signs of pests or diseases, such as yellowing leaves, wilting, or unusual spots.
If you notice any issues, take immediate action to address them. Remove affected leaves or treat the plants with organic pesticides or fungicides as necessary.
Plastic pots
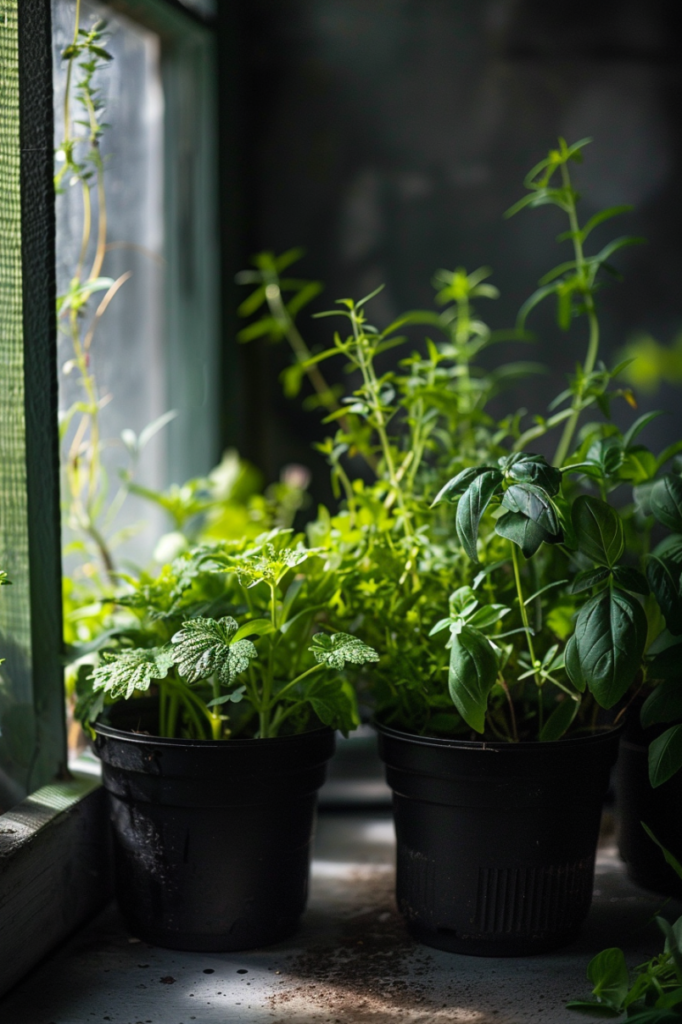
Crafting your own herb container using plastic pots is a budget-friendly and versatile option.
Plastic pots are lightweight, affordable, and come in various colors, making them an attractive choice for herb gardening.
They are particularly suitable for herbs that thrive in moist soil conditions, such as rosemary and cilantro.
Materials Needed
- Plastic pots: Choose pots of appropriate size and color for your herbs, ensuring they have drainage holes at the bottom.
- Potting soil: Use quality potting mix suitable for container gardening, ensuring it retains moisture well.
- Herbs: Select herbs that prefer moist soil and are well-suited to container cultivation.
- Watering can or hose: You’ll need a watering device to maintain adequate moisture levels for your herbs.
- Mulch (optional): Consider adding mulch to retain soil moisture and suppress weed growth.
Step-by-step guide
Select the right size and color pot
Opt for plastic pots that not only fit the size requirements of your herbs but also complement your garden’s overall aesthetic.
Ensure that the pots have drainage holes at the bottom to prevent waterlogging, which can lead to root rot and other issues.
Prepare the potting soil
Fill each plastic pot with high-quality potting soil, leaving some space at the top to accommodate watering.
Good potting soil provides essential nutrients and proper aeration for healthy root development.
Plant your herbs
Gently remove the herbs from their nursery pots, being careful not to damage the roots.
Lightly tease apart any tangled roots before placing each herb in its designated plastic pot.
Adjust the soil level so that it matches the top of the root ball, providing stability and support for the plant.
Water thoroughly
Once your herbs are planted, give them a thorough watering until you see water draining out from the bottom of the plastic pots.
It’s crucial to ensure that the soil is evenly moist but not waterlogged, as excessive moisture can suffocate the roots and lead to fungal problems.
Position in adequate sunlight
Choose a suitable location for your plastic herb containers, ensuring that they receive the right amount of sunlight according to the specific requirements of each herb.
Most herbs prefer full sun, but some may tolerate partial shade, so pay attention to their individual needs.
Maintain moisture levels
Regularly check the soil moisture levels in your plastic pots, especially during hot and dry weather conditions.
Plastic pots tend to dry out faster than other materials, so you may need to water your herbs more frequently to keep the soil evenly moist.
Avoid letting the soil dry out completely between waterings to prevent stress on the plants.
Fertilize appropriately
Depending on the type of herbs you’re growing and the quality of the potting soil used, consider fertilizing your herbs periodically to ensure they receive essential nutrients for robust growth.
Choose a balanced fertilizer formulated for container plants and follow the recommended dosage instructions.
Monitor for pests and diseases
Keep a close eye on your herbs for any signs of pests or diseases, such as yellowing leaves, wilting, or unusual spots.
Inspect the plants regularly and take prompt action if you notice any issues to prevent them from spreading to other herbs.
Consider using organic pest control methods or natural remedies to address common problems.
Wooden pots
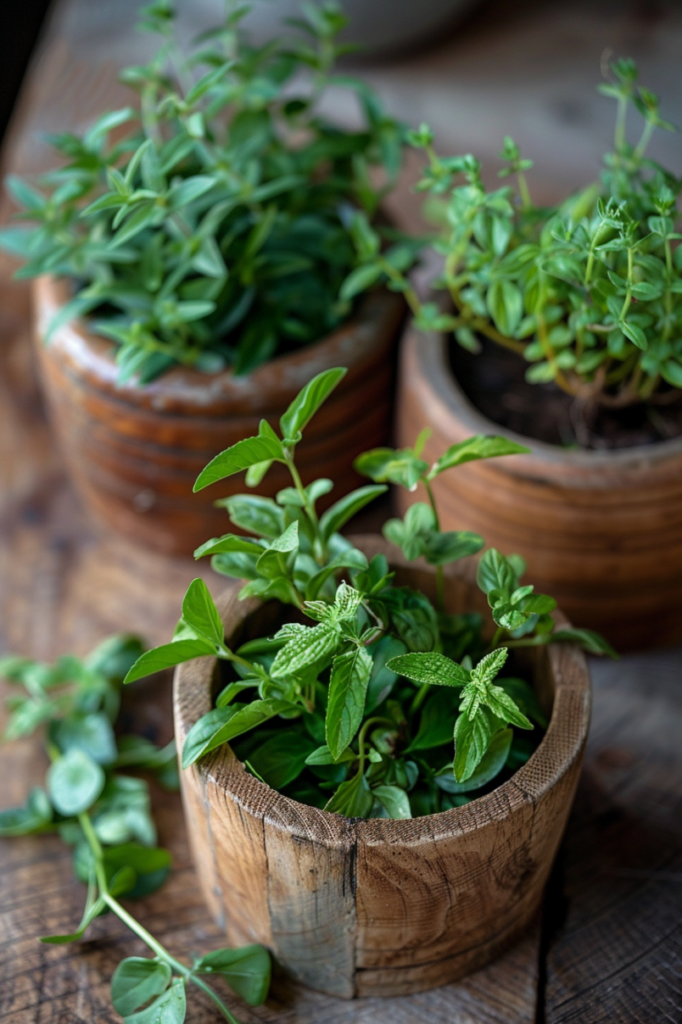
Constructing your own herb container using wooden pots is a rustic and charming option, particularly suited for herbs that thrive in drier soil conditions, such as lemon balm or lavender.
Materials needed
- Wooden pots: Choose durable and rot-resistant wood, such as cedar or redwood, to construct the pots.
- Potting soil: Select well-draining potting mix suitable for herbs that prefer drier soil conditions.
- Herbs: Choose herbs that thrive in drier soil, such as lemon balm or lavender, for planting in the wooden pots.
- Watering can or hose: You’ll need a watering device to provide occasional watering for the herbs, as wooden pots may dry out faster than other materials.
- Mulch (optional): Consider adding mulch around the base of the herbs to help retain soil moisture and suppress weed growth.
Step-by-Step Guide
Prepare the wooden pots
If you’re constructing wooden pots from scratch, cut the wood to the desired size and assemble the pots using screws or nails.
Ensure the pots have adequate drainage holes at the bottom to prevent waterlogging.
Fill with potting soil
Fill the wooden pots with well-draining potting soil, leaving some space at the top for watering.
Ensure the soil is loose and well-aerated to promote healthy root growth.
Plant your herbs
Carefully transplant your chosen herbs into the wooden pots, ensuring the soil level matches the top of the root ball.
Space the herbs appropriately to allow for their growth and spread.
Water sparingly
Water the herbs sparingly, as wooden pots may dry out faster than other materials.
Monitor soil moisture levels closely and water only when the top inch of soil feels dry to the touch.
Provide adequate sunlight
Place the wooden herb containers in a location that receives sufficient sunlight according to the requirements of each herb.
Most herbs prefer full sun, but adjust placement based on individual needs.
Maintain moisture levels
Regularly monitor soil moisture levels and adjust watering frequency as needed to prevent the soil from drying out completely between waterings.
Fertilize as needed
Depending on the herbs’ requirements and the quality of the potting soil used, consider fertilizing the herbs occasionally to provide essential nutrients for healthy growth.
Monitor for pests and diseases
Keep an eye out for signs of pests or diseases and take appropriate action if necessary to prevent infestations or infections from spreading.
- Read also: DIY Plant Covers for Winter: Protect Your Greenery
- Read also: A Step-by-Step Guide to Crafting Your Own DIY Plant Terrarium
Benefits of DIY Container Ideas For Herbs
Growing herbs in containers offers several benefits, including:
- Portability: Container-grown herbs can be easily moved around, making them ideal for filling in bare spots in the garden during seasonal changes.
- Accessibility: Herbs grown in containers can be placed near the kitchen door, making them easily accessible for cooking and harvesting.
- Control over soil moisture: Different herbs have different moisture needs, and growing them in containers allows for better control over soil moisture.
- Prevention of aggressive spreaders: Container gardening helps to keep aggressive herbs, such as mint and lemon balm, under control and away from garden beds.
- Space-saving: Herbs grown in containers take up less space than traditional garden beds, making them ideal for small spaces.
- Ease of care: Herbs grown in containers require less maintenance than those grown in the ground, as they can be easily watered and fertilized.
- Aesthetic appeal: Many containers are works of art and can provide accents in the landscape, creating a variety of textures and colors and differing plant heights.
Conclusion
Exploring do-it-yourself (DIY) container ideas for herbs is an excellent approach to ensuring a ready supply of fresh herbs for cooking while enhancing your home’s aesthetics with their delightful aroma and beauty.
By adhering to these helpful tips and essential guidelines, you can fashion a practical and visually appealing herb garden that complements the overall ambiance of your living space.


