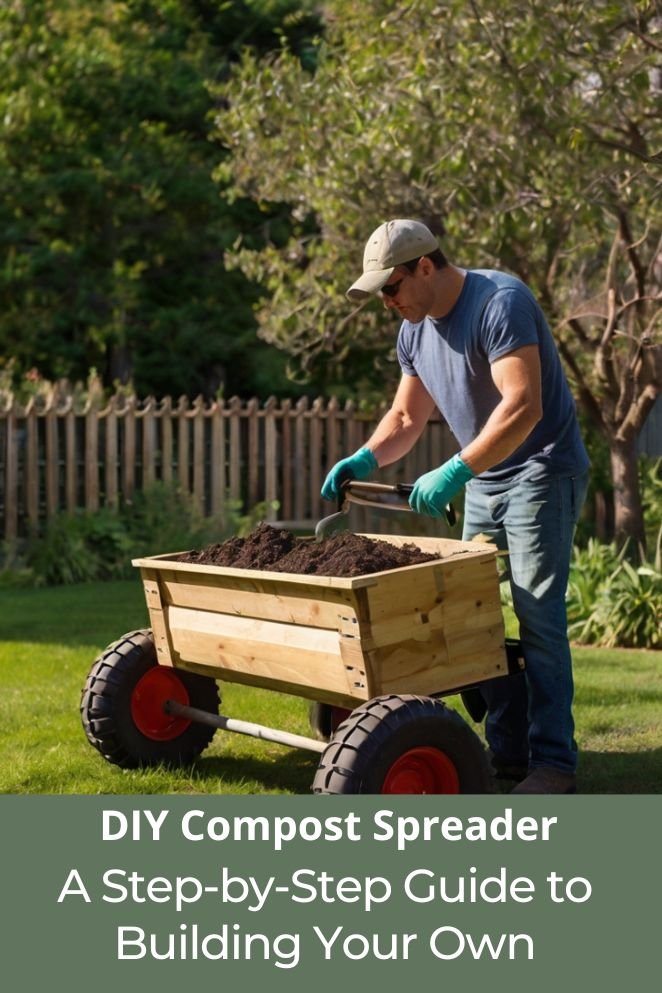
If you’re a home gardener or passionate about sustainability, spreading compost evenly in your garden is important.
A DIY compost spreader can save you time and make sure your compost is spread efficiently.
This guide will explain the benefits of using a compost spreader and walk you through how to build three types of DIY spreaders: a wheelbarrow-based spreader, a cart-based spreader, and a homemade hopper spreader.
These simple tools will help you get the most out of your compost, making your garden healthier while saving you effort.
Benefits of Using a Compost Spreader
Using a compost spreader can make a world of difference in your gardening efforts.
Here are some of the top benefits:
- Even distribution: A spreader ensures that compost is applied uniformly, which leads to healthier plants and more consistent soil fertility.
- Saves time and effort: Rather than manually spreading compost with a shovel or rake, a spreader can significantly speed up the process.
- Minimizes waste: With a spreader, you’re less likely to over-apply compost in certain areas, saving valuable resources and preventing nutrient runoff.
- Boosts soil health: Regularly adding compost to your garden promotes better soil structure, improves moisture retention, and adds essential nutrients that plants thrive on.
DIY Compost Spreader Ideas
Building a compost spreader at home is both cost-effective and rewarding.
Here are three designs you can try, each suited for different needs and materials you might already have around.
- Read also: A Beginner’s Guide: How to Make a DIY Compost Sifter
- Read also: DIY Guide: Homemade Compost for Growing Broccoli
1. Wheelbarrow-Based Spreader

A wheelbarrow spreader is a practical solution if you already have a wheelbarrow lying around. By making a few simple modifications, you can turn it into a handy compost spreader.
Materials needed
- A standard wheelbarrow
- A metal or plastic screen (1/4 to 1/2 inch mesh)
- Drill with screws
- Wooden or metal dowels for support
- Measuring tape
Step-by-step construction process
Measure and cut the screen
Start by measuring the width and length of the top of your wheelbarrow.
You’ll want to cut a piece of mesh screen that fits snugly across the top.
The mesh size is important—it should allow fine compost to fall through while keeping any larger chunks from passing.
Choose a mesh size that works for your garden’s needs.
Attach the screen
Once the mesh is cut, you’ll need to attach it securely to the wheelbarrow.
You can either use a drill to screw it in place, or for more flexibility, attach it with dowels so the screen can be easily removed when needed.
Make sure it’s tight enough so the screen doesn’t move while you’re using it.
Create support braces
To prevent the screen from sagging under the weight of the compost, attach dowels or rods across the top of the wheelbarrow.
These will act as support braces, holding the screen in place and keeping it from bending when you add compost.
Test the spreader
Pour your compost onto the screen, then push the wheelbarrow over your garden area.
As you move, the compost will sift through the mesh, spreading it evenly across the soil.
This makes the process quick and efficient.
Tips for using a wheelbarrow spreader
Use well-processed compost
Make sure your compost is well broken down to avoid clogs in the mesh.
Large chunks or unfinished compost can get stuck and prevent the finer material from spreading evenly.
Secure the screen
Double-check that the screen is properly secured before you start.
It can shift while you’re working, making it harder to spread the compost evenly.
Adjust the mesh size
You can change the mesh size based on how fine or coarse you want the compost.
A finer mesh will spread smaller particles, while a larger mesh will allow chunkier compost to pass through.
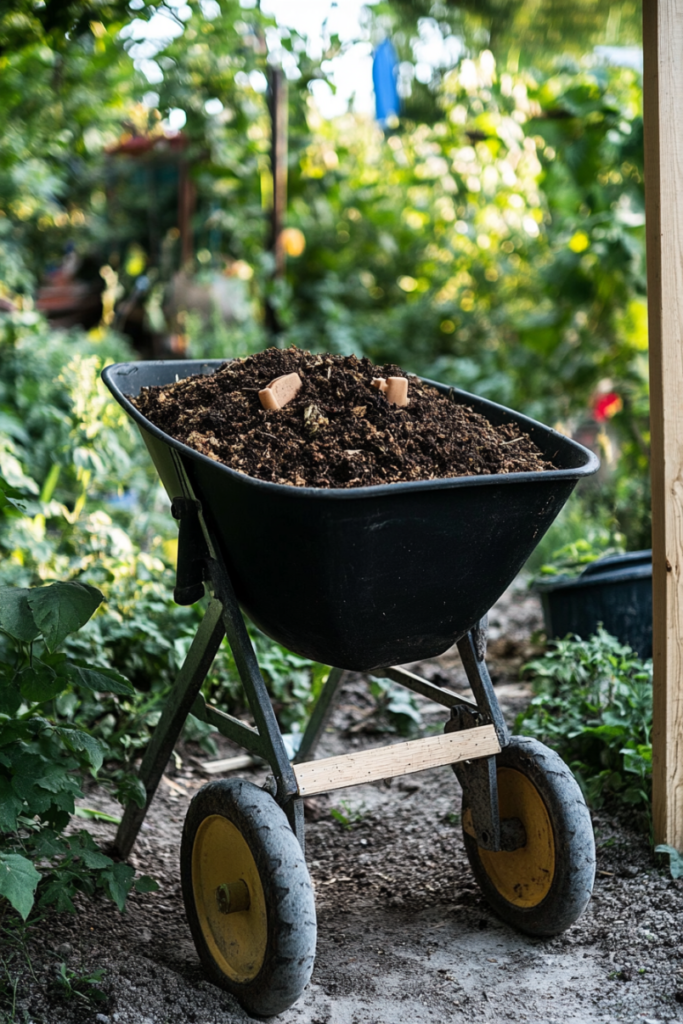
2. Cart-Based Spreader

A cart-based spreader offers more flexibility, especially for larger gardens.
This design is ideal for those who need to cover large areas without frequent refilling.
Materials needed
- A small garden cart or utility cart
- PVC pipe or wooden frame for a handle
- Mesh screen (1/4 to 1/2 inch)
- Bungee cords or hooks to secure the screen
- Drill and screws
Step-by-step construction process
Prepare the cart
Choose a sturdy garden cart with wheels, making sure it’s stable and can handle the weight of the compost.
Clean the cart to remove any dirt or debris that might interfere with the compost spreading process.
You want to start with a solid, reliable cart that will hold up during use.
Attach the screen
Measure the top of the cart and cut a piece of mesh screen to fit across it.
The mesh size will determine how fine or coarse the compost that passes through will be.
Attach the screen to the cart using bungee cords or hooks so you can easily remove it for cleaning or swapping out.
This makes it convenient to change the screen when needed.
Create a handle
To make the cart easy to move around, attach a handle at the back.
You can use PVC pipe or a wooden handle—just make sure it’s strong enough to handle the weight of the cart when full and allows for easy maneuvering.
The handle should be positioned at a comfortable height for pushing the cart through your garden.
Test the spreader
Once everything is in place, load your compost onto the screen, then push the cart across your garden.
As you move, the compost will sift through the mesh, spreading evenly over the soil.
It’s a simple, efficient way to cover large areas quickly.
Advantages of a cart-based spreader
Larger capacity
Cart-based spreaders can hold more compost than a wheelbarrow, meaning fewer trips back and forth to refill.
This is especially helpful if you have a larger garden or need to spread a lot of compost at once.
Versatility
The cart is not only great for spreading compost, but you can also switch out the screen for different mesh sizes depending on whether you want to spread finer or coarser compost.
You can even use the cart for other materials like mulch, making it a versatile tool in your gardening kit.
3. Homemade Hopper Spreader
A hopper spreader is an excellent choice if you want to spread compost more precisely.
It’s especially useful for smaller gardens or flower beds.
Materials needed
- Plastic storage bin or metal container
- PVC pipe or metal tubing for the spreading mechanism
- Drill and screws
- Wooden dowels for support
- Handle for pushing
Step-by-step construction process
Create the hopper
Start with a plastic bin or container that will serve as the hopper.
Cut out a rectangular opening at the bottom of the bin; this is where the compost will fall through.
Make sure the opening is large enough to allow the compost to flow out easily while you’re moving the spreader.
Build the spreading mechanism
To distribute the compost evenly, insert a PVC pipe or metal tubing across the opening at the bottom of the hopper.
This pipe will act as the spreading mechanism.
Drill several holes into the pipe to allow the compost to drop through as you push the spreader.
The size and number of holes will affect how quickly the compost is released, so you may want to experiment to find the right balance for your needs.
Attach support dowels
Use wooden dowels to create a sturdy frame that supports the hopper.
This frame will help keep the hopper steady while you’re using it, allowing for easy pushing.
Make sure the dowels are securely attached so that they can handle the weight of the compost without bending or breaking.
Attach a handle
To make the spreader easier to control, add a sturdy handle to the frame.
The handle should be positioned at a comfortable height for pushing, allowing you to move the spreader smoothly through your garden.
A well-placed handle will give you better control and make the process much more comfortable.
Test the spreader
Once everything is assembled, fill the hopper with compost.
Push the spreader through your garden and watch as the compost falls evenly from the hopper through the holes in the pipe.
This should help you distribute compost quickly and efficiently over your garden beds.
Tips for using a hopper spreader
Use lightweight materials
Choose a lightweight plastic for the hopper to make it easier to push.
A lighter spreader will reduce the effort needed, especially when it’s full of compost.
Adjust hole sizes
You can change the size of the holes in the spreading mechanism to control how much compost is released.
Larger holes will let more compost flow out quickly, while smaller holes will release it more slowly.
Finding the right size for your needs will help you achieve an even spread.
Tips for Using a DIY Compost Spreader
Once your DIY compost spreader is ready, there are a few tips that can help you get the most out of it.
Adjusting the spread rate
Depending on how much compost you want to apply, you can modify the size of the screen or the holes in your spreader.
If you want to spread a heavier layer of compost, use a larger mesh screen or bigger openings in the spreading mechanism.
This will allow more compost to fall through, giving your plants the nutrients they need more quickly.
Handling chunky compost
If your compost contains large chunks, you may run into clogs when using your spreader.
To avoid this, consider pre-sifting your compost before loading it into the spreader.
You can do this by passing the compost through a coarse screen or a sieve to separate the larger pieces.
This will help ensure smoother operation and prevent any interruptions while you’re spreading.
Cleaning and maintaining your spreader
After each use, it’s important to clean your spreader thoroughly.
Rinse the screen and other parts with water to prevent compost from hardening and clogging the system.
Regular cleaning will keep your spreader in good shape and make it easier to use next time.
A few minutes spent cleaning can save you a lot of hassle in the future.

Additional Features to Consider
If you’re looking to get even more out of your DIY compost spreader, consider adding these features:
Adding a screen to sift compost
Installing a second screen within the spreader can help sift finer compost and remove any remaining large chunks.
This way, you ensure that only the best, most broken-down compost is being applied to your garden beds, which can benefit plant growth.
Incorporating a fertilizer hopper
You can modify your spreader to include a small hopper that allows you to distribute fertilizer or other soil amendments along with the compost.
This feature adds convenience and efficiency, as you can treat your soil with multiple nutrients in one pass.
Attaching a handle for easier maneuverability
Adding a comfortable handle or grip to your spreader can make a big difference in how easy it is to maneuver, especially over uneven ground.
A well-placed handle will help you push or pull the spreader with greater control and less strain on your body.
- Read also: Nourishing Naturally: How to Make Organic Fertilizers at Home
- Read also: Eco-Friendly Fertilizing: How to Use Coffee Grounds as Fertilizer
Final Thoughts
Building your own DIY compost spreader is a great way to save money and increase the efficiency of your composting efforts.
Whether you opt for a wheelbarrow-based, cart-based, or homemade hopper spreader, the key is to tailor the design to your garden’s specific needs.
With a little effort, you can create a tool that not only improves your soil health but also makes gardening more enjoyable.


