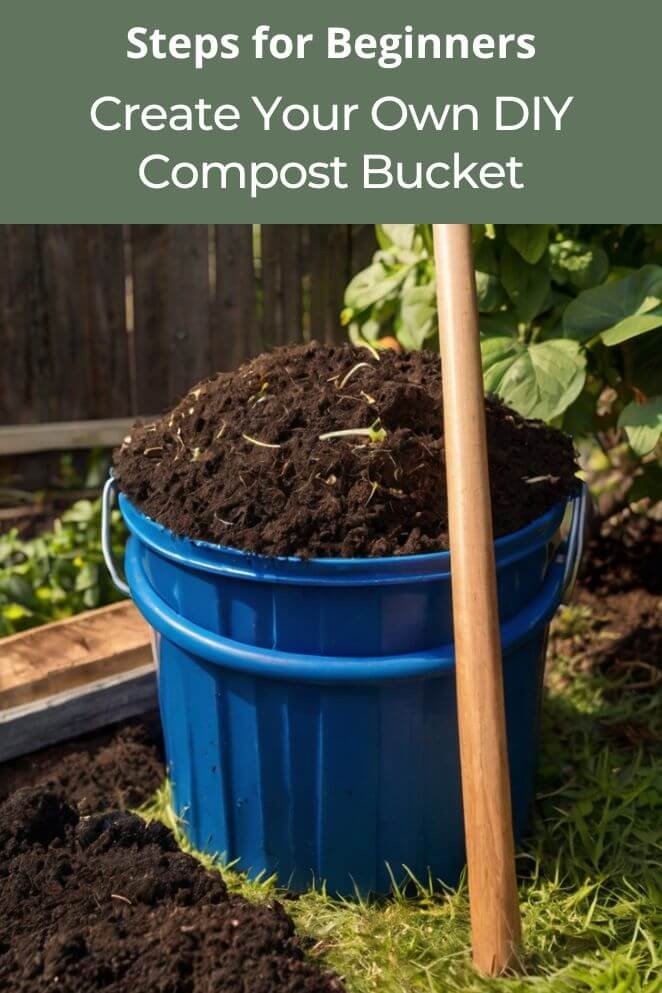
Composting is an excellent way to reduce waste, enrich your soil, and live a more sustainable lifestyle.
A DIY compost bucket is an easy, affordable project that can make a big impact.
You can turn kitchen scraps and yard waste into nutrient-rich compost to feed your garden.
Whether you live in an apartment or have a spacious backyard, building a compost bucket is a great way to get started with composting.
Materials Needed
Before you dive into making your compost bucket, here are the materials you’ll need:
- Plastic storage bin (with a tight-fitting lid)
- Drill (with a 3/16″ drill bit)
- Brown materials (e.g., dry leaves, newspaper, straw)
- Green materials (e.g., vegetable scraps, grass clippings)
- Water source (for adding moisture)
- Bungee cords or straps (optional, for securing the lid)
- Pitchfork or shovel (for mixing)
- Optional: Wooden pallets (if you prefer to build a larger compost bin)
Step-by-Step Instructions
- Read also: The Ultimate Guide: Homemade DIY Plant Fertilizer Indoor
- Read also: Nourishing Naturally: How to Make Organic Fertilizers at Home
Selecting the bin
The first step in creating your compost bucket is selecting the right bin.
The size and type of bin are crucial to the success of your composting project.
A 5–10-gallon plastic storage bin works well for most people, but if you generate more waste or have a larger garden, you might opt for a bigger bin.
- Why choose plastic? Plastic bins are durable, lightweight, and easy to move. Look for a bin with a tight-fitting lid to keep moisture in and pests out.
- Consider size: If you’re just starting, a smaller bin (5-7 gallons) is ideal. As you get more comfortable with composting, you can scale up.
Drilling holes
For your compost to thrive, it needs airflow.
This is where the drill comes in.
You’ll want to drill holes in both the lid and the bottom of the bin to allow air circulation and drainage.
Use a 3/16″ drill bit to make holes in the bottom of the bin for drainage.
This prevents excess moisture buildup, which can cause unpleasant odors.
Then, drill a few holes in the lid and sides to allow air to flow through the compost, helping it decompose faster.
Tip: Space the holes evenly around the bin to ensure good ventilation.
Creating the brown base
A good compost pile is all about balance.
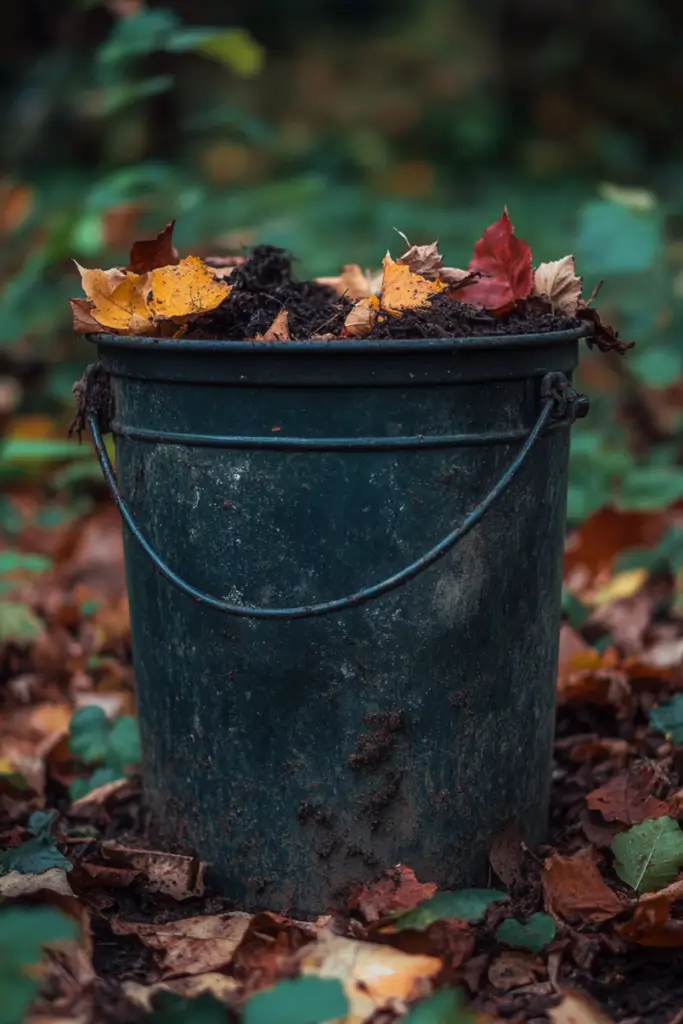
Start by creating a base layer of brown materials, which are carbon-rich ingredients that help absorb moisture and provide structure to your compost.
- Examples of brown materials: Dry leaves, shredded newspaper, straw, and small twigs.
- Why brown matters: The brown layer helps with aeration, allowing air to move through the compost. This encourages aerobic bacteria, which speeds up the decomposition process.
Adding green ingredients
After the brown base, it’s time to add green materials.
These are nitrogen-rich ingredients that provide energy for the microorganisms breaking down your compost.
- Examples of green materials: Fruit and vegetable scraps, coffee grounds, grass clippings, and egg shells.
- The green and brown balance: For the best composting results, maintain a 3:1 ratio of brown to green materials.
Adding water and mixing
Maintaining the right moisture level is crucial for composting.
Your compost should feel like a wrung-out sponge—moist but not soggy.
- Adding water: If the compost feels too dry, sprinkle some water over the top. Avoid drenching it, as too much water can drown the microorganisms.
- Mixing the compost: Use a pitchfork or shovel to turn the compost every couple of weeks. This ensures that oxygen is evenly distributed.
Securing the lid
Once your compost materials are inside, securing the lid will prevent pests from getting in and keep the right amount of moisture in the bucket.
If you live in an area with curious critters or strong winds, you can use bungee cords or straps to keep the lid tightly secured.
Just make sure it’s not so tight that it prevents airflow.
Maintaining the compost bin
To keep your compost healthy, regular maintenance is key.
Here’s how to keep your DIY compost bucket in top shape:
- Turn the compost: Aerating the compost every few weeks with a pitchfork or shovel helps it break down faster.
- Monitor moisture levels: If the compost looks dry, add water. If it’s too wet, mix in more brown materials to absorb the moisture.
Placement and accessibility
Where you place your compost bucket is important.
You want it to be in a convenient location that gets the right amount of sun.
- Ideal location: A semi-shaded area is best. Too much sun can dry out your compost, while too much shade can make it too wet.
- Accessibility: Make sure it’s easy to get to so you can turn the compost regularly and add new materials as needed.
Optional: Creating a wooden pallet compost in
If you have more space or need a larger compost system, you might consider building a wooden pallet compost bin.
This method works well for those who generate a lot of yard waste or have large gardens.
Assemble three or four wooden pallets to form a square or rectangle.
Secure them with nails or screws.
This bin can hold more compost and allows for better airflow due to the gaps in the pallets.
Tips and Variations
Composting can be a rewarding and straightforward process, but there are some common pitfalls to watch out for and techniques you can use to improve your results.
Here are some helpful tips to ensure your composting journey is successful.
Avoid common mistakes
Over-watering
One of the most frequent mistakes new composters make is adding too much water.
While moisture is essential for decomposition, too much can drown the microorganisms that break down your compost.
If your compost feels soggy or has a foul smell, it’s a sign you’ve added too much water.
Instead, aim for a moisture level similar to that of a wrung-out sponge—it should feel moist but not dripping wet.
Adding too much green material
Another common error is incorporating too many green materials (like food scraps and grass clippings) without balancing them with enough brown materials (like dry leaves or shredded paper).
This can lead to a compost pile that is too wet and smelly.
To avoid this, maintain the 3:1 ratio of brown to green materials.
This means for every one part of green material; you should have about three parts of brown.
Keeping this balance ensures proper aeration and decomposition.
Speed up the composting process
Chop up large scraps
To accelerate the composting process, consider chopping or shredding larger scraps before adding them to your bin.
Smaller pieces break down more quickly because they have a larger surface area, making it easier for microorganisms to do their work.
For example, instead of tossing in whole vegetable scraps, cut them into smaller chunks.
This simple step can significantly speed up decomposition.
Turn the compost more frequently
Regularly turning your compost helps aerate it, which is essential for speeding up the breakdown of materials.
When you mix your compost, you’re not only introducing more oxygen, but you’re also distributing moisture and heat more evenly.
Aim to turn your compost every couple of weeks. This will help keep it active and promote faster decomposition.
- Read also: A Beginner’s Guide: How to Make a DIY Compost Sifter
- Read also: DIY Compost Spreader: A Step-by-Step Guide to Building Your Own
Final Thoughts
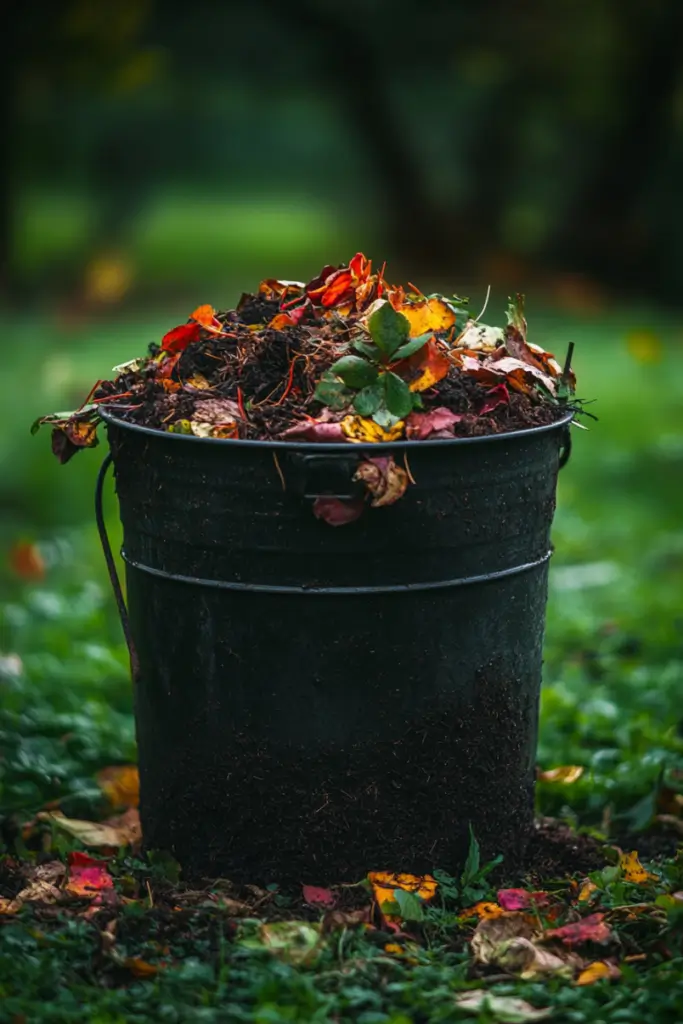
Building your own DIY compost bucket is a simple and rewarding project that contributes to a healthier garden and a more sustainable lifestyle.
By recycling your kitchen and yard waste, you reduce landfill waste and create a rich, nutrient-dense soil amendment for your plants.
Plus, it’s easy to maintain and takes up minimal space.
Whether you choose a small bucket or a larger wooden pallet system, composting is a great step toward reducing your environmental footprint.
So why not start today?
FAQs
It typically takes 2-6 months for compost to break down, depending on the materials used and how often you turn the compost.
No, it’s best to avoid adding meat, dairy, or oils to your compost, as these materials attract pests and take longer to decompose.
A bad smell usually means your compost is too wet or has too much green material. Add more brown materials and turn the compost to improve aeration.
Turn your compost every 1-2 weeks to ensure even decomposition and proper airflow.


