If you want better tomatoes, don’t just focus on the plant—fix the soil.
Compost gives your tomatoes the nutrients they need, helps the soil hold water, and cuts down on disease.
It’s not just about reducing waste—it’s about feeding your plants naturally.
Whether you’ve been gardening for years or you’re just starting out, learning how to compost right can seriously boost your harvest.
Why Composting is Essential for Tomato Success
Tomatoes are hungry plants.
They pull more nutrients from the soil than most veggies, and if your soil can’t keep up, your harvest will show it.
That’s where compost comes in—it’s not optional if you want solid, consistent results.
The nutritional powerhouse of compost
Tomatoes don’t just need nitrogen, phosphorus, and potassium.
They also rely on calcium, magnesium, and trace minerals to grow strong and avoid problems like blossom end rot.
Compost feeds them slowly and steadily.
Unlike synthetic fertilizers that dump nutrients all at once, compost breaks down over time.
That means your plants keep getting what they need without the wild swings that mess with growth and fruit quality.
Soil structure and water management
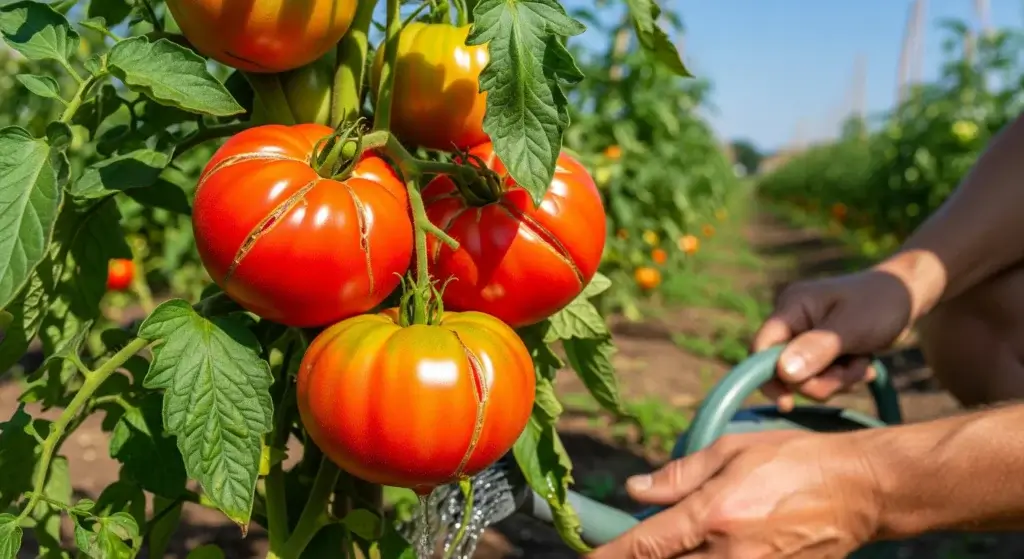
Tomatoes like moist soil—but not soggy roots. Compost helps balance both.
Mixing in compost (about 30% by volume) improves water retention and drainage.
It also fluffs up compacted soil so roots can breathe and grow deep.
Bonus: the microbes in compost help break things down, keep pathogens in check, and make nutrients more available.
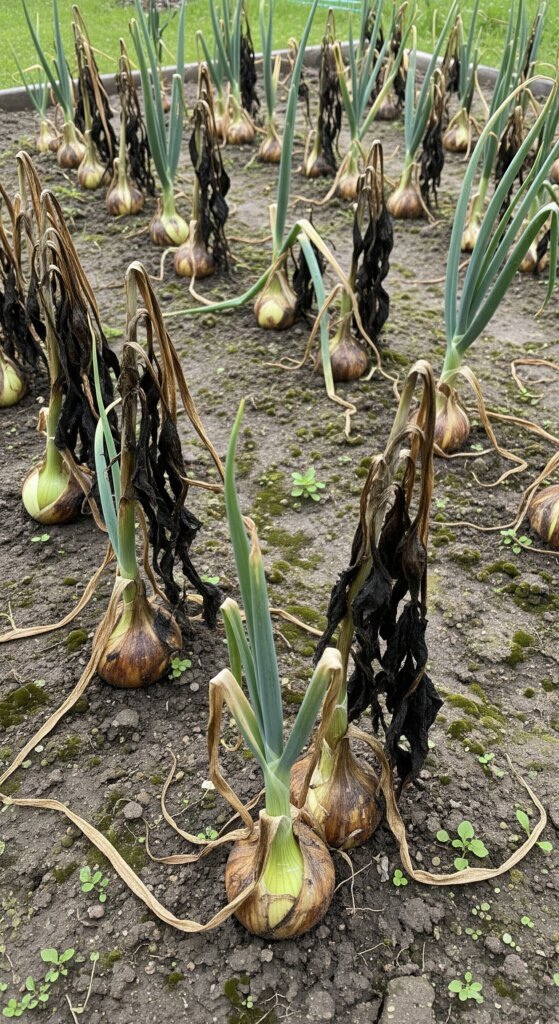
Can You Compost Tomato Plants? Separating Fact from Fiction
Short answer: sometimes. Tomato plants can go in your compost—if they’re healthy.
But if they’ve been hit by blight, wilts, or fungal issues, it’s better not to risk it.
When it’s fine to compost
If your plants didn’t show any disease, compost them.
Chop them up first so they break down faster.
They’re full of nitrogen and add a lot of value to your pile.
Even if they had viral issues like spotted wilt or curly top, those don’t survive long after the plant dies.
So you’re generally safe composting those too.
When to skip it
If your plants had fungal or bacterial problems—early blight, late blight, bacterial wilt—don’t compost them at home.
These pathogens can hang around and mess up next year’s crop if your pile doesn’t get hot enough.
Most home piles don’t reach the 140–160°F range needed to kill pathogens.
And unless you’re tracking temps daily, you won’t know for sure. In that case, send those plants to municipal composting (if available), or bag and trash them.
Creating the Perfect Compost Mix for Tomatoes
Making good compost isn’t about tossing scraps in a pile and hoping for the best.
If you’re growing tomatoes, what you put into your compost really matters. Here’s how to build a mix that supports strong plants and solid fruit.
Green materials: The nitrogen sources
Greens fuel leafy growth. But it’s not just about volume—some green materials bring more to the table for tomatoes.
Use:
- Grass clippings (as long as they’re chemical-free)
- Veggie peels and coffee grounds
- Banana peels (loaded with potassium for fruiting)
- Eggshells (calcium to help stop blossom end rot)
- Fresh plant trimmings
- Aged manure from herbivores (like rabbits or chickens—not dogs or cats)
Brown materials: The carbon foundation
Browns balance the pile and help it breathe. Without them, you get slime and stink.
Use:
- Dry leaves
- Shredded cardboard or newspaper
- Straw or hay
- A bit of sawdust or wood chips
- Dead plant material
Rough guide: 3 parts brown to 1 part green (by volume). Doesn’t have to be perfect, just avoid going heavy on one side.
Special additions for tomato success
For a compost mix that’s tomato-friendly from the start, mix in:
- Bone meal – Boosts phosphorus for roots and fruit
- Rock dust – Replaces trace minerals your soil might be missing
- Kelp meal – Micronutrients + natural growth boosters
- Mycorrhizal fungi – Helps roots take up nutrients and resist disease
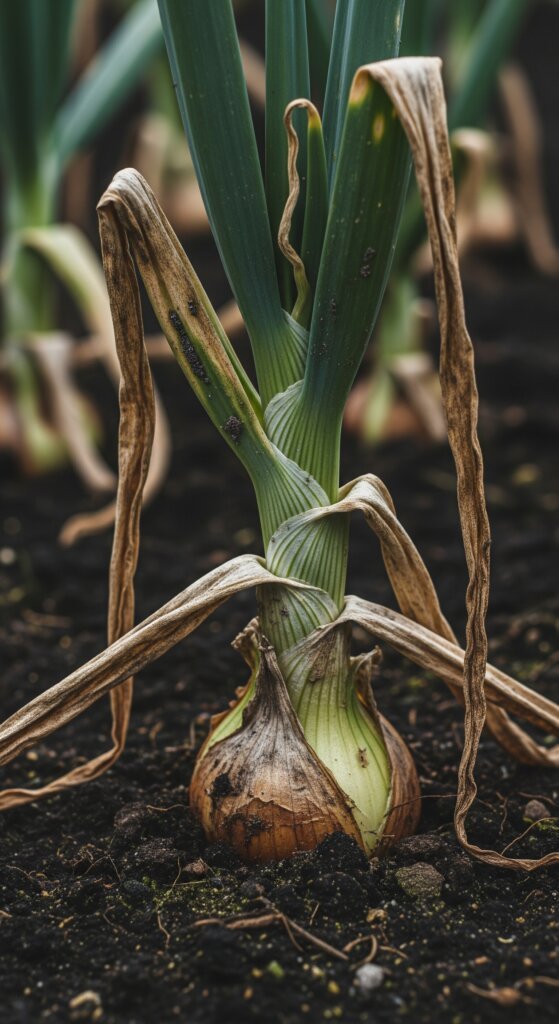
The Art of Proper Composting: Step-by-Step Guide
Good compost doesn’t just happen. You’ve got to build it with care and manage it like you mean it.
Here’s a straightforward guide to making compost that feeds tomato plants right.
Step 1: Build your pile
- Pick your spot: Go for a spot with some shade and decent drainage. You’ll want easy access so you’re not dragging a wheelbarrow across the yard every time you turn it.
- Start with chunky browns: Lay down twigs, stalks, or something coarse to keep air moving from the bottom.
- Layer it up: Alternate greens and browns. Try for 4–6 inch layers. No need to measure exactly—just keep it balanced.
- Moisten each layer: It should feel like a wrung-out sponge. Too wet and it’ll rot. Too dry and it won’t break down.
- Jumpstart with microbes: Add a shovel of finished compost or garden soil to get the microbial action going.
Step 2: Keep it moving
Air is key. Composting is an aerobic process, which means your pile needs oxygen or it’ll start to stink and stall out.
Turn the pile
Use a pitchfork or turning tool to mix the pile every 3–5 days during the active phase. Bring outside stuff to the center. That’s where the heat is.
Watch the moisture
Dry? Add water slowly while you turn.
Too wet? Mix in more browns—dry leaves, cardboard, straw.
Step 3: Check the heat
A good pile heats up fast—within a few days, it should hit 130–160°F in the center if you’ve got the mix right.
This is when most of the breakdown happens.
The hot phase lasts 2–3 weeks if you manage moisture and keep turning. After that, the pile cools down and starts to cure.
Step 4: Know when it’s done
You’ll know it’s ready when it’s dark brown, crumbly, and smells like soil—not like food scraps or ammonia. No big chunks, no slimy bits.
Hot composting: Ready in 3–6 months
Passive (low-effort) composting: Can take 6–12 months
Using Compost in Your Tomato Garden
Making compost is one thing. Knowing how to actually use it around tomatoes is the next step.
Here’s how to apply it so it feeds your plants without causing issues.
Soil preparation and planting
Mix 2-4 inches of compost into the top 8-12 inches of soil a few weeks before planting.
This lets the compost settle and blend with your soil.
When you plant tomato seedlings, drop a handful of compost into each hole.
It feeds roots right away and helps hold moisture while the plants get established.
Season-long feeding strategy
Tomatoes like regular feeding.
Every 4-6 weeks, spread 1-2 inches of compost around the base—but keep it a few inches away from stems.
Too close, and you risk pests or disease.
This “side-dressing” feeds the plants slowly over time, keeps soil moist, and helps block weeds.
Mulching with compost
Using compost as mulch works well too.
Spread 2-3 inches around plants but leave a gap near the stem.
Compost mulch protects the soil, breaks down slowly, and adds nutrients back into the ground.
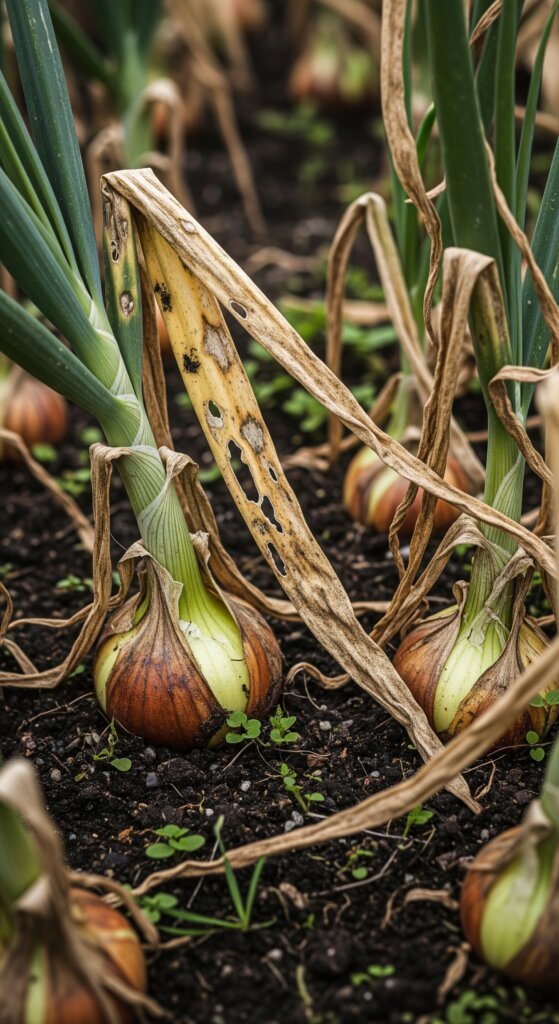
Troubleshooting Common Composting Issues
Even if you’ve been composting for years, things go sideways sometimes.
Here’s how to troubleshoot the usual problems without overthinking it.
Slow decomposition
If your pile’s just sitting there, check these:
- Not enough greens? Add more nitrogen-rich stuff like veggie scraps or grass clippings.
- No airflow? Turn it more often. You can also mix in sticks or stalks to keep it from compacting.
- Too dry? Add water slowly while turning. It should feel like a damp sponge.
- Too cold? If it’s winter, don’t expect much. You can insulate the pile or just wait for warmer weather.
Unpleasant odors
If your pile stinks, something’s off. Figure out what kind of smell you’re dealing with:
- Ammonia smell? You’ve got too much green stuff. Add browns like dried leaves or cardboard and turn it.
- Rotten eggs? That’s usually from poor drainage or too much moisture. Mix in dry browns and fluff it up.
- Sour or musty smell? Usually a mix issue—too many greens, not enough air. Add browns and turn more often.
Advanced Techniques for Premium Tomato Compost
If you’ve already nailed the basics and want to level up your compost game just for tomatoes, these techniques bring serious results.
Vermicomposting for tomatoes
Red wigglers turn kitchen scraps into super-charged compost.
Their castings are loaded with fast-acting nitrogen and micro-life that tomatoes love.
Keep a bin going year-round if you can—just toss in scraps, keep it moist, and harvest the black gold.
Compost tea applications
Need to give your tomatoes a boost mid-season? Brew compost tea.
Soak a shovel of finished compost in water for a day or two, strain it, and pour it around the base of your plants.
It’s great during fruit set or when your plants look tired.
Don’t spray it on leaves—just hit the soil.
Bokashi composting integration
If you’ve got a bokashi bucket, use it.
The fermented scraps break down fast and add major nutrients when mixed into your compost pile.
It’s not a full compost method on its own, but it speeds everything up and makes your pile hotter and richer.
Conclusion: Building Your Tomato Success Story
Great tomatoes start with great soil—and compost is how you get there.
It takes some patience and effort, but turning kitchen scraps into real nutrition for your plants pays off every season.
Every garden’s different, so start with the basics and tweak as you go.
Whether you’re growing a few pots on a balcony or rows in a backyard, compost gives your tomatoes what they need to thrive.
Stick with it. Your plants—and your taste buds—will show you it was worth it.

