Growing raspberries in your backyard is pure main-character energy—but without support, those plants will absolutely choose chaos. I learned this the hard way when my first patch turned into a thorny jungle that fought back every time I tried to pick berries.
A solid raspberry trellis keeps things under control, boosts your harvest big-time, and makes picking berries feel fun instead of painful.
Whether you’re brand new to gardening or already deep in the dirt life, building a raspberry trellis is an easy weekend project that pays off for years.
In this guide, I’ll show you how to design, build, and care for a DIY raspberry trellis that turns your messy cane pile into a clean, productive berry machine.

Why Your Raspberries Need a Trellis
Raspberries don’t need a trellis to survive—but they need one to thrive. Studies show supported canes can produce way more fruit, and honestly, your eyes and hands will thank you.
Trellises Improve Air Circulation
When canes are off the ground and spaced out, air moves freely and moisture doesn’t just sit there causing gross fungal diseases. Think of it like letting your plants breathe instead of trapping them in a sweaty hoodie after gym class.
Receive More Sunlight Exposure
Sunlight is basically plant fuel. When canes aren’t stacked on top of each other, every leaf gets its share, leading to sweeter, juicier berries. More sun = better flavor. It’s science and common sense.
Makes Harvesting Infinitely Easier
No crawling, no scratches, no wrestling thorn monsters. You just walk along the trellis and pick berries at eye level like a civilized human. It’s faster, cleaner, and way more satisfying.
- Read Also: A Step-by-Step Guide to Crafting Your DIY Garden Trellis Arch
- Read Also: DIY Tomato Trellis Ideas: Make Your Garden a Blast from the Past
Understanding Raspberry Growth Habits
Raspberries look chill, but they have very strong opinions about how they grow. There are two main types, and knowing which one you have saves you from future confusion and accidental plant crimes.
Summer-bearing raspberries fruit on second-year canes (called floricanes), so you’re juggling old canes and new ones at the same time.
Fall-bearing (aka everbearing) raspberries fruit on first-year canes (primocanes), and most people just chop everything down each winter and start fresh—clean slate vibes.
No matter the type, raspberries shoot up new canes every year like they’re trying to escape.
These canes can hit four to eight feet tall, and once they’re loaded with leaves and berries, they get heavy and flop over dramatically. That’s why support isn’t optional—it’s survival.
Choosing the Right Trellis Design
There are a few trellis styles that actually work, and picking one is more about your setup than gardening ego.
The Post-and-Wire System
This is the no-drama, beginner-friendly option. Posts, a couple of wires, done. You tie the canes as they grow and everything stays upright and readable instead of becoming a thorny mystery.
The T-Trellis
Same idea, but upgraded. The T-shape spreads canes out so they get more air and sun, and harvesting from both sides feels elite. Your berries ripen better, and your hands suffer less.
The V-Trellis
This one’s for summer-bearing raspberries and people who like systems. Old fruiting canes go on one side, new canes on the other. Come pruning time, there’s zero confusion—future you will be grateful.
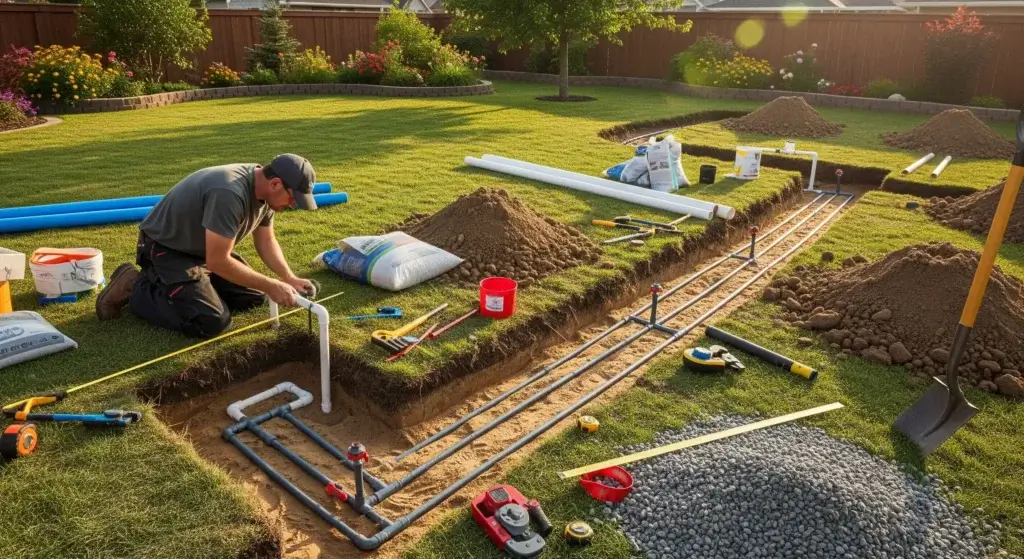
Materials You’ll Need
For a standard post-and-wire trellis supporting a 20-foot row of raspberries, you’ll need the following materials:
Heavy-duty end posts are essential as they bear most of the tension from the wires. Use 4×4 inch treated lumber or metal T-posts that are at least 8 feet long. You’ll need one for each end of your row.
For longer rows, add intermediate posts of 4×4 inch treated lumber or 2-inch diameter galvanized steel pipe, 7 feet long, spaced every 15 to 20 feet.
You’ll need high-tensile galvanized wire, typically 12.5 or 14 gauge, which is strong enough to support heavy fruit-laden canes without sagging. Plan for approximately 40 feet of wire per horizontal run. For a standard setup, you’ll install two or three runs at different heights.
Additional supplies include screw eyes or wire brackets for attaching wires to posts, turnbuckles for tensioning wires, ground anchors or concrete for securing end posts, and soft garden twine or plant ties for attaching canes to wires.
Step-by-Step Construction Guide
Start by planning your layout like a pro. If you can, run your raspberry rows north to south so every plant gets sun all day. Mark your end posts first and keep them just outside the planting area—I once stabbed a root system doing this wrong, and the plant never forgave me.
Install Your End Posts First
because these are the backbone of the whole setup. Dig deep—about 2 feet for wood, a bit less for metal.
Set them so they stand 5 to 6 feet tall, and use a level. Crooked posts will haunt you later. For long rows, lean the end posts slightly outward and add anchors so wire tension doesn’t slowly yank everything inward like a bad physics experiment.
Install Intermediate Posts
If your row is longer than 15 feet, add middle posts. These just help with support, so they don’t need to be as deep. Line them up neatly so your trellis doesn’t look like it lost a fight.
String Your Wires
Most raspberries are happy with two wires—one around 3 feet high and one around 5. Tall varieties can handle a third wire in between. Use brackets or screw eyes, pull the wire tight, and add a turnbuckle at the end. You want the wire firm, not banjo-string tight.
Training Your Raspberries to the Trellis
This is where you become the plant whisperer. Let new canes grow a bit, then loosely tie them once they hit 2 to 3 feet tall. Use soft ties—raspberries thicken fast and don’t appreciate being strangled.
Space canes a few inches apart so air and sunlight can do their thing.
Keep the strongest canes, cut out the weak ones, and stay organized. For summer-bearing types, separating old fruiting canes from new ones now saves you major confusion later. Future you will absolutely feel smug about it.
Maintenance and Long-Term Care
A good raspberry trellis is basically a long-term relationship—it’ll stick around for 15 to 20 years if you show it a little respect. Every spring, check your wires and tighten them if they’ve gone slack. Give your posts a quick inspection too, especially near the soil where rot likes to sneak in.
After harvest, clean house. For summer-bearing raspberries, cut the old fruiting canes all the way down and untie them so new canes can take over. For fall-bearing types, it’s even easier—cut everything down in late winter and walk away feeling powerful.
Fix broken wires fast, because one snap can turn your whole row into a sad domino effect.
Maximizing Your Investment
A DIY trellis keeps paying you back. You get more berries, easier harvesting, and a garden that looks like you actually know what you’re doing. You save a ton of money—usually 60 to 70% compared to store-bought systems—and most builds take one weekend and under $100.
Bonus: once you learn this skill, you can use it everywhere. Blackberries, beans, peas, grapes—even fancy espalier fruit trees all run on the same logic.
- Read Also: DIY Greenhouse Trellis: Transform Your Garden Space
- Read Also: Building Upwards: A DIY Garden Trellis for Cucumbers Guide
Conclusion
Building a raspberry trellis is one of those “why didn’t I do this sooner?” garden moves. Healthier plants, bigger harvests, and way less frustration make it 100% worth it. The trick is doing it right—solid posts, tight wires, and consistent training.
Pick a design, commit to a weekend, and build it well. A future version of you, casually snacking on perfect raspberries while standing upright, will be extremely grateful you did.