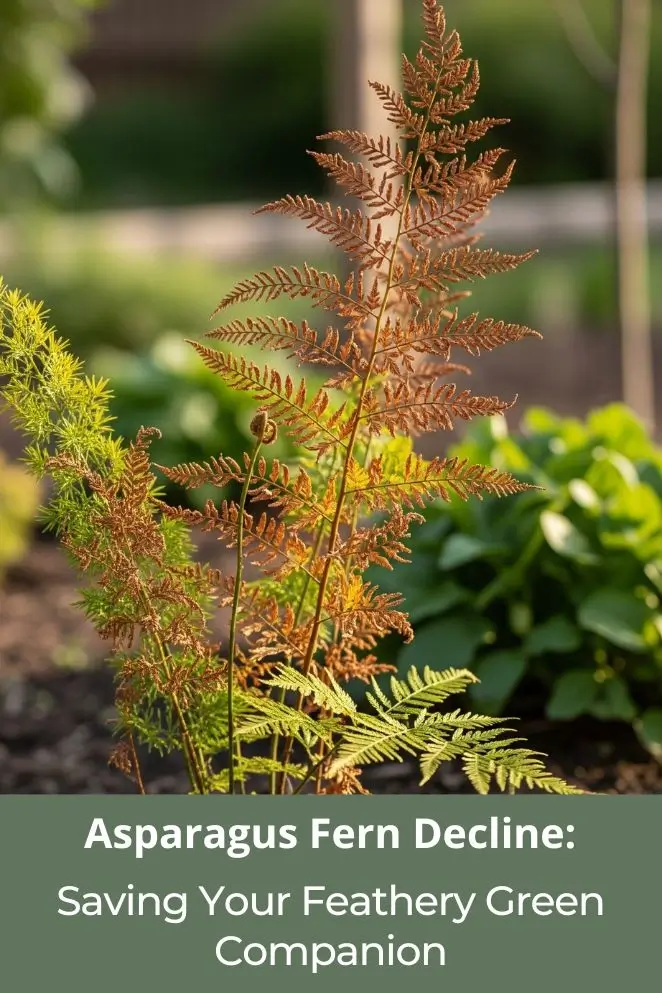
Asparagus ferns look fancy with their soft, feathery leaves, which is why they’ve blown up as trendy houseplants and garden fillers.
But here’s the catch—lots of people freak out when their once-lush fern starts turning yellow, brown, or dropping needles.
That’s what plant nerds call “asparagus fern decline.”
Primary Causes of Asparagus Fern Decline
Watering imbalances: The #1 troublemaker
Most asparagus ferns don’t die of “mystery illness”—they drown or dry out.
Overwatering is the biggest villain.
These plants like moist soil, but if you turn their pot into a swamp, the roots rot, and suddenly the whole plant goes yellow and mushy.
Signs of overwatering:
- Leaves turn yellow and feel soft or mushy
- Soil stays wet forever
- Funky, musty smell coming from the pot
- Roots look black or brown and squishy when you peek inside
Underwatering is the opposite but just as bad.
Asparagus ferns are thirstier than your average houseplant. Let them dry out too long, and they crisp up like burnt fries.
Signs of underwatering:
- Brown, crispy leaf tips and edges
- Needles dropping like confetti
- Soil pulling away from the pot like it’s shrinking
- Plant looks droopy even if the light’s fine
Light-related stress factors
These ferns love bright but indirect light. Think “sunny window with curtains”—not “sunbathing with no sunscreen.”
Too much direct light fries them, while too little makes them pale, weak, and sad.
Too much light signs:
- Yellowing on sun-facing spots
- Scorched brown patches on the needles
- Soil drying out way too fast
Too little light signs:
- Faded, pale green color
- Stretchy, leggy growth
- Sparse needles that make the plant look bald
Humidity and air quality issues
Asparagus ferns are drama queens about humidity.
They want around 40–50%, which is higher than most houses.
If the air’s too dry, the tips brown, needles rain down, and the plant sulks.
Drafts, heaters, or blasting AC can also stress them out.
Temperature fluctuations
These ferns like steady temps between 65–75°F (18–24°C).
Sudden cold drafts, hot air blasts, or big seasonal swings? Total meltdown.
They’re basically Goldilocks—too hot or too cold, and they revolt.
Nutritional deficiencies
Not the most common cause, but still a factor. In pots, nutrients wash out over time.
If your fern’s older leaves go yellow, it might be a nitrogen issue.
Brown edges? Could be low potassium.
A little fertilizer every now and then keeps them happy.
Recognizing Early Warning Signs
Catching problems early can totally save your asparagus fern.
Think of it like noticing your phone battery dying—you deal with it before it shuts down completely. Here’s what to watch for:
Week 1–2:
- Older needles start turning a little yellow—just a hint, nothing dramatic.
- You’ll see a few needles drop here and there (like 5–10 a day).
- The plant looks slightly thinner, like it’s having a bad hair day.
Week 3–4:
- The yellowing spreads to younger leaves, not just the old ones.
- Bare patches show up—you’ll notice gaps where the fluff used to be.
- Growth slows down, like the plant’s hitting pause.
Advanced stages:
- Needles go full brown and drop everywhere (get ready to sweep).
- New growth is stunted or just doesn’t show up.
- The whole fern starts looking scraggly and tired, like it’s given up on life.
Comprehensive Treatment Strategies
Immediate assessment and action
The second you spot your fern going downhill, play plant detective. Don’t just guess—check everything.
- Gently slide the plant out of its pot and peek at the roots (healthy ones are firm and white, not black mush).
- Stick your finger in the soil or use a moisture meter—too wet? too dry?
- Look at the setup: light, humidity, temp. Is your fern basically living in a sauna or a desert?
- Inspect for pests. Tiny bugs can mess up your plant faster than you’d think.
Water management protocol
For overwatered plants:
- Stop watering ASAP—seriously, put the watering can down.
- If the soil’s swampy, take the plant out, toss the soggy soil, and repot.
- Trim off any black, mushy roots with clean scissors (gross, but necessary).
- Use fresh, well-draining mix, and water again only when the top inch of soil is dry.
For underwatered plants:
- Give it a deep soak until water drains out the bottom holes.
- Create a routine so you’re not ghosting your plant for weeks.
- Check soil every 2–3 days.
- Grab a moisture meter if you’re the forgetful type—it’s like a plant lie detector.
Optimal environment creation
Light management:
- Place your fern 3–6 feet away from bright, indirect light.
- Filter harsh sunlight with a curtain—otherwise, you’re basically frying your fern.
- Spin the pot weekly so it grows evenly instead of leaning like the Tower of Pisa.
- Winter’s dark? Grow lights are your backup plan.
Humidity enhancement:
- Keep humidity around 40–50%.
- Humidifier = easiest fix, but pebble trays work too.
- Clump plants together to make a mini rainforest.
- Mist the air around the fern, not the leaves directly (nobody likes soggy hair).
Temperature control:
- Keep it steady—65–75°F is the sweet spot.
- Avoid vents that blast hot/cold air.
- No drafts either—cold snaps are fern kryptonite.
- Use a cheap thermometer so you know what’s actually going on.
Pruning and maintenance
Pruning helps your plant bounce back faster.
- Snip off yellow or brown bits with clean scissors.
- Cut stems back to where the growth looks healthy.
- If it’s really struggling, you can prune up to one-third.
- Try to keep it looking nice while cutting off the damage.
Fertilization protocol
Don’t feed until it shows signs of recovery—otherwise it’s like forcing fast food on a sick friend.
- Use diluted liquid fertilizer (10-10-10 at quarter strength).
- Feed once a month in spring and summer.
- Cut back in fall and winter—they rest then.
- Flush the soil once in a while to avoid fertilizer buildup (like rinsing out a mug after too much hot chocolate).
Prevention: The Best Medicine
Consistent care routine
Here’s the secret: plants don’t like chaos. They thrive on routine, kinda like how you need consistent sleep to not feel like a zombie in class.
- Weekly: Stick your finger in the soil—too dry? too soggy? Adjust watering.
- Bi-weekly: Rotate your plant so it doesn’t grow lopsided, and give it a once-over for pests (tiny freeloaders love hiding).
- Monthly: Feed it during the growing season—think of it like giving your plant a monthly energy drink. Also check if it’s still looking strong overall.
- Seasonally: Repot if roots are busting out or soil looks tired. Adjust care depending on whether it’s blazing summer or cozy winter.
Environmental monitoring
Don’t rely on guesswork—get tools. Even cheap ones make you feel like a pro.
- Moisture meter: No more “did I drown it or dehydrate it?” drama.
- Humidity gauge: Your fern likes spa-level air, not desert vibes.
- Thermometer: Plants hate surprise temp swings as much as you hate surprise tests.
Quality potting medium
Soil matters—a lot. Don’t just grab random dirt from the backyard.
You want a mix that drains well but still holds some moisture, kinda like the perfect sponge cake (but less delicious).
A combo of peat moss, perlite, and standard potting soil is the asparagus fern dream team.
When to Seek Additional Help
Sometimes you’ve done everything right and the fern still looks like it’s auditioning for a sad trombone.
That’s when you call in backup — plant pros exist for a reason. Consider asking a local garden center or plant specialist if:
- The decline keeps happening even after you followed the treatment steps.
- You think the problem is a pest infestation that feels beyond your DIY skills (those tiny critters can be sneaky).
- Several plants in your collection show the same weird symptoms — that usually means something environmental or contagious.
- Root rot looks bad and you’re not sure how much to trim or whether to perform a full rescue repot.
Recovery Timeline and Expectations
Plants don’t heal overnight — it’s more like slow-motion glow-up. Keep realistic expectations so you don’t panic and overdo treatments.
Typical recovery looks like this:
- Week 1–2: Stabilization — leaf drop should slow down.
- Month 1: Small new growth appears (tiny victory!!)
- Month 2–3: Noticeable improvement — the plant starts looking healthier overall.
- Month 4–6: Big recovery — foliage fills back in and the plant regains vigor.
Long-term Success Strategies
Seasonal adjustments
Plants have their own version of a school calendar, and asparagus ferns expect you to adjust care as the seasons change:
- Spring: Time to fuel up — start regular feeding again and water more often because growth is in full swing.
- Summer: Crank up the humidity game and watch for heat stress (think of it like making sure your plant doesn’t get sunburned or dehydrated).
- Fall: Slow things down — cut back on water and fertilizer as your fern chills out.
- Winter: Keep the soil just moist, but don’t drown it. Cold + soggy roots = plant disaster.
Container management
Your fern’s pot is basically its house, and you can’t ignore housing maintenance:
- Pick a pot with real drainage holes (no cheating — plants hate sitting in swampy water).\
- Repot every 2–3 years or whenever roots start circling like they’re trapped in a crowded hallway.
- Don’t jump straight to a giant pot — ferns like snug, not sprawling mansions.
- Always use fresh potting mix when you repot — think of it as moving into a new house with a fully stocked pantry.
Conclusion: Your Path to Asparagus Fern Success
Asparagus fern decline sucks, but it’s totally fixable.
Spot trouble early, figure out whether it’s too wet, too dry, or just lonely for humidity, and then hit it with the right fix—prune, repot, tweak light and water.
The real secret is boring but powerful: consistent care and patience.
Keep watering steady, give the right light and humidity, and don’t panic when a few needles fall off.
Do that, and your feathery green buddy will reward you with years of lush vibes and cleaner air.
Treat it like a low-key project, not a one-night miracle, and you’ll win.