Ever dump a packet of seeds and end up with a tangled clump instead of neat rows? Same.
That’s why I swear by DIY seed tape.
Think of it like a cheat code for gardening—perfect spacing, zero waste, rows so straight they’d make your grandma proud.
For tricky stuff like carrots and lettuce, it’s a total lifesaver.
And here’s the kicker—you can make it yourself with pocket change.
Trust me, once you try it, you’ll wonder why you ever planted the messy way.
What Is Seed Tape and Why Should You Use It?
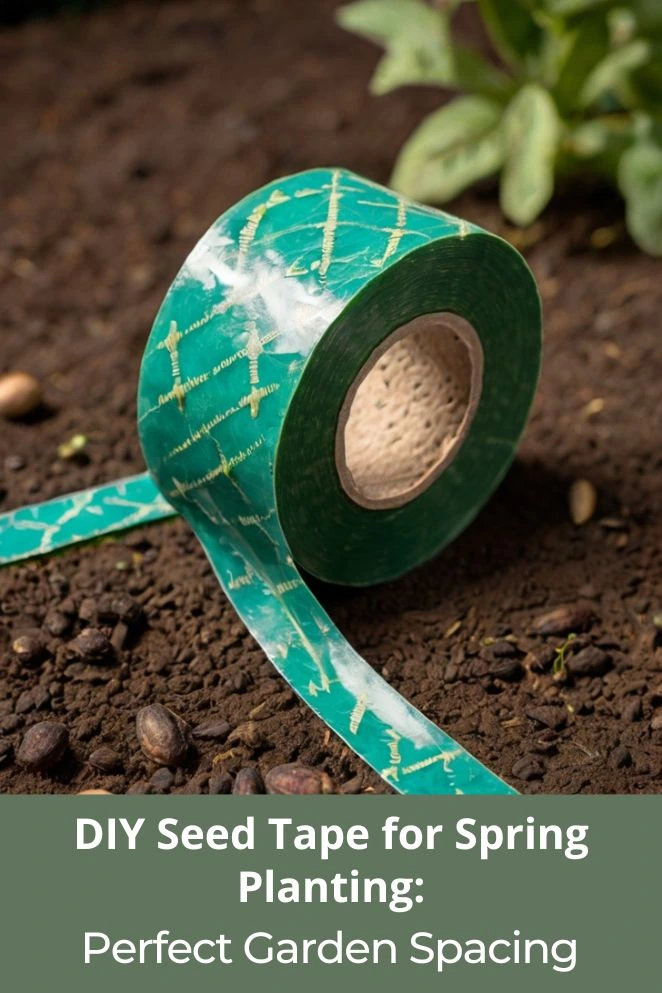
Seed tape is basically a magic strip of paper with seeds glued in all the right spots.
You roll it out, bury it, water it—and boom, perfect rows like you’re some gardening wizard.
The paper just melts away in the soil, leaving your seeds chilling at exactly the right distance.
Perfect spacing every time
Ever dumped carrot seeds and ended up with a jungle that you have to thin out with tweezers? Yeah, nightmare.
Seed tape saves you from that.
Every seed is already spaced out, so your plants grow strong without you playing plant surgeon.
Reduced seed waste
No more tossing extra seeds or yanking out perfectly good sprouts just because they grew too close.
Seed tape means every seed counts, and nothing gets wasted.
Time-saving convenience
Planting goes from “ugh, forever” to “done in minutes.”
You just lay down the tape like you’re unrolling a receipt, cover it with dirt, and water. That’s it.
Weather protection
Wind or rain can scatter seeds everywhere—ask me how I lost half a row of lettuce last spring.
The tape holds everything in place so the weather can’t wreck your game plan.
- Read also: DIY Floating Row Covers: Protecting Your Garden Year-Round
- Read also: A Guide to Building a DIY Thriving Wicking Bed Garden System
Materials You’ll Need for DIY Seed Tape
Making your own seed tape is stupidly easy—you probably already have most of this stuff lying around.
Think of it like a craft project that secretly turns you into a gardening pro.
Essential supplies
- Paper towels or toilet paper (thin stuff works best—grandma’s quilted triple-ply is overkill
- Seeds of your choice (tiny ones like carrots or lettuce are perfect)
- Flour and water (mix it into a gluey paste—yes, kitchen science)
- Small paintbrush or cotton swab (for dabbing on the paste)
- Ruler or measuring tape (because spacing actually matters here)
- Pencil (to mark where the seeds go)
- Clear workspace (don’t do this on your mom’s nice table unless you want drama)
Optional enhancement materials
- Cornstarch (works just like flour for the paste)
- Tweezers (if you don’t trust your fingers with tiny seeds)
- Spray bottle (a gentle mist keeps the tape from drying out too fast)
- Storage containers (so your finished tape doesn’t end up in a crumpled mess)
The best part? This whole setup feels more like an arts-and-crafts hangout than gardening “work.”
You’ll be rolling out seed tape like a pro before you even realize you started.
Step-by-Step Guide to Making Seed Tape
Step 1: Create your adhesive paste
Mix equal parts flour and water until you’ve got something that looks like Elmer’s glue.
Not too chunky, not too runny.
This paste is safe for the soil and strong enough to keep those tiny seeds stuck where you want them.
Think “edible glue for plants” (though, uh, don’t eat it).
Step 2: Prepare your paper base
Grab some toilet paper or paper towels and cut them into strips about an inch wide and as long as you want your garden row.
Pro tip: single-ply breaks down way faster in the dirt—leave the plush fancy stuff in the bathroom.
Step 3: Mark seed spacing
Here’s where the ruler actually matters. Mark dots along the strip where each seed should go, kind of like a connect-the-dots game.
Spacing depends on the plant:
- Carrots: 1–2 inches apart
- Lettuce: 4–6 inches apart
- Radishes: 1 inch apart
- Herbs (basil, cilantro): 6–8 inches apart
- Flowers (marigolds): 4–8 inches apart
Trust me, spacing saves you from pulling out baby plants later. I once had to thin a whole row of carrots with tweezers—never again.
Step 4: Apply seeds
Dab a little paste on each dot with a brush or cotton swab, then stick 1–2 seeds onto each blob.
If the seeds are tiny and your fingers feel like clumsy sausages, tweezers are your best friend.
Gently press them so they don’t fall off when you move the strip.
Step 5: Allow to dry
Leave the strips out for a few hours—2 to 4 usually does the trick.
The paste should be totally dry before you mess with it.
Otherwise, you’ll end up with a sticky seed burrito instead of tape.
Step 6: Storage and labeling
Slide your finished strips into envelopes or containers and label them with the seed type and the date.
Nothing’s worse than pulling out a mystery roll and not knowing if you’re about to grow lettuce or marigolds.
Properly stored, the tape will last just as long as the original seeds.
Best Seeds for DIY Seed Tape Projects
Most small seeds will work fine with seed tape, but some are absolute MVPs.
Here’s the lowdown:
Excellent choices for beginners
- Carrots: Tiny seeds that demand perfect spacing—seed tape saves you from the “carrot clump” disaster.
- Lettuce: Pops up fast, loves neat rows, and makes you feel like a pro right away.
- Radishes: Practically speed-running vegetables—super reliable and grow crazy fast.
- Herbs: Basil, cilantro, parsley—perfect for sprinkling into your kitchen garden without overcrowding.
Advanced options
- Flowers: Marigolds, zinnias, cosmos—because even a veggie plot deserves a little drip. Plus, evenly spaced flowers look straight-up intentional.
- Beets: Roots need room, and tape gives them that breathing space.
- Spinach: Cool-weather hero—drop some tape in early spring and boom, fresh greens.
Seeds to avoid
Big seeds like beans, corn, or squash don’t vibe with seed tape.
They’re chunky, need deeper soil, and honestly look ridiculous glued to paper.
Plant those straight in the dirt like nature intended.
Planting Your DIY Seed Tape
Soil preparation
First things first—your seeds need a comfy bed.
Loosen the soil about 6–8 inches deep and kick out any rocks, weeds, or random junk.
Smooth it out nice and flat so your tape makes good contact.
Think of it like making a perfectly tucked-in bed before guests arrive—your seeds are the guests.
Planting process
- Scratch out shallow furrows, about ¼ to ½ inch deep (check your seed packet if you’re not sure).
- Lay your seed tape down flat in the trench like you’re unrolling red carpet for future veggies.
- Cover it gently with fine soil or compost—no stomping it down, your seeds don’t want to be suffocated.
- Water with a light mist, not a blast from the hose, or you’ll send your tape floating off like a soggy streamer.
- Stick in some labels, unless you enjoy mystery plants popping up later (been there, not fun).
Post-planting care
Keep the soil moist, not swampy.
Too much water too soon can make the tape fall apart before the seeds even sprout.
Most seeds will show up in about 7–14 days, depending on what you planted and the weather.
Trust the process—gardening is basically a patience game with snacks at the end.
Troubleshooting Common Issues
Poor Germination Rates
- Got a no-show garden? First, make sure your seeds aren’t ancient—old seeds are basically plant fossils. Use fresh ones for best results.
- Keep the soil damp but not swampy—think “wrung-out sponge,” not “mud pit.”
- Check your planting depth. If the tape’s buried too deep, the seeds will struggle; too shallow and they’ll dry out or blow away.
Uneven plant spacing
- If your plants are looking wonky, double-check your measuring game when making the tape. A sloppy ruler job equals a sloppy garden.
- Make sure the tape is lying flat in the soil—no wrinkles, bubbles, or folds. Seeds hate roller coasters.
Remember, soil shifts a bit after watering, so don’t panic if rows aren’t laser-straight. It’s gardening, not geometry class.
Tape durability problems
If your seeds are falling off or the tape isn’t breaking down, your paste was probably off.
Too watery and nothing sticks; too thick and the tape won’t melt into the soil.
Aim for that “gluey but spreadable” sweet spot.
Paper matters—single-ply, plain, unbleached stuff works best.
Leave the fancy quilted toilet paper for your bathroom throne.
And store your tape smart—cool, dry, and labeled. Tossing it in a damp shed is basically asking for moldy seed lasagna.
Advanced Tips for Success
Timing your tape making
Winter’s the perfect time to crank out seed tape.
When the garden’s frozen and you’re bored out of your mind, this little DIY keeps you busy—and when spring hits, you’ll already have a stash ready to roll.
Future you will be high-fiving present you.
Storage solutions
Keep your finished tapes in containers that breathe a little, not airtight Tupperware of doom.
Toss in a silica gel packet (yep, those “do not eat” things from shoe boxes) to stop mold from turning your masterpiece into compost before it even hits the soil.
Customization Ideas
- Mix it up—literally. Alternate different seeds on one strip for companion planting, like carrots and radishes sharing the same row.
- Level up your paste by sprinkling in some slow-release fertilizer. It’s like giving your seeds a snack pack for the road.
- Use colored pencils to mark which strip is which. Trust me, it’s way better than guessing and ending up with basil in your flower bed.
- Read also: DIY Balcony Rail Planters: Transform Space Into a Thriving Garden
- Read also: DIY Hanging Gutter Garden: Vertical Greenery for Any Space
Conclusion: Streamline Your Spring Garden Success
DIY seed tape is the ultimate garden hack—cheap, easy, and way less stressful than dumping seeds in a line and hoping for the best.
Spend a little time making it in winter, and by spring you’ll feel like you’ve unlocked pro mode.
No more crowded seedlings, wasted seeds, or crooked rows.
Just neat, organized plants that’ll make your garden look like you actually know what you’re doing (your neighbors will be jealous).


