Beet leaves aren’t just salad fillers—they’re packed with nutrients and worth checking out.
Whether you grow them or grab them at a farmers’ market, knowing how to inspect them matters.
This quick guide shows you how to spot good leaves, catch early signs of trouble, and keep both your health and harvest in check.
Think of it as a mini health check… for your greens.
Visual Inspection: What to Look For
Alright, before you toss beet leaves into a smoothie or salad, you gotta check if they’re actually in good shape.
Here’s how to do a solid visual inspection:
Look at the color
Think of it like judging a Marvel costume—bright, bold, no weird discoloration.
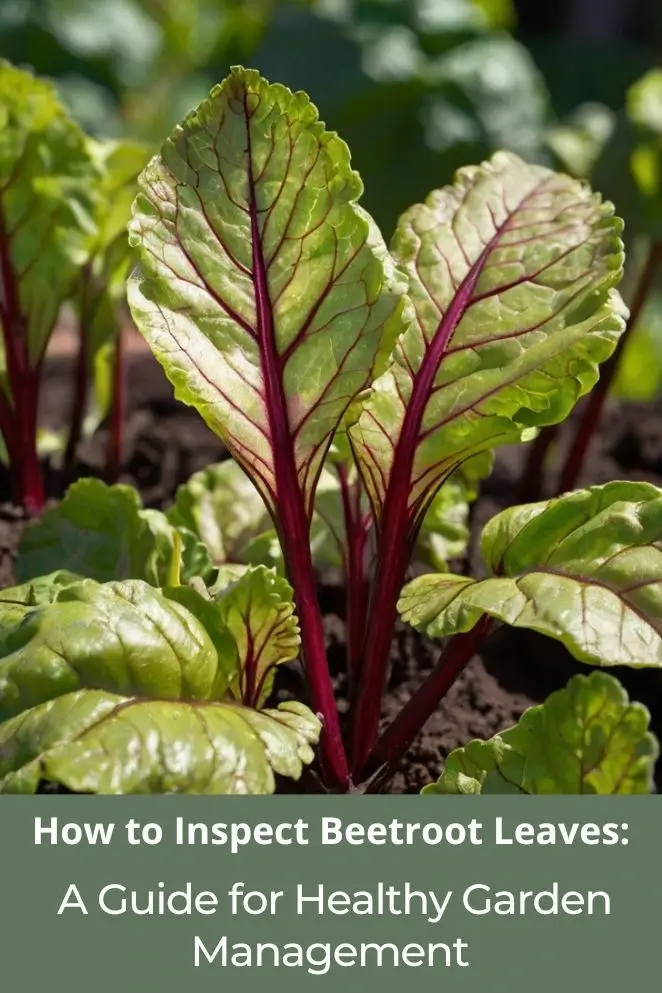
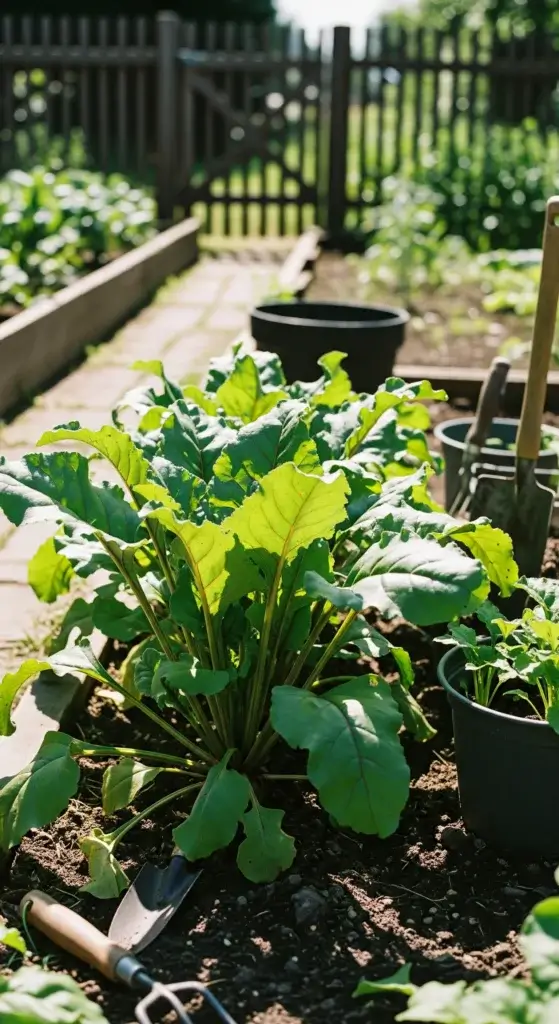
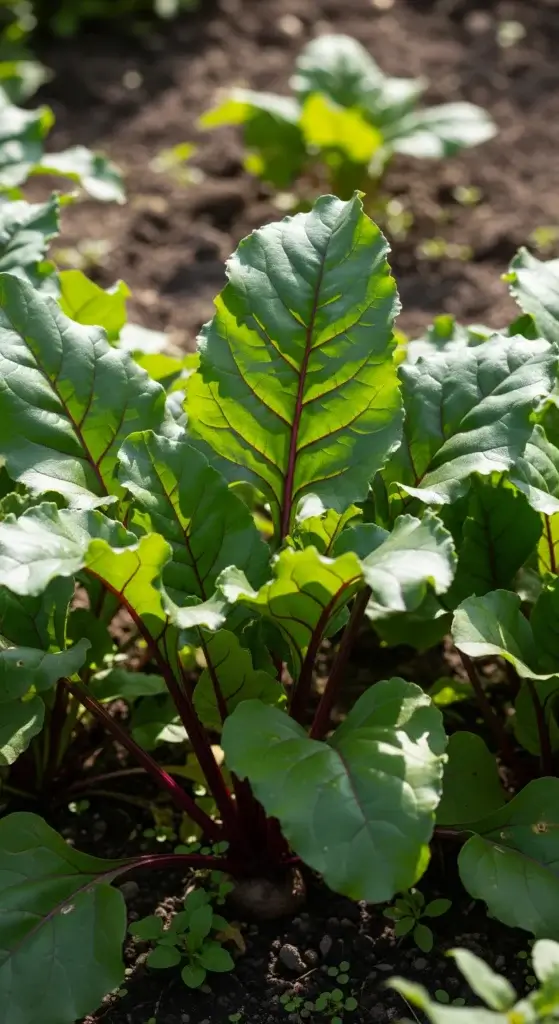
- Healthy beet leaves = strong green with some red or purple veins (totally normal, not a sign of alien invasion).
- The surface should look kinda shiny, like it’s been drinking enough water.
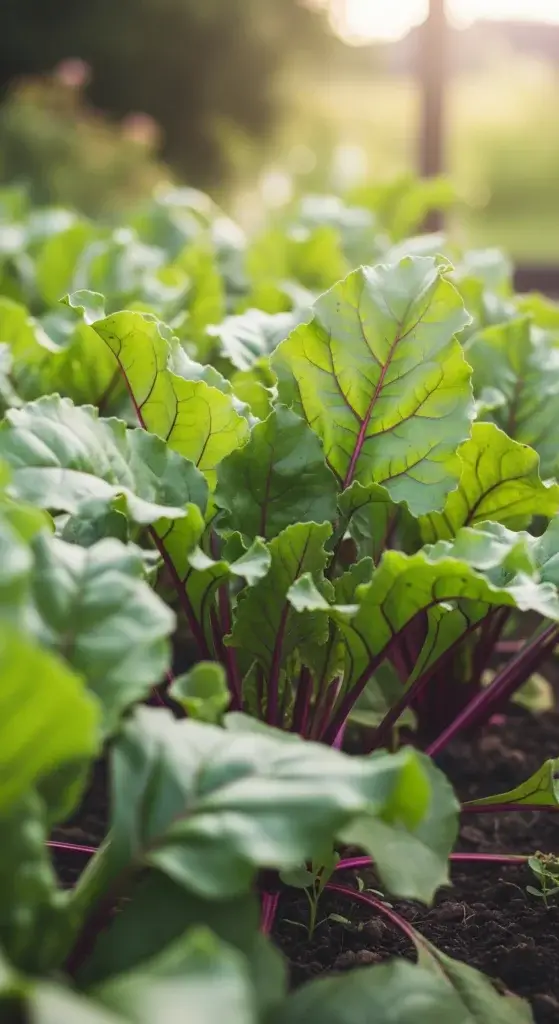
- Leaves should match in size if they’re the same age—no tiny ones trying to catch up or big ones looking ancient.
- Yellow leaves? Might mean the plant’s low on nutrients or just getting old.
Check the shape and texture
Time to gently poke around.
- Leaves should feel crisp—not floppy like day-old fries.
- Edges should be smooth. Torn or ragged ones might mean bugs or weather damage.
- You should see clear veins going from the middle stem to the edges—like a tiny leaf highway system.
- The leaf should be solidly attached to the stem. If it’s hanging on like a weak Wi-Fi signal, that’s a red flag.
Watch for healthy growth signs
Now zoom out and look at the whole plant.
- The leaves should be spaced out neatly, not all bunched up or weirdly spread.
- The leaf and its stem (petiole if you wanna get nerdy) should look balanced—neither should overpower the other.
- A thin, waxy layer on the leaf is normal—it helps lock in moisture like a plant version of chapstick.
Identifying Common Problems and Defects
Think of beet leaves like your plant’s way of texting you when something’s wrong.
Bugs, diseases, or a nutrient crisis—your job is to read the signs before things get out of hand.
Here’s how to spot the usual suspects:
Bug damage
Leaf Miners
If you see squiggly white or brown lines trapped inside the leaf like a kid doodled on it—congrats, you’ve got leaf miners.
These larvae crawl inside and munch tunnels through the leaf.
Aphids
Flip the leaf over. See tiny soft bugs crowding around the veins like it’s brunch? That’s aphids.
They suck sap and leave the leaf curled, droopy, or yellow.
Flea beetles
Look for tiny round holes that make the leaf look like someone attacked it with a mini hole punch.
Classic flea beetle damage.
Caterpillars
Big ragged holes with clean edges? Probably caterpillars like armyworms or loopers.
They eat a lot fast, so act quick.
Funky leaf diseases
Cercospora leaf spot
Small brown circles with purple edges and maybe gray middles.
They grow over time, so don’t ignore them.
Downy mildew
Yellow patches on top of the leaf with fuzzy gray stuff underneath? That’s mildew.
Loves humidity. Shows up like a clingy ex during rainy season.
Bacterial leaf spot
Tiny black or brown spots that look wet or greasy, sometimes with yellow halos.
It spreads, so remove those leaves fast.
Powdery mildew
White powder on the leaves like someone shook a sugar donut over them.
Not cute. It blocks light and weakens the plant.
Nutrient deficiencies
Iron or magnesium shortage
Yellowing between the veins, but the veins stay green. Think of it like reverse tiger stripes.
Phosphorus deficiency
Purple or reddish leaves. Not always dramatic, but if your plant’s not cold, this might be the issue.
Potassium deficiency or salt stress
Brown, crispy edges on the leaves. Could be too little potassium—or too much salt in the soil.
Nitrogen deficiency
The whole leaf looks pale, like it skipped a few meals. Common if the plant’s growing fast and the soil can’t keep up.
Physical Examination Techniques
Alright, looking is one thing—but touching? That’s where the real tea is.
Your beet leaves will tell you a lot just by how they feel.
So let’s get tactile and find out if those leaves are thriving or just pretending.
Touch test
Firmness check
Grab a leaf and give it a light squeeze. It should feel crisp, like a fresh lettuce wrap—not soft like it’s been ghosted in the fridge for a week.
Thickness check
Rub the leaf gently between your fingers. It should feel even all the way through.
If some parts feel super thin or papery, it might be stressed or old.
Bend test
Try bending the leaf. A fresh one bends without snapping like a breadstick.
If it cracks right away, it’s too dry or past its prime.
Texture scan
Run your fingers along both sides. Smooth is good.
Bumps, weird rough patches, or sticky gunk? Could be pests, disease, or something funky going on.
Stem + petiole check
Color match
Look where the leaf meets the stem.
The color should be smooth and even—not fading, blotchy, or bruised. No mood swings allowed.
Firm connection
The stem should hold firm where it attaches.
If it’s soft, mushy, or dark, that’s a no. It might be rotting or stressed out.
Size check
The stem’s thickness should make sense for the size of the leaf.
If it’s too skinny for a big leaf—or super thick with a baby leaf—something’s off.
Crack patrol
Look for long cracks running down the stem.
That can mean water stress, fast growth, or just a plant having a tough week.
Seasonal Considerations for Inspection
Your beet leaves change with the seasons—kind of like your mood during exam week.
If you want the best harvest (and not sad, limp leaves), here’s what to look for in spring, summer, and fall.
Spring
Early growth? Great. But baby beet plants are kind of sensitive, so keep an eye out.
- Cold damage: Late frost can mess things up. Look for wilted, blackened spots.
- Slug + snail snacks: Wet and cool = snail party. Check for ragged holes and slime trails.
- Slow growth: If they’re barely growing, temps or soil might be too cold.
- Transplant shock: Just moved seedlings? Droopy or yellow leaves might mean they’re adjusting.
Summer
Beets can get stressed when it’s blazing outside. Your job? Catch the signs early.
- Midday wilting: Leaves droop in the heat but bounce back at night? Normal. Constant droop? Not good.
- Brown edges: Crispy tips mean the plant’s overheated or thirsty.
- Tiny leaves: Plants go minimalist to save energy. It’s not a vibe.
- Bolting: Tall stems and tiny leaves? Your beet’s skipping straight to seed mode.
Fall
This is harvest season, so now’s the time to make smart calls.
- Leaf maturity: Leaves should be full-sized and firm. That’s your green light for harvest.
- Frost check: If temps are dropping, grab those beets before they freeze out.
- Storage clues: Leaves in good shape? Bulbs are probably solid for storage too.
- Going to seed: See flowers forming? The plant’s done. Time to save seeds or pull it.
Best Practices for Different Growing Conditions
Beets don’t care where they grow—but how you inspect them does.
Whether you’re working with a balcony pot or a full-on beet field, here’s how to spot trouble fast.
Container grown beets
Growing beets in pots? Cool. Just know that stuff gets cramped and weird fast.
- Root bound warnings: Leaves looking stunted or sad? Roots might be circling the pot like they’re stuck in traffic.
- Drainage drama: Yellow leaves or mushy stems = your soil’s holding too much water. Fix that before the roots drown.
- Soil starvation: Small soil means fast nutrient loss. If leaves look pale or weak, it’s probably time to feed.
- Hot and cold swings: Pots heat up and cool down faster. Wilted or crispy leaves might be reacting to temp mood swings.
Field grown beets
Running a bigger setup? Your inspection style needs to scale up too.
- Uniform growth check: Step back. Do plants all look the same size and color? If not, something’s off—could be soil, water, or spacing.
- Irrigation watch: Dry spots? Overwatered patches? Leaf health will show it before your irrigation timer does.
- Machine mayhem: Look for torn leaves or bent stems—could be from cultivation tools getting too cozy with your plants.
- Spacing check: Tight rows can mess with airflow and light. Look for overcrowded leaves or uneven growth.
Tools and Equipment for Professional Inspection
You don’t need a lab coat, but if you wanna inspect your beet leaves like you mean it, grab the right tools and know when to call for backup.
Must-have gear for inspections
- Hand lens or magnifying glass: Tiny bugs and leaf spots? Hard to spot with the naked eye. Zoom in Sherlock-style.
- Digital camera or phone: Snap pics. Helps you track changes over time or compare with past problems. Plus, it’s solid proof if you need to ask for help.
- pH test strips: Soil pH out of whack = nutrient problems. Test when leaves look off and you suspect something’s going on underground.
- Clean pruning shears: Use these to snip leaves or stems for closer inspection or lab samples. Don’t use rusty scissors from the junk drawer.
- Sample containers: Need lab help? Toss damaged leaves or soil into clean bags or jars and label them. No mystery grab bags.
Keep records
Every inspection should leave a trail—just in case things go sideways later.
- Write the date and time you checked your plants.
- Note the weather—sunny, raining, scorching hot, etc.
- List problems you spotted (bugs, spots, weird colors) and attach photos.
- Map out where you found issues, especially if you’re growing in rows or beds.
- Log what treatment you used and if it actually worked.

When to Seek Professional Help
Don’t tough it out if the problem’s bigger than you.
Talk to your local extension office if:
- You can’t ID the bug or disease
- Multiple plants are dying, fast
- You need soil tests for better fertilizer use
- You want help setting up a solid pest control plan
Send it to the lab if
- You need official disease diagnosis (think under a microscope)
- You want exact soil nutrition info
- You’re checking for pesticide leftovers (especially for food safety)
- You suspect heavy metals, especially in city gardens
Wrap-Up: Don’t Sleep on Your Beet Leaves
Checking beet leaves isn’t just a side quest—it’s the main mission if you want strong plants and tasty harvests.
Look at them often. Touch them. Spot problems early. Keep notes.
These leaves aren’t just extras—they’re food. And if you treat them like it, you’ll get better plants, better meals, and zero regrets.
So yeah, do the inspections. Your future salad will thank you.

