Tossing food scraps? You’re not alone—about 30% of household trash is wasted food.
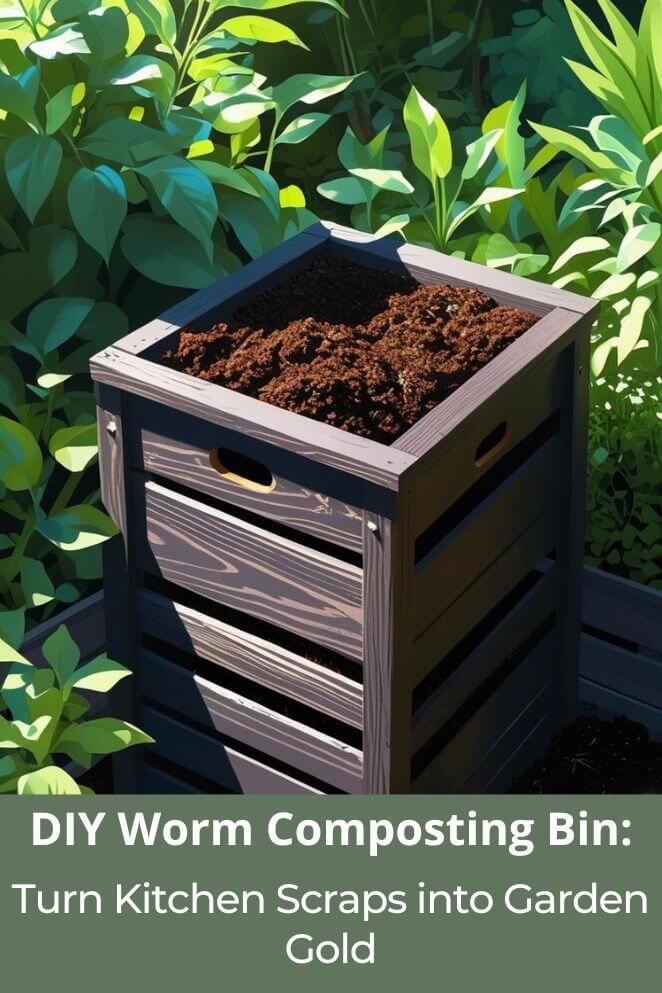
But here’s a cool fix: build a DIY worm bin.
It’s an easy, under-$20 project that turns kitchen scraps into powerful compost (aka worm poop magic).
Think of it as giving your leftovers a second life—like a glow-up for garbage. Good for your plants, good for the planet.
What Is Worm Composting and Why Should You Care?
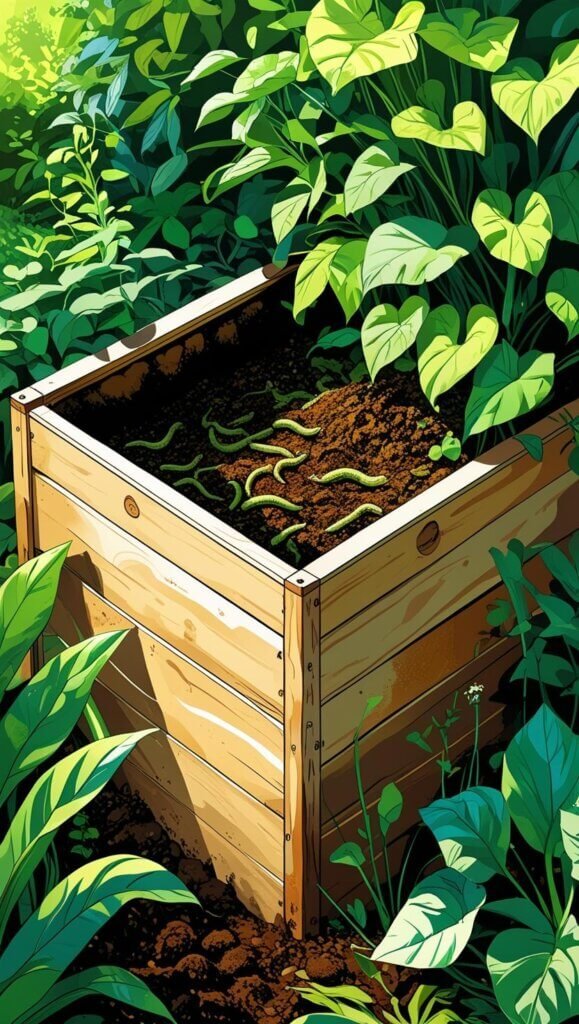
Worm composting (aka vermicomposting) is basically feeding your food scraps to red wiggler worms—and in return, they poop out some of the best natural fertilizer you can get.
Unlike regular compost piles that need heat and time, worms handle the job faster and cleaner, right in a bin.
And it works. Studies show worm compost can boost plant growth like crazy—think 26% more yield, stronger roots, and bigger shoots.
It’s like giving your plants a natural performance enhancer, no chemicals needed.
Plus, with the world drowning in trash (we’re talking billions of tons a year and rising), composting at home is one small way to fight back—kind of like Captain Planet, but with worms.
- Read also: A Beginner’s Guide: How to Make a DIY Compost Sifter
- Read also: DIY Compost Spreader: A Step-by-Step Guide to Building Your Own
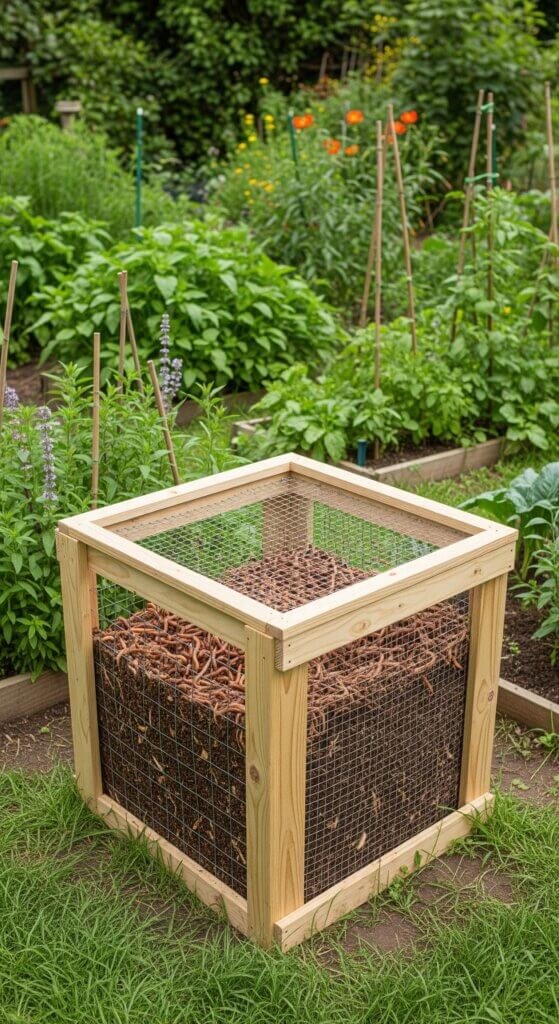
Essential Materials for Your DIY Worm Bin
Setting up a worm bin is way easier than it sounds—and chances are, you’ve already got most of the stuff at home.
Here’s the quick breakdown:
Container options:
- Two 5-gallon buckets (super popular)
- Big plastic storage bin with a lid
- Old Styrofoam cooler
- Wooden crate or box
Additional supplies:
- Drill (grab a few different bits)
- Some mesh or screen (for airflow)
- Newspaper or cardboard (worm bedding = their mattress)
- Spray bottle (keeps it moist, not soggy)
- pH test strips (nice to have, but not a dealbreaker)
Living components:
- ed wigglers (about 1 pound is perfect to start)
- Kitchen scraps (veggie peels, fruit bits—nothing too spicy or greasy)
- Carbon stuff (think dry leaves, shredded paper, cardboard)
Here’s the cool part: your worm bin doesn’t need to look fancy.
Got an old trash can? A busted mini fridge? A drawer that’s seen better days? That’s all fair game.
Worms don’t care about aesthetics—they just want a cozy, snack-filled home.
Step-by-Step Construction Guide
Here’s the step-by-step, like you’re getting advice from your green-thumbed friend who swears by worm poop for perfect tomatoes:
Phase 1: Preparing your containers
Grab two 5-gallon buckets that are the same size.
One’s for your worms and scraps (top bucket), and the other catches the liquid gold—aka worm tea (bottom bucket).
- Drill 20–30 small holes (use a 1/8″ bit) in the bottom of the top bucket. These let excess moisture drain but keep the worms in.
- Then, drill air holes around the top edge of both buckets (use a 1/4″ bit, every 2–3 inches). Worms need to breathe—stale air = stinky bin = unhappy worms.
Phase 2: Setting up the drainage system
Cover each of those drainage holes with mesh or screen so your worms don’t fall through.
Use tape or sandwich the mesh with washers if you’re feeling fancy.
Now stack the top bucket inside the bottom one. Boom—you’ve got a built-in system to collect worm tea.
You can later dilute this and pour it on your plants like natural Gatorade.
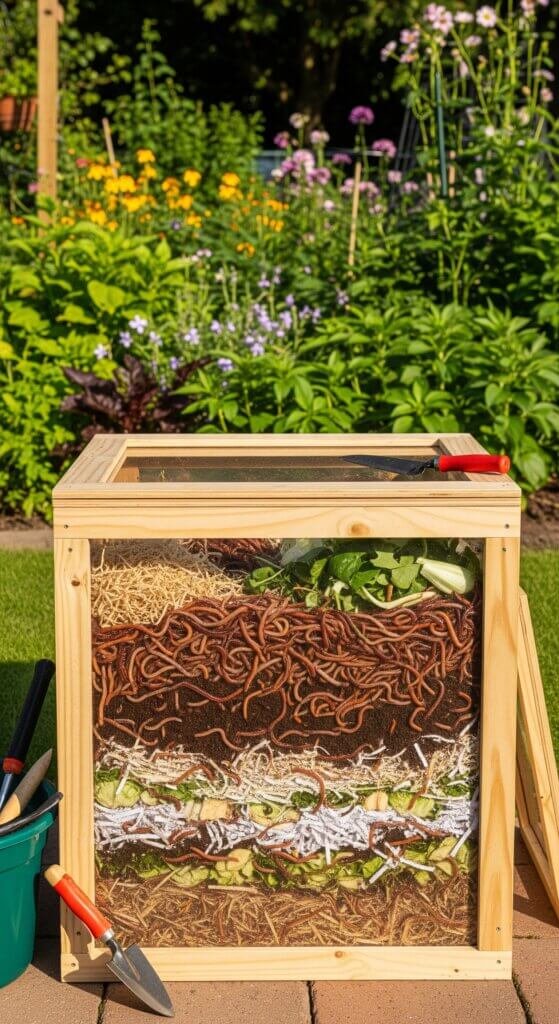
Phase 3: Creating the perfect bedding
Worms need comfy bedding to chill and munch in.
- Shred a bunch of newspaper or cardboard (no glossy pages), soak it in water, then wring it out so it’s damp like a sponge.
- Fill the top bucket about 2/3 full with the damp bedding.
- Toss in a handful of soil or finished compost to kickstart the microbe party. Think of it as gut flora for your worm crew.
Phase 4: Add your worms
Now for the stars: Red wigglers (Eisenia fetida).
You can buy about a pound from garden stores or online—that’s roughly 1,000 worms, and they’ll eat about ½ pound of scraps a day.
Gently place them on top of the bedding and let them dig down on their own.
Don’t poke around too much during the first week—they need time to settle in and vibe with their new home.
Feeding Your Worms: The Do’s and Don’ts
Feeding worms is easy—but they’ve got taste, trust me.
Think of them as tiny picky eaters with no chill for bad leftovers.
Excellent worm foods:
- Fruit and veggie scraps (banana peels, carrot tops, etc.)
- Coffee grounds + filters
- Tea bags (just ditch the staples—worms don’t do metal)
- Crushed eggshells (they help with digestion)
- Bread or grains—in small doses (don’t carb-bomb the bin)
Foods to avoid:
- Meat or dairy (rots fast and stinks up everything)
- Anything oily or greasy
- Tons of citrus (a little is okay—this ain’t a lemonade stand)
- Onions and garlic (too strong, even for worms)
- Pet poop (just… no)
Feeding tips:
- Feed once a week.
- Always bury the food under the bedding to avoid fruit flies and funky smells.
- Start small—see how fast they eat before adding more.
- If the bedding looks dry, give it a quick mist with water—moist like a wrung-out sponge is the sweet spot.
Worms are low-maintenance roomies, but they hate surprises. Keep it chill, and they’ll keep turning scraps into garden gold.
Maintenance and Troubleshooting
Once your worm bin is rolling, it doesn’t need much—just the occasional check-in.
Think of it like taking care of a low-key pet that pays you back in compost.
Moisture check
The bedding should feel like a wrung-out sponge—damp, not soaked.
- Too dry? Give it a light mist with water.
- Too wet? Add dry newspaper strips and make sure your drainage holes aren’t blocked.
Worms hate soggy conditions—imagine trying to sleep in a wet sleeping bag. Not cool.
Temperature control
Worms like it comfy, ideally between 55–77°F (13–25°C).
- Too hot or cold outside? Move the bin to a better spot—think garage, shady corner, laundry room, or even wrap it in a blanket like you’re tucking it in for Netflix night.
- Add deep mulch or shredded paper if it’s chilly—they’ll burrow down to stay warm.
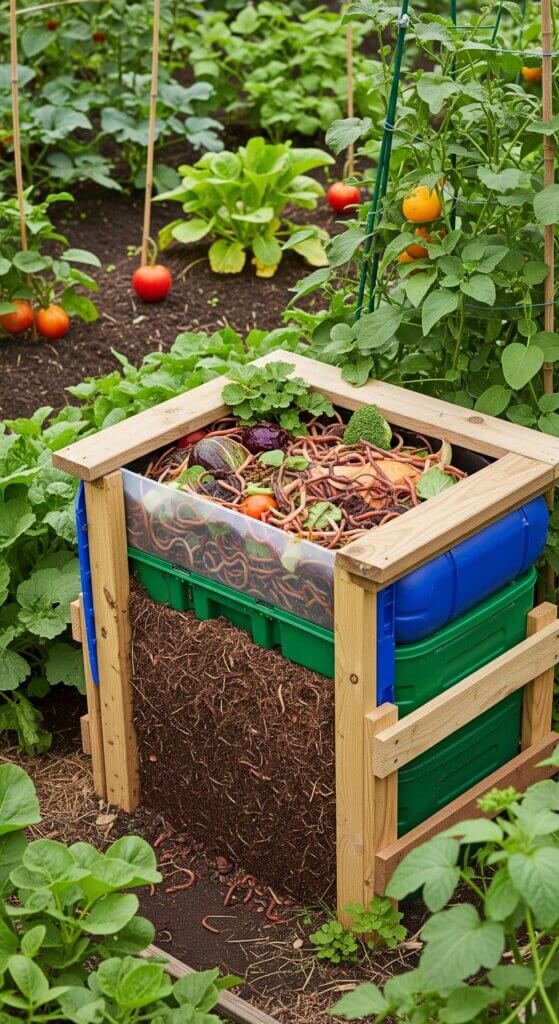
Harvest time
After about 3 to 6 months, your worms will leave behind rich, dark compost.
Here’s how to collect it without playing 52 Pickup with worms:
- Push everything to one side of the bin.
- Add fresh bedding and food to the empty side.
- Give it a few days—your worms will crawl over to the buffet.
- Scoop out the finished compost from the old side and you’re good to go.
Advanced Tips for Success
Once you’ve got the basics down, here’s how to take your worm bin to the next level—whether you’re composting for a big household or just going full worm wizard.
Scale it up
Start with one layer of bedding and scraps, let the worms do their thing, then stack another layer on top once it fills up.
They’ll move up for fresh food, and you can harvest the good stuff below.
Think of it like building a worm condo—they climb, they eat, they poop, you win.
Seasonal considerations
Worm bins aren’t just for sunny backyards.
- Keep yours indoors if you’re in an apartment or dealing with extreme temps.
- Set it somewhere stable like a laundry room, under the sink, or that weird corner of the garage.
They like chill, predictable vibes—kind of like a worm spa.
Troubleshooting common issues
- Fruit flies: Bury food scraps deeper and always cover them with bedding. Don’t overload it—this isn’t an all-you-can-eat buffet.
- Odors: Classic sign of too much food or poor airflow. Cut back and double-check those holes.
- Worm Escape: If your worms are making a break for it, something’s off. Check moisture, pH, or if you gave them funky food.
- Read also: Steps for Beginners: Create Your Own DIY Compost Bucket
- Read also: Eco-Friendly Gardening: How to Make Your DIY Compost Barrel
Getting Started Today
Building a worm bin is a chill weekend project with long-term perks—free fertilizer, less trash, happier plants.
It’s cheap, easy to manage, and a solid intro to sustainable living (no crunchy hippie phase required).
Start small, learn as you go, and scale up when you’re ready.
Your garden wins, your wallet wins, and the planet gives you a slow clap.
From food scraps to plant fuel—it all starts with one bucket and a handful of worms. Let’s turn trash into treasure.


