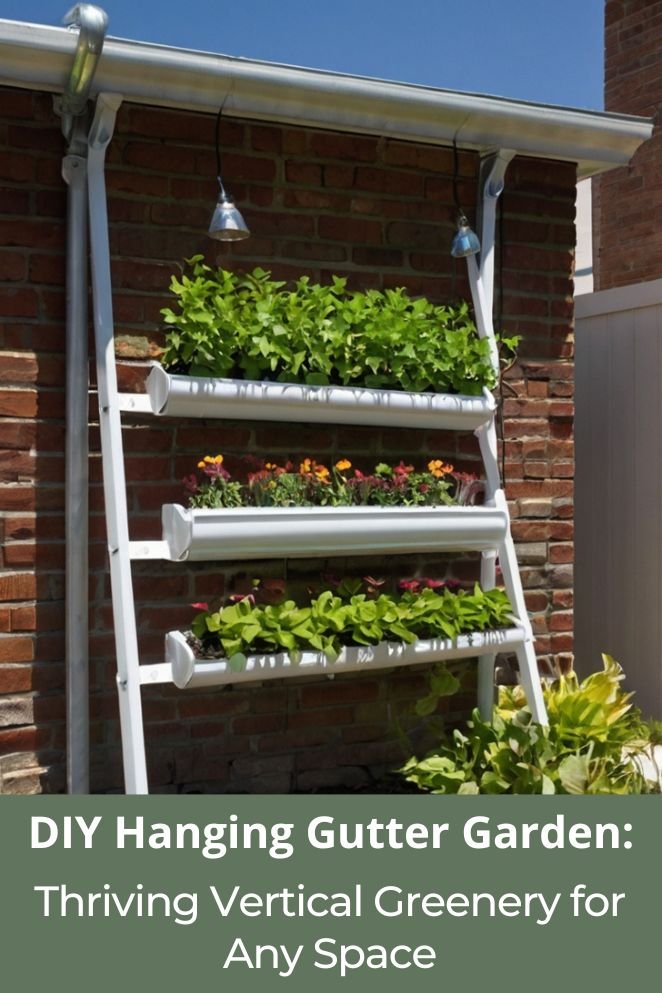
Short on space? You can still grow plenty.
A DIY hanging gutter garden is a smart fix for balconies, small patios, or cramped backyards.
It’s simple, low-cost, and makes the most of vertical space.
You don’t need a huge yard to grow herbs, greens, or flowers—just a few gutters, a sturdy frame, and a bit of sunlight.
It’s not fancy, but it works.
Why Choose a Hanging Gutter Garden?
Space maximization
You don’t need a backyard to grow food.
If you’ve got a sunny wall, fence, or balcony railing, that’s enough.
Hanging gutter gardens turn unused vertical space into rows of fresh herbs, leafy greens, or even strawberries.
You’re no longer stuck with how much ground you have—you just stack up.
Cheap and easy to build
Standard rain gutters are affordable, and you’ll find them at any hardware store.
All you need are gutters, end caps, some mounting brackets, and basic drainage material.
Compared to the price of raised beds or pots, this setup gives you more grow space for way less.
Less trouble with pests
No gophers, fewer raccoons, no curious dogs digging up your basil.
Since the garden’s off the ground, most animals won’t bother.
It also keeps your plants at arm level, which makes watering, pruning, and harvesting easier on your back.
Built-in drainage
Gutters are made to move water. That’s a win for your plants.
Just drill small holes along the bottom to help prevent root rot.
Add a layer of landscape fabric or small gravel if you want to keep soil from washing out.
- Read also: Garden Up! Easy DIY Vertical Gardens in Small Spaces
- Read also: Tiny Garden, Big Harvest: DIY Vegetable Garden For Small Spaces
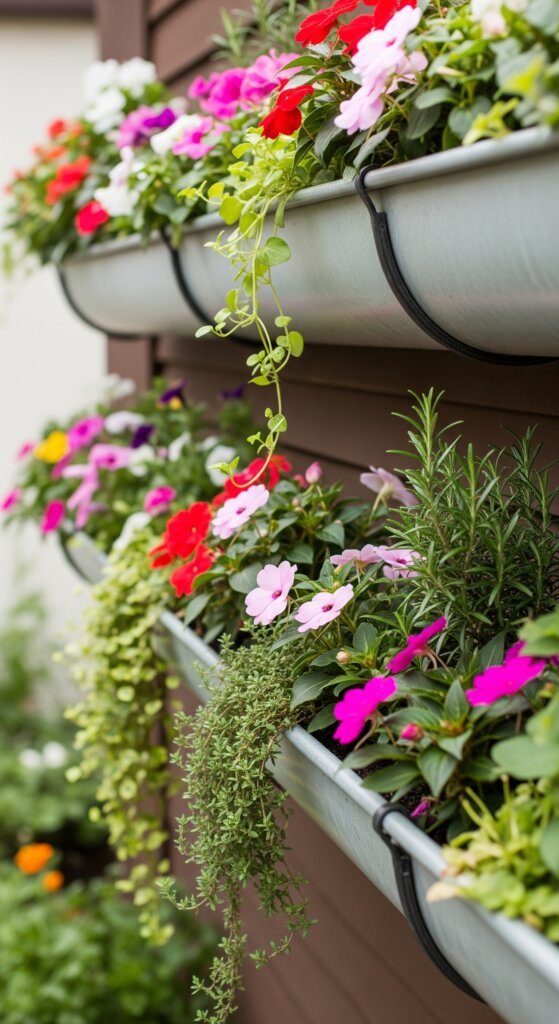
Essential Materials and Tools
Materials needed:
- Rain gutters: Choose vinyl, aluminum, or galvanized steel gutters (10-foot sections work well)
- End caps: To seal the gutter ends
- Mounting brackets: Heavy-duty brackets rated for the weight of soil and water
- Screws and anchors: Appropriate for your mounting surface
- Landscape fabric or coffee filters: For drainage hole covers
- Potting soil: High-quality, lightweight potting mix
- Chain or cable: For hanging systems (if not wall-mounting)
Tools Required:
- Drill with various bits
- Level
- Measuring tape
- Hacksaw or miter saw
- Screwdriver
- Pencil for marking
Step-by-Step Construction Guide
Step 1: Plan your setup
Measure your space first.
Think about sun, water access, and how much weight your wall or fence can handle.
Space your gutters 12–18 inches apart vertically so lower plants still get light.
If your wall gets afternoon shade, leafy greens will do better than sun-hungry herbs.
Step 2: Cut and drill the gutters
Cut gutters to fit your space using a hacksaw or miter saw.
Then drill ¼-inch holes along the bottom every 24–30 inches for drainage.
That keeps roots from sitting in soggy soil.
Tip: Use a metal drill bit. Plastic gutters are easier, but aluminum works too if you’re careful.
Step 3: Cap the ends
Pop end caps onto both sides of each gutter.
Seal them well or you’ll end up with leaks.
Want to get fancy? Leave one end removable so you can change soil or check roots later.
Step 4: Add drainage barriers
Before adding soil, cover the holes with landscape fabric or a piece of a coffee filter.
That stops soil from falling out but still lets water drain.
Step 5: Install brackets and mount the gutters
Find your wall studs and mark where the brackets will go. Use a level—you don’t want slanted planters unless you want water to flow one way.
Support each gutter at least every 4 feet.
For concrete walls, use anchors.
For wooden fences or sheds, screw directly into studs. Make sure they don’t wobble before you move on.
Step 6: Add potting mix
Use lightweight potting mix, not garden soil. It drains better and won’t get too heavy when wet.
Leave about an inch of space at the top so water doesn’t spill over.
A few things to keep in mind:
- Gutter gardens dry out quicker than regular beds. Water more often.
- Stick with shallow-rooted crops—herbs, lettuce, spinach, strawberries. Skip the carrots and tomatoes.
- If it’s your first time, start small. One or two levels are easier to manage than five.
This setup’s simple once you get it going, and it works well in tight urban spots or rentals where digging up the yard isn’t an option.
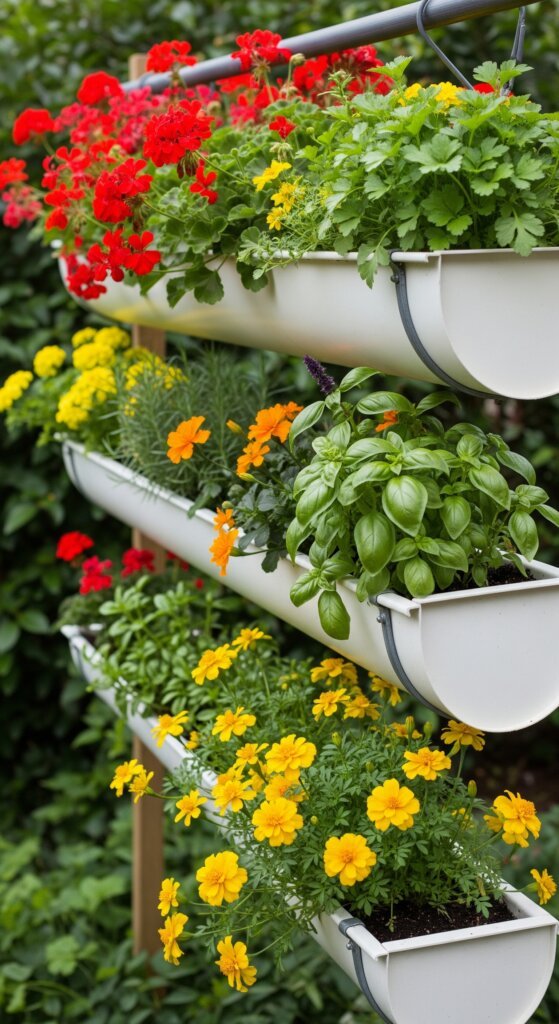
Best Plants for Hanging Gutter Gardens
Not everything belongs in a gutter. Deep-rooted plants? Forget it.
But if you stick with shallow growers, you’ll get a lot out of a small space.
Herbs: The Easiest Win
Herbs are pretty much made for gutter gardens.
They don’t need deep soil, and most of them stay compact.
I grow parsley, chives, cilantro, oregano, and thyme in mine—they do great.
You can snip what you need for cooking, and they bounce back fast.
Here are some solid herb picks:
- Basil – Loves heat, needs frequent cuts to keep from bolting
- Mint – Stays contained in gutters (otherwise it takes over)
- Rosemary – Low water needs once it settles in
- Sage – Tough and reliable, plus looks good
- Dill – Pops up easily if you let it reseed
Leafy greens and salads
Skip tomatoes, squash, or anything that needs deep roots.
Focus on greens you pick young and often.
Gutter gardens are great for small harvests you can replant again and again.
Go with:
- Lettuce – Try buttercrunch, loose-leaf, or romaine
- Spinach – Best in cooler months
- Arugula – Quick to grow, great for cut-and-come-again
- Swiss chard – Handles heat better than spinach
- Kale – Slow grower, but tough and reliable
Strawberries and small fruits
Strawberries love gutters.
Their shallow roots are a perfect match, and they spill over the edge in a way that’s both practical and pretty.
Bonus: fruit stays off the soil and is easier to pick.
Flowers and ornamentals
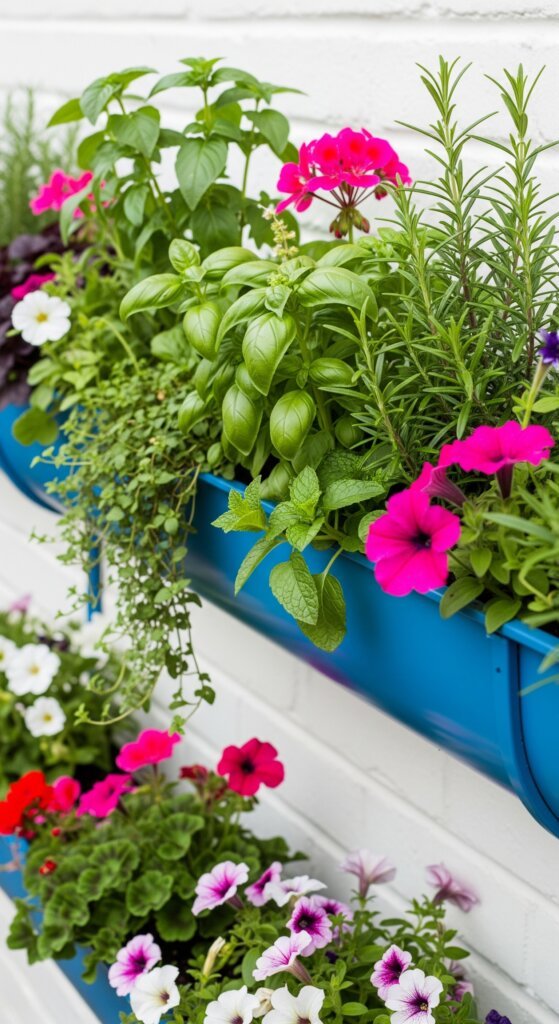
You can grow edibles and make it look good. Some flowers are more than just pretty—they’re useful too.
Try:
- Nasturtiums – Edible flowers, good for pest control
- Petunias – Just for show, but worth it
- Pansies – Small, hardy, and edible
- Succulents – If you’ve got a hot, dry setup
Maintenance and Care Tips
Watering strategies
Because the gutters are shallow and exposed, they dry out fast—especially in hot weather.
Check them daily.
Stick your finger in the soil; if the top inch is dry, water. Don’t wait for the plants to droop.
If you’re busy (or just forgetful), hook up a basic drip system.
It doesn’t have to be fancy—just enough to keep the soil from drying out completely between waterings.
Fertilization
Plants in small containers lose nutrients fast—especially if you’re watering often.
Use a water-soluble fertilizer every two weeks during the growing season.
Or, if you don’t want to think about it all the time, mix in slow-release pellets when you plant.
Tip: Go easy on the fertilizer. Overfeeding can lead to lush growth that attracts pests.
Seasonal considerations
Think in seasons. In cooler months, plant lettuce, spinach, or peas.
When it warms up, swap them out for basil, oregano, or flowers like nasturtiums.
If you’re in a cold climate and your gutter system is movable, consider bringing it under cover in winter.
Otherwise, just treat it like a seasonal setup.
Pest management
Got aphids? Mix herbs like chives, dill, or lemon balm with flowering plants like nasturtiums.
The herbs throw off a scent that confuses pests.
The nasturtiums attract them—away from your crops.
If one area gets hit harder than others, move a few of those “pest magnets” over there.
You don’t need chemicals if you’re smart about placement.
Creative Design Ideas and Variations
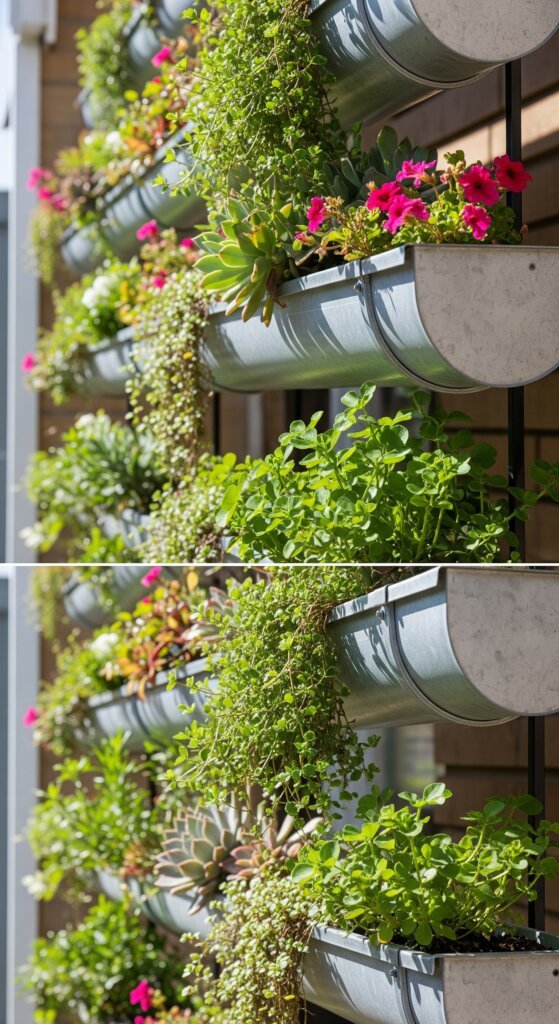
Tiered systems
Stack gutters at different heights to get more out of the same footprint.
Put sun-loving or taller herbs (like basil or sage) up top.
Use the middle rows for greens, and let trailing stuff like strawberries or nasturtiums hang from the bottom.
Tip: Leave at least 12–18 inches between rows so everything gets light.
Mobile gardens
Build a frame with locking caster wheels.
Now you can move your plants to chase the sun—or roll them under cover during a storm.
Super useful if you’re working with a shady patio, shifting weather, or a rental space.
Drawback: These can get heavy fast. Keep the frame sturdy, and don’t overload it.
Integration with existing structures
No need to build from scratch if you already have solid walls.
Mount a gutter on the side of your chicken coop, shed, or along a privacy fence.
I’ve seen folks grow mint and parsley next to the coop—they’ll snip it fresh to mix into feed or float in the waterer.
Just make sure the structure can handle the weight, especially after rain.
Troubleshooting Common Issues
Drainage problems
If your gutters aren’t draining, check the holes.
Roots, soil clumps, or old leaves might be blocking them.
If the holes are clear but water still pools, your gutter might be too flat.
Give it a slight tilt so water flows out.
Plant overcrowding
Cramming in more seedlings doesn’t mean more harvest—it means stunted plants fighting over light and nutrients.
Space them out based on how big they actually get, not how cute they look when tiny.
Structural concerns
Every once in a while (especially after wind or heavy rain), check the brackets and screws.
If anything’s shifting or rusting out, swap it now—not after the whole thing falls off your fence.
- Read also: No Yard Needed! DIY Herb Garden for Small Apartment
- Read also: Balcony to Farm Fresh: DIY Vegetable Garden on a Balcony
Wrapping It Up: Grow Up, Not Out
Hanging gutter gardens are a simple way to grow food when you don’t have much space.
Whether it’s herbs for cooking, greens for salad, or just something green to look at, they let you turn walls and fences into productive spots.
You don’t need a big budget or a backyard—just a few gutters, some soil, and a little time.
Start small with one gutter, see what works, then add more as you go.
It won’t replace a full garden, but for tight spaces or urban living, it’s a solid, low-maintenance option.
Keep it watered, don’t overcrowd, and you’ll get fresh food from a setup that fits almost anywhere.


