Grow bag gardens are big in 2025, and they’re great if you’ve got no yard, bad soil, or just want something you can move.
You don’t need much—fabric bags, good soil, and some sun.
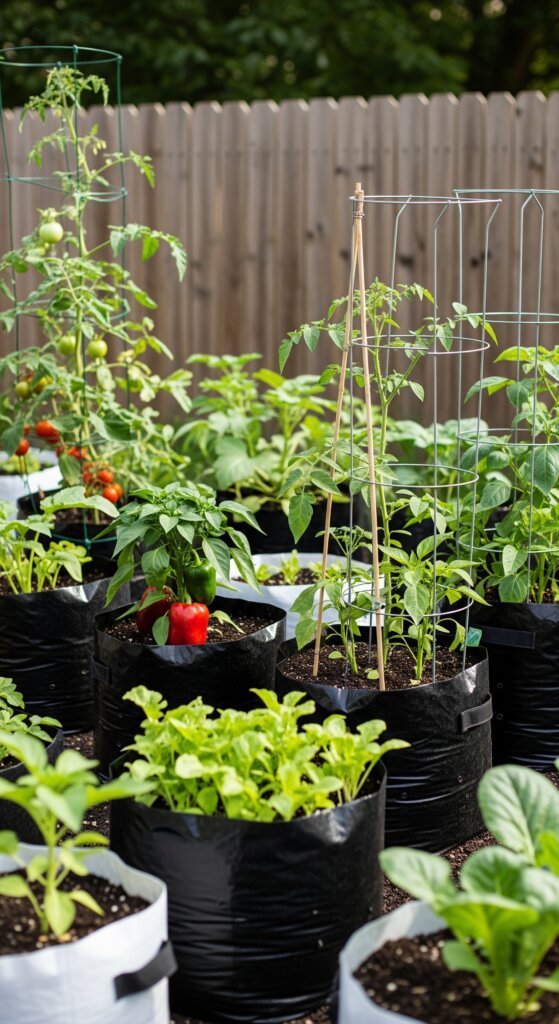
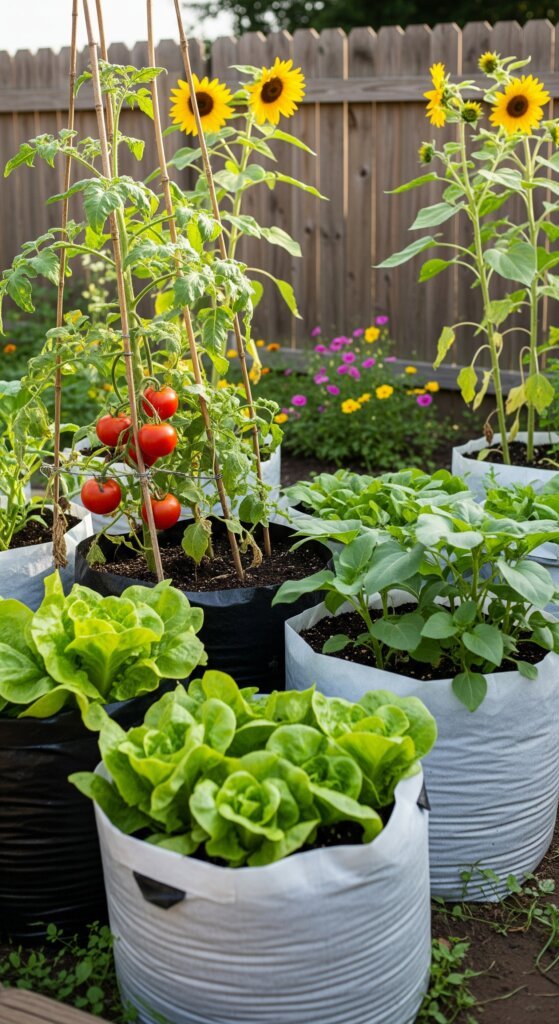
People grow tomatoes, herbs, even potatoes in them.
Only catch? They dry out fast, so you’ve gotta water more.
But if you’re working with a patio or balcony, it’s a solid way to grow real food without digging a thing.
What Makes DIY Grow Bag Gardens So Popular?
Grow bags are catching on fast, and it’s not just a trend—it’s because they actually solve real problems.
If you live in a small space, rent, or just don’t want to dig up your yard, they make a lot of sense.
They’re light, cheap, easy to move, and you can fold them up when you’re not using them.
Most come with handles, which helps if you’re chasing the sun around your patio.
They also drain better than plastic pots, which means fewer root rot problems.
But yeah, that also means you’ll need to water more often. It’s a trade-off, but for a lot of folks—especially in cities—it’s worth it.
The Science Behind Grow Bag Success
Grow bags work better than you’d think, and there’s solid reasons behind it.
If you’ve ever pulled a tomato plant from a grow bag, you’ve probably noticed it’s bushier, healthier, and sets more fruit than stuff grown in hard pots or poor soil beds.
Here’s why:
1. Better drainage and airflow
Fabric bags don’t trap water like plastic pots.
Extra water drains out, and roots get more air. That means less root rot and fewer soggy soil problems.
2. Air pruning
When roots hit the side of a grow bag, they stop growing in circles.
Instead, they die off at the tip, which tells the plant to grow more small roots.
That leads to a stronger, more efficient root system.
3. Cooler soil in summer
Plastic pots heat up fast. Fabric breathes, so roots stay cooler on hot days.
That helps keep plants from going into stress mode.
It’s not magic—just a setup that gives roots what they actually need.
Essential Materials for DIY Grow Bag Construction
If you’re making your own grow bags, fabric choice matters more than you’d think.
Some materials break down after one season. Others last for years.
Here’s what’s worked best in real gardens:
Recommended fabric options:
Top pick – Landscape fabric
This stuff is made for outdoor use. It drains well, handles sun and rain, and doesn’t fall apart after a season.
If you want bags that last, go with this.
Budget pick – 100% polyester felt
You can find it at craft stores. It holds up okay and costs less, but won’t last quite as long as landscape fabric.
Natural option – Canvas or burlap
Good if you only need one season. It breaks down fast, but it’s biodegradable.
Just don’t expect to reuse it next year.
Decor-focused – Upholstery fabric, vinyl, even suede
If you care how your setup looks—like on a balcony or front porch—these can work.
Just make sure the fabric drains and won’t grow mold.
Additional supplies needed:
- Heavy-duty thread (poly or nylon)
- A sewing machine (or strong hands and thick needles)
- Sharp fabric scissors
- Measuring tape
- Webbing for handles if you want them
- Optional: Grommets for extra drainage, but not necessary
Skip the wool-rayon blends. They look nice but fall apart fast.

Step-by-Step DIY Grow Bag Construction Guide
Basic round grow bag design
Here’s a simple way to sew a round grow bag that actually works.
Nothing fancy—just strong, breathable fabric that holds its shape once it’s filled with soil.
Handles are optional, but handy if you need to move the bag.
Step 1: Calculate your dimensions
Figure out how tall you want the bag (most are 8–18″).
Then choose a bottom diameter and calculate the circumference (diameter × 3.14). Add 1–2″ to both for seams.
Step 2: Cut your fabric
You’ll need two pieces:
- One rectangle for the sides: width = circumference + seam, height = your chosen height + seam
- One circle for the bottom: diameter = your chosen diameter + seam
Step 3: Create the cylinder
Fold the rectangle so the short ends meet.
Sew them together with a ¾” seam to make a tube. Flip it right side out.
Step 4: Attach the bottom
Pin the circle to the bottom of your tube.
Take your time here—it helps to notch the circle’s edges.
Sew it with a ½” seam. Go around twice to reinforce it.
Step 5: Add handles (optional)
Cut two 12″ strips of webbing or folded fabric. Stitch them to opposite sides of the bag, near the top.
Double stitch so they don’t rip off when the bag’s full.
Advanced square design
For maximum space efficiency, consider constructing square grow bags:
- Cut five fabric squares of equal size
- Sew four pieces together to form the sides
- Attach the bottom square
- Add corner reinforcements for extra durability
Choosing the Right Size for Your Plants
Size matters more than you’d think with grow bags.
If the bag’s too small, roots run out of room and plants stall.
Too big, and you waste soil.
Here’s what’s worked for me and others who grow this way:
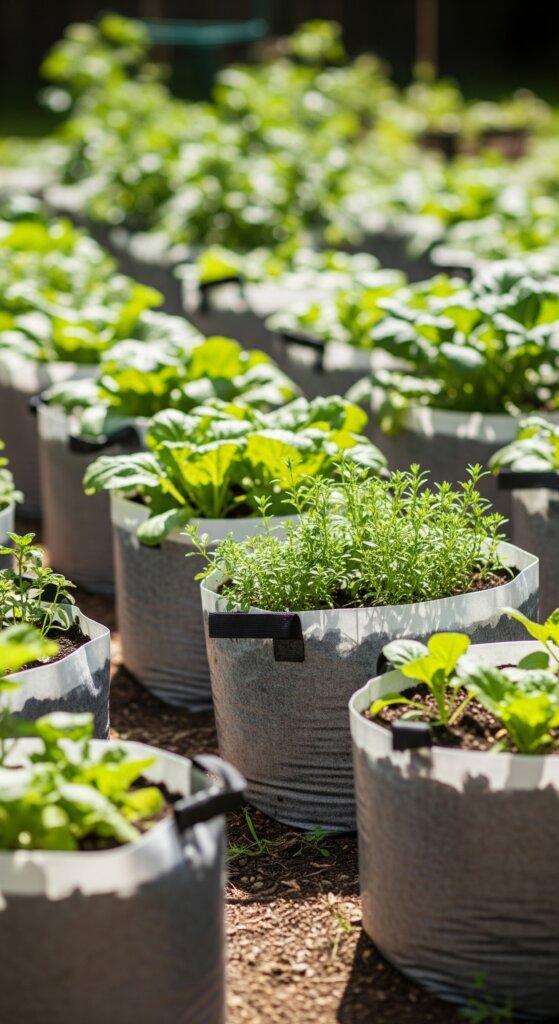
Small bags (5-10 gallons)
- Herbs (basil, oregano, thyme)
- Leafy greens (lettuce, spinach, kale)
- Radishes and small root vegetables
Medium bags (15-20 gallons):
- Bush beans and peas
- Compact pepper varieties
- Dwarf fruit trees
- Small tomato varieties
Large bags (25+ gallons):
- Full-size tomatoes
- Squash and zucchini
- Large pepper plants
- Root vegetables requiring deep soil
Optimal Soil Mix for Grow Bag Success
A good mix for grow bags is 1/3 moss, 1/3 compost mixture, and 1/3 vermiculite.
This mix retains moisture and is very important for gardening with grow bags.
However, you can customize your mix based on plant needs and local availability:
Universal Grow Bag Mix:
- 40% high-quality potting soil
- 30% compost
- 20% coconut coir or peat moss
- 10% perlite or vermiculite
For Water-Loving Plants:
- Increase coconut coir to 35%
- Reduce perlite to 5%
- Add 10% aged manure
For Mediterranean Herbs:
- Increase perlite to 20%
- Add 10% coarse sand
- Reduce compost to 20%
Strategic Placement and Positioning
Because grow bags are lightweight, they are easy to move to the best location based on the amount of sunlight a plant needs, with sunny spots recommended for cool climates or shade for hot climates.
Seasonal Movement Strategy:
- Spring: Position for maximum morning sun exposure
- Summer: Provide afternoon shade in hot climates
- Fall: Move to extend growing season with optimal light
- Winter: Store in protected areas or bring indoors
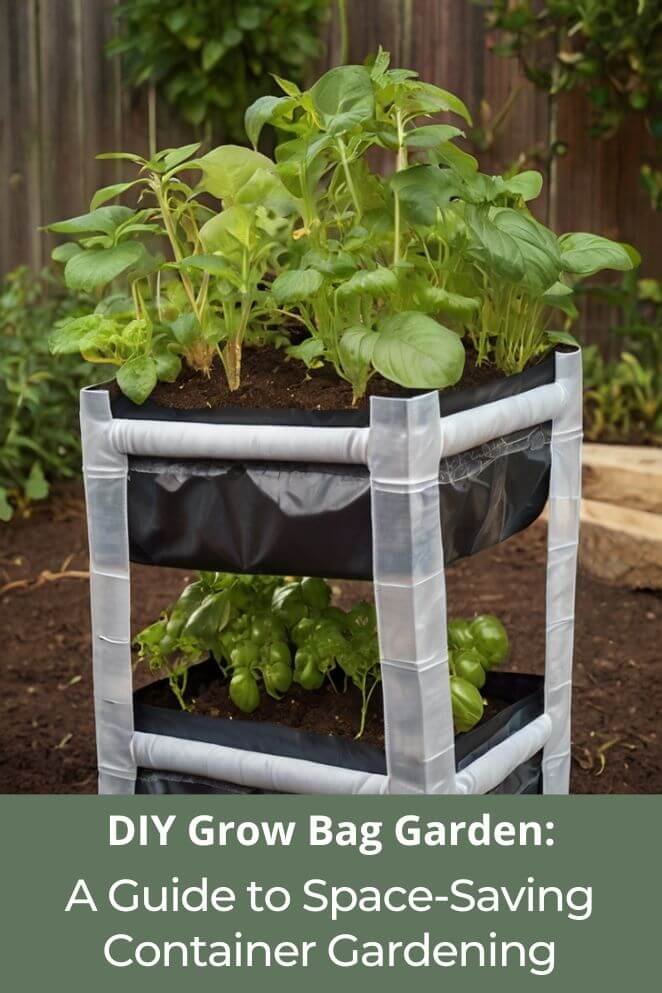
Vertical Gardening Applications:
Grow bags make vertical gardening easier by keeping soil and moisture close to the plant and can be used indoors like clay and ceramic pots.
Consider:
- Tiered arrangements on patios
- Hanging systems for trailing plants
- Indoor growing setups with proper drainage
Maintenance and Care Best Practices
Watering Considerations:
Grow bags dry out faster than traditional containers due to their breathable nature.
Implement these strategies:
- Check soil moisture daily during hot weather
- Install drip irrigation for consistent watering
- Apply mulch to reduce evaporation
- Group bags together to create beneficial microclimates
Fertilization Schedule:
Container plants require more frequent feeding:
- Apply balanced liquid fertilizer bi-weekly during growing season
- Use slow-release granules at planting
- Supplement with compost tea monthly
- Monitor for nutrient deficiencies through leaf color
End-of-Season Care:
- Empty and clean bags thoroughly
- Store in dry, protected areas
- Inspect for wear and repair as needed
- Replace bags showing significant deterioration
Troubleshooting Common Issues
Problem: Rapid soil drying
Solutions:
- Add water-retaining crystals to soil mix
- Increase mulch layer thickness
- Group bags closer together
- Install automatic irrigation system
Problem: Poor plant growth
Solutions:
- Test soil pH and adjust accordingly
- Increase fertilization frequency
- Check for proper drainage
- Ensure adequate bag size for plant type
Problem: Fabric deterioration
Solutions:
- Choose UV-resistant materials
- Store bags properly during off-season
- Rotate bags to even wear patterns
- Invest in higher-quality fabrics initially
Planning Your Year-Round Grow Bag Garden
Spring setup (March-May):
- Prepare new bags and refresh soil mix
- Start cool-season crops indoors
- Plan layout for optimal sun exposure
Summer management (June-August):
- Implement intensive watering schedule
- Provide shade during extreme heat
- Begin succession plantings for fall harvest
Fall transition (September-November):
- Plant cold-hardy varieties
- Prepare for season extension with row covers
- Begin planning next year’s garden
Winter care (December-February):
- Store empty bags properly
- Plan crop rotations and new varieties
- Order seeds and materials for next season
Conclusion: Growing Success in Any Space
Grow bags are a solid option if you’re short on space, stuck with bad soil, or just want more control.
Making your own lets you pick the size, material, and cost that works for you.
They drain well, help roots grow better, and are easy to move.
Start small—herbs are a good way to learn—and scale up once you get the hang of it.
They’re not magic, but if you build them right and take care of them, grow bags can keep producing for years.


