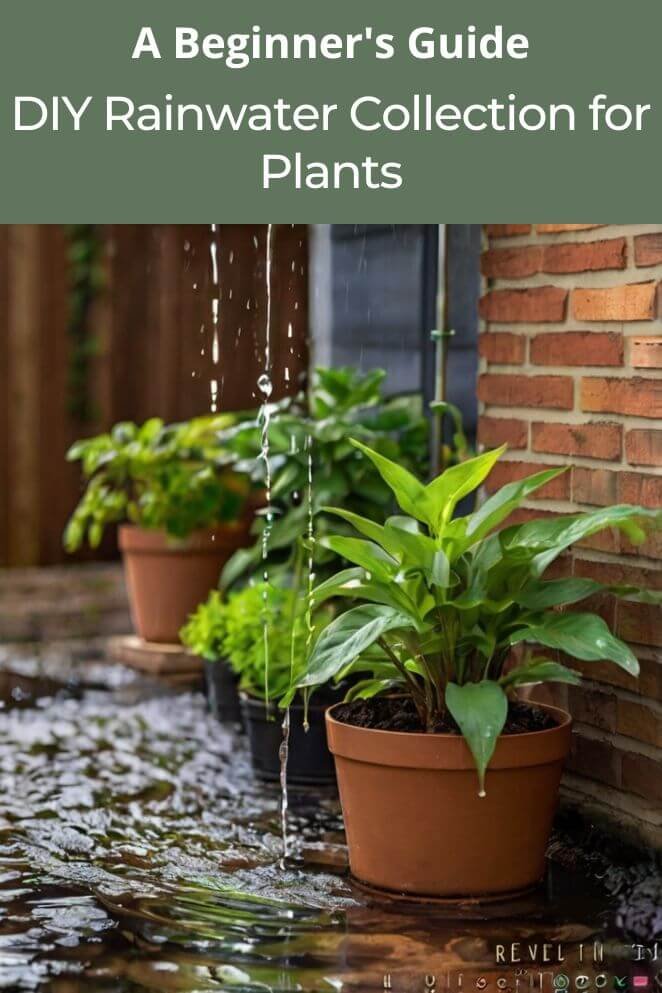
Water is essential for plant growth, but with water shortages and rising costs, many gardeners are looking for sustainable solutions.
Collecting rainwater for your garden is a great way to save money, conserve water, and provide your plants with a healthy, chemical-free water source.
This DIY guide will walk you through everything you need to know about setting up your own rainwater collection system, from the benefits of rainwater to the materials you’ll need and step-by-step instructions.
Benefits of Rainwater for Plants
Rainwater is incredibly beneficial for your garden, and understanding why can help you appreciate this natural resource even more.
Here’s a detailed look at the advantages of using rainwater for your plants:
Free of chemicals
One of the biggest benefits of rainwater is that it’s free from the chemicals commonly found in tap water.
Municipal water often contains chlorine, fluoride, and other additives designed to make it safe for drinking.
While these chemicals are generally harmless to humans, they can be less than ideal for plants.
- Read also: DIY Plant Watering System: Keep Your Plants Hydrated
- Read also: Nurturing Greenery: A Guide to DIY Plant Watering Globes
Rich in nutrients
Rainwater isn’t just pure—it’s also packed with nutrients that plants love.
It naturally contains nitrates, which are a form of nitrogen that plants can easily absorb.
Nitrogen is a vital nutrient that helps plants grow strong and green.
In addition to nitrates, rainwater also carries trace minerals that are essential for plant health.
Cost-effective
Using rainwater is not only good for your plants; it’s also good for your wallet.
Collecting rainwater reduces your need to use tap water for gardening, which can lead to lower water bills.
Over time, this can result in significant savings, especially during the growing season when plants require more water.
Environmental impact
Collecting and using rainwater is also an environmentally friendly choice.
When it rains, a lot of water runs off into storm drains, eventually carrying pollutants like fertilizers, pesticides, and oils into rivers and streams.
By collecting rainwater, you’re reducing this runoff, which helps protect local waterways from pollution.
Materials needed
To start your DIY rainwater collection system, you’ll need a few essential materials:
- Food-safe container: A 20-gallon plastic garbage can or a 55-gallon food-grade plastic drum is ideal for collecting rainwater.
- Downspout or pipe: A downspout or pipe will direct rainwater from your roof to your collection barrel.
- Faucet: A ¾” brass faucet makes it easy to access the collected water.
- Screen or mesh: This is essential to keep mosquitoes and debris out of your water supply.
- Drill and drill bits: You’ll need these to create holes for the faucet and downspout.
- Teflon tape: This is used to ensure a secure seal around the faucet.
- Clear silicone caulking: This will help seal any gaps around the faucet and prevent leaks.
Step-by-Step Instructions
Ready to get started?
Here’s a step-by-step guide to creating your own rainwater collection system:
Choose your container
Select a food-safe container that can hold the desired amount of water.
A 20-gallon plastic garbage can or a 55-gallon food-grade plastic drum works well.
Make sure the container is clean and free of any chemicals or residues that could harm your plants.
Prepare the container
Clean the container thoroughly to ensure it is free from any contaminants.
If you’re using a garbage can, flip the lid over and use it as the water collection basin.
This design allows the water to pool in the center, reducing the risk of spills and making it easier to direct the water into the barrel.
Install the downspout or pipe
Next, you’ll need to install a downspout or pipe to direct rainwater from your roof to the top of the collection barrel.
Ensure the connection is secure and free of leaks.
A flexible downspout extender can be very helpful here, as it allows you to easily adjust the direction of the water flow.
Add a screen or mesh
Cover the top of the barrel with a screen or mesh to prevent mosquitoes and debris from entering the water.
This is crucial for keeping your water clean and safe for use on your plants.
You can use a fine mesh screen or a piece of window screen material, securing it in place with bungee cords or zip ties.
Install the faucet
Drill a hole in the side of the barrel near the bottom for the faucet.
Use Teflon tape to wrap the threads of the faucet, then screw it tightly into the hole.
The Teflon tape ensures a secure seal, preventing leaks.
Seal gaps
Apply clear silicone caulking around the faucet to seal any gaps and prevent leaks.
Let the caulking dry according to the manufacturer’s instructions before using your rainwater collection system.
Decorate your barrel (optional)
If you want to add a personal touch to your rain barrel, consider painting it or covering it with decorative materials.
Use spray paint or acrylic paint suitable for plastic surfaces and seal your design with a clear coat to protect it from the elements.
Place your barrel
Position the barrel in a convenient location near your garden or plants.
Make sure it’s stable and level to avoid any structural issues.
It’s a good idea to place your barrel on a platform or blocks to make it easier to access the faucet and fill your watering can.
Maintenance Tips
Maintaining your rainwater collection system is key to keeping it functioning properly and providing clean water for your plants:
Regular cleaning
Keeping your rainwater system clean is crucial for preventing clogs and contamination.
Start by cleaning your gutters and downspouts regularly to remove leaves, twigs, and other debris.
If debris accumulates, it can block the flow of water, leading to overflow or contamination.
Similarly, clean your collection tanks periodically to prevent algae growth and other issues.
Check for leaks
Inspect your rainwater collection system frequently for any signs of leaks or damage.
Look for puddles of water around your tank, drips from pipes, or any visible cracks in your storage containers.
Leaks can lead to water loss and reduce the efficiency of your system.
If you find any issues, make repairs as soon as possible to prevent further problems.
Freezing prevention
If you live in a colder climate, take precautions to prevent your system from freezing.
This could include installing insulation around pipes and tanks or draining the system entirely before winter.
Freezing can cause your barrel to crack, so it’s important to take this step if you expect freezing temperatures.
- Read also: A Comprehensive Guide: Hanging Plant Watering System
- Read also: A Step-by-Step Guide: DIY Self-Watering Raised Garden Bed
Final Thoughts
Setting up a DIY rainwater collection system is a rewarding project that benefits both your garden and the environment.
By using natural rainwater, you’re giving your plants the best possible hydration while conserving a valuable resource.
Plus, it’s a simple, cost-effective solution that anyone can implement, regardless of gardening experience.
With just a few materials and some basic DIY skills, you can create a system that provides free, chemical-free water for your plants all year round.
FAQs
Yes, rainwater is generally safe for all plants. It’s free of chemicals like chlorine and fluoride found in tap water, making it ideal for plant growth.
It’s a good idea to clean your system at least twice a year, or more often if you notice debris build-up or reduced water flow.
No, it’s important to use a food-safe container for collecting rainwater, especially if you plan to use it on edible plants. Avoid using containers that have held chemicals or other hazardous materials.


