If you’ve ever nurtured a plant, you’ve likely worried about how much water it needs.
The desire to care for your plants can sometimes lead to overwatering, a common problem that can be detrimental to your greenery.
But don’t worry—overwatered plants can often be revived with the right approach.
Let’s start with understanding what overwatering is, recognize the signs of overwatered plants, and most importantly, show you how to fix them.
What is Overwatering
Overwatering occurs when plants receive more water than they need, leading to an excess of moisture in the soil.
While plants need water to survive, too much can be harmful.
Waterlogged soil prevents oxygen from reaching the roots, which is essential for their growth and overall health.
Without adequate oxygen, roots can begin to rot, leading to a decline in the plant’s health.
Understanding the delicate balance between too much and too little water is key to successful plant care.
- Read also: Deep vs Frequent Watering: Which Method is Best for Your Plants?
- Read also: Tips & Tricks: A Guide to Check Soil Moisture
Signs of Overwatered Plants
Recognizing the signs of overwatering is essential to prevent further damage and help your plants recover.
When plants receive too much water, several symptoms can indicate that something is wrong.
Understanding these signs will enable you to take action before it’s too late.
Here’s a closer look at the common symptoms of overwatered plants:
Persistent wet soil
Soil that remains persistently wet creates an anaerobic environment, detrimental to plant health.
Constant wetness hinders roots from accessing vital air pockets.
Treading to suffocation and root diseases.
Mushy or soft stems
If the stems of your plant feel mushy or soft to the touch, it’s a sign that the plant is suffering from too much water.
This usually indicates that the roots are starting to rot, and the plant is deteriorating from the inside out.
Healthy plant stems should be firm and resilient.
Yellowing leaves
Yellowing leaves, especially on the lower parts of the plant, are a common indicator of overwatering.
While yellow leaves can result from various issues like nutrient deficiency or pests, overwatering is one of the primary causes.
When the soil is waterlogged, the plant’s roots struggle to absorb essential nutrients, leading to discoloration.
The yellowing often starts at the tips and edges of the leaves before spreading inward.
Wilting
It may seem surprising, but overwatered plants can wilt just like those that are underwatered.
Wilting in overwatered plants occurs because the roots are unable to take up water effectively, even though there’s plenty (or too much) of it in the soil.
When plants are overwatered, the roots become waterlogged and start to suffocate due to a lack of oxygen.
Foul smell
A foul, musty odor emanating from the soil is a strong indication of root rot, which is often caused by overwatering.
The smell is due to the breakdown of organic material and the growth of harmful bacteria and fungi in the waterlogged soil.
When the soil is constantly wet, it creates an anaerobic (oxygen-poor) environment where harmful microorganisms thrive.
Leaf drop
When a plant begins to shed its leaves, particularly green ones, it’s often a sign of overwatering.
Leaf drop is the plant’s way of conserving energy when its root system is under stress.
Overwatered plants may drop their leaves as a survival mechanism.
Since the roots are unable to supply adequate water and nutrients due to damage, the plant tries to reduce its energy expenditure by shedding leaves.
Stunted growth
If your plant stops growing or shows very slow growth, it could be a sign of overwatering.
The lack of oxygen in the soil and the damage to the roots can severely affect the plant’s ability to grow and develop.
Healthy roots are essential for a plant’s growth, as they absorb water and nutrients from the soil.
However, when a plant is overwatered, the roots become waterlogged and oxygen-starved, leading to root damage.
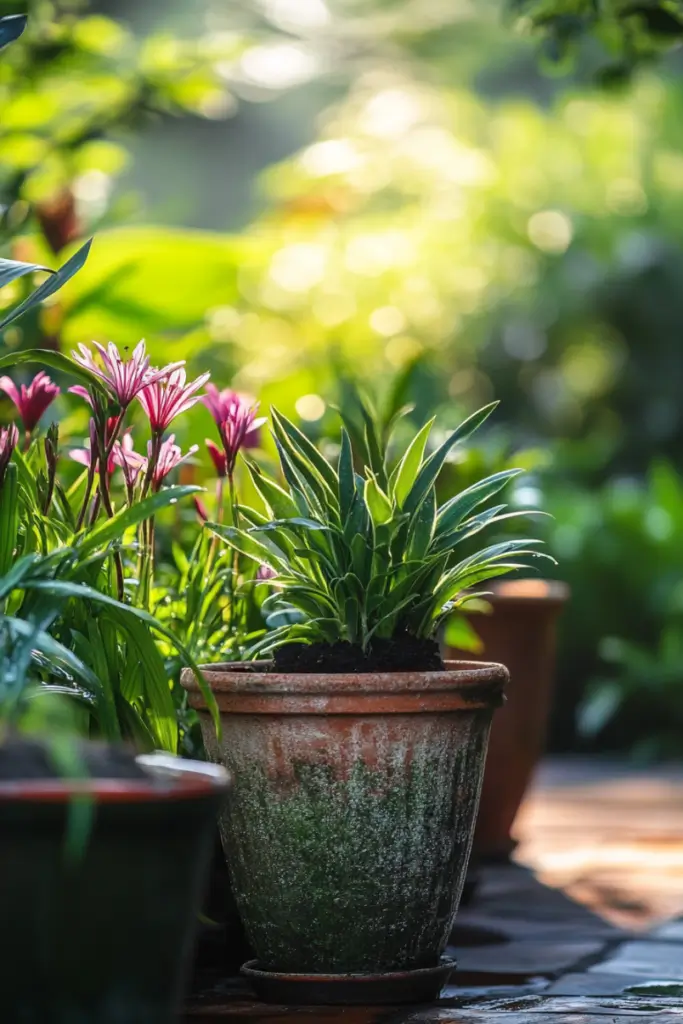
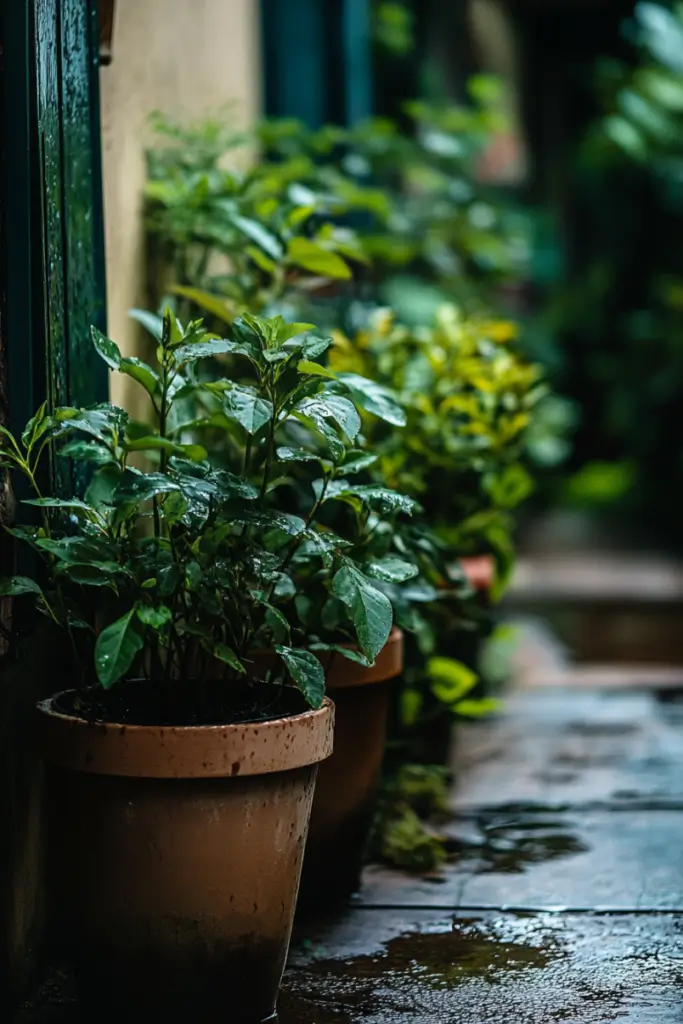
How to Fix Overwatered (Plant in Pot)
Overwatering is a common mistake, but the good news is that with careful attention and the right steps, you can help your plant bounce back.
If you’ve noticed signs of overwatering, it’s crucial to act quickly.
Here’s a detailed, step-by-step guide to help you revive your overwatered plant:
Step 1: Assess the damage
Carefully remove the plant from its pot to assess the extent of the damage.
Gently shake off the soil to expose the roots. Healthy roots should appear white or light brown and feel firm to the touch.
If you find roots that are dark brown, black, or mushy, these are clear indicators of root rot, a common issue caused by overwatering.
Root rot occurs when the roots have been deprived of oxygen for too long, leading to decay.
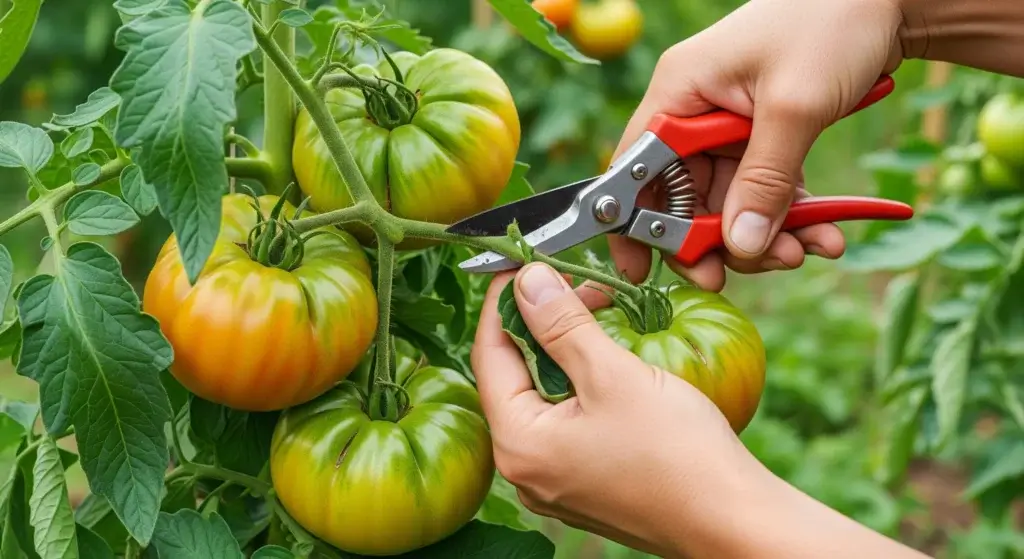
Step 2: Trim the roots
Using sterilized scissors or pruning shears, trim away the damaged roots. Sterilizing your tools is essential to prevent the spread of any disease.
To sterilize, you can dip your scissors in rubbing alcohol or a diluted bleach solution.
When trimming, be sure to remove only the affected areas, cutting back to where the roots are still firm and healthy.
Step 3: Remove excess water
If the soil around the roots is soggy, remove as much of it as possible.
Wet soil will continue to hold moisture against the roots, exacerbating the problem.
Gently shake off or brush away the wet soil, taking care not to damage the remaining healthy roots.
You can also place the root ball on a dry towel or paper towels to help absorb excess moisture.
Allow the plant to sit on the towel for a few hours to ensure that as much water as possible is removed from the root area.
This step is crucial because even after repotting, residual moisture can cause further issues if not properly addressed.
Step 4: Repot in fresh soil
Choose a pot with good drainage and fill it with fresh, well-draining soil.
The key to avoiding future overwatering is ensuring proper drainage.
Select a pot with drainage holes at the bottom to allow excess water to escape.
For the soil, consider a mix that includes perlite, sand, or orchid bark, which will help improve aeration and prevent the soil from becoming waterlogged.
When repotting, carefully spread out the roots in the new pot, ensuring they aren’t bunched up or compacted.
This allows the roots to have enough space to breathe and grow.
Fill in around the roots with the fresh soil, being sure not to pack it too tightly, as this can hinder proper drainage.
Step 5: Water sparingly
After repotting, water the plant lightly, making sure not to overdo it.
The plant’s watering needs will be reduced immediately after repotting, especially if many roots were removed.
Water just enough to moisten the soil, but don’t drench it. It’s crucial to let the soil dry out between waterings from now on, as this allows the roots to recover and grow without being waterlogged.
Keep in mind that different plants have different water requirements.
Research your plant’s specific needs to tailor your watering schedule.
For example, succulents and cacti require much less water compared to tropical plants.
Step 6: Provide adequate light
Place your plant in a location with appropriate light.
Most plants do best in bright, indirect light, which helps them photosynthesize and recover from stress.
However, direct sunlight can be too intense, especially for a recovering plant, and might cause further stress or even burn the leaves.
Step 7: Monitor and adjust
Keep a close eye on your plant over the next few weeks.
After repotting, it’s normal for the plant to take some time to adjust and recover.
Look for signs of new growth, which indicates that the plant is beginning to bounce back.
On the other hand, if you notice persistent wilting, yellowing, or other symptoms, it may be necessary to reevaluate your care routine.
Step 8: Use a moisture meter
Invest in a moisture meter to prevent future overwatering.
A moisture meter is a handy tool that measures the moisture level in the soil.
This can be especially useful if you’re unsure when to water your plant.
The meter will give you a clear indication of whether the soil is still moist or if it’s time to water again.
Insert the moisture meter into the soil about halfway between the plant’s base and the edge of the pot.
Check the reading, and water only when the meter indicates that the soil is dry. This will help prevent the common mistake of watering on a set schedule rather than based on the plant’s actual needs.
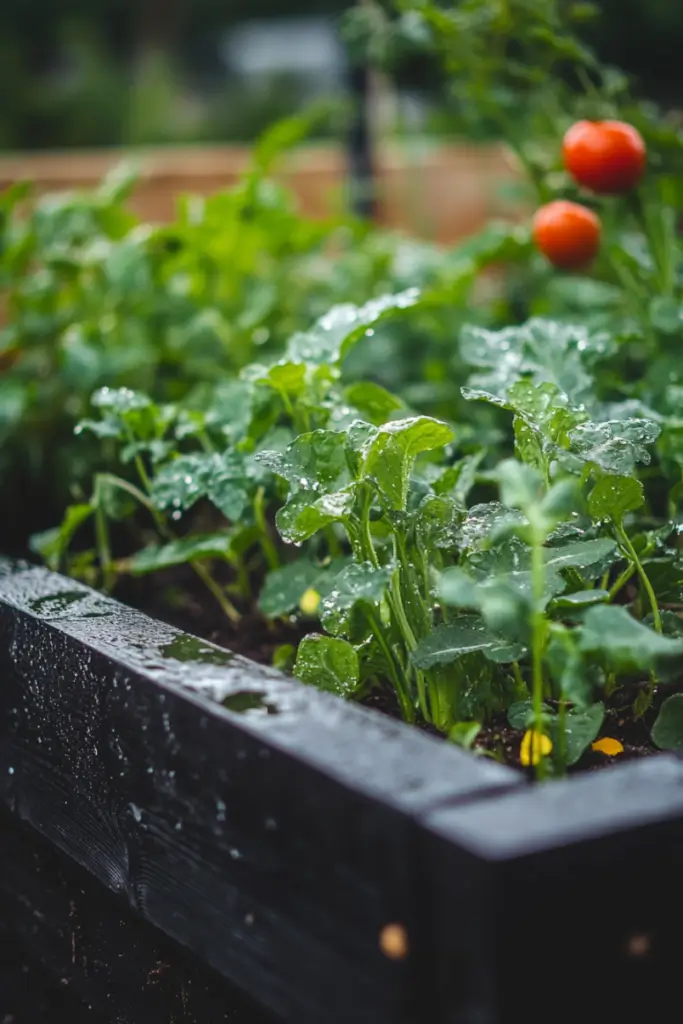
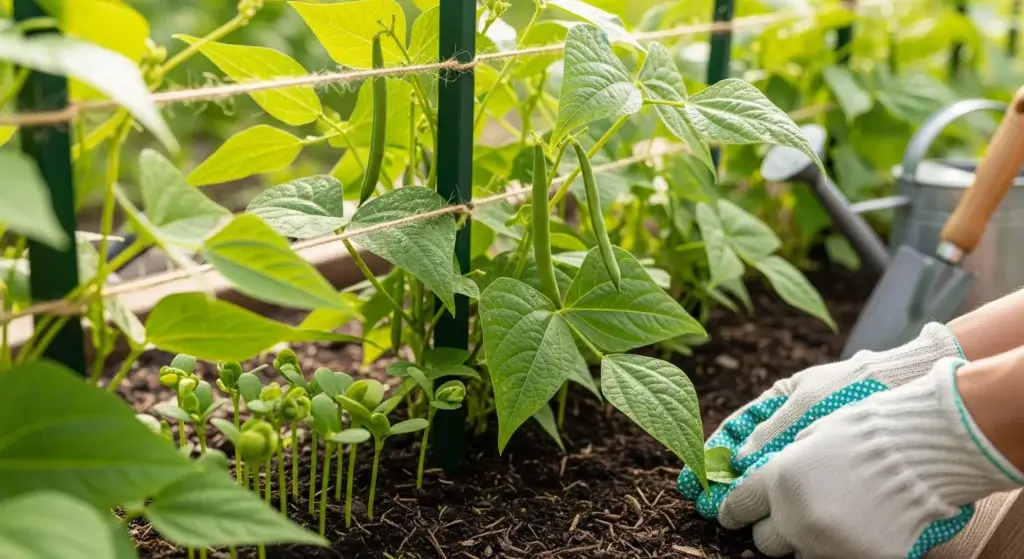
How to Fix Overwatered (Plants in Raising Bed)
Fixing overwatered plants in a raised bed involves several steps to address the root cause of the problem and help the plants recover.
Here’s a comprehensive guide:
Step 1: Assess the damage
Look for yellow or light green leaves, brown spots, and a lack of new growth.
These signs indicate that the plant is suffering from overwatering.
Step 2: Stop watering
Stopping further watering is crucial to prevent further damage.
Continuing to add water can exacerbate the issue and lead to root rot.
Step 3: Improve drainage
- Ensure the raised bed has proper drainage. If the bed is filled with local soil or fills dirt, compaction can be a problem, and the plants may not be as productive. Use a garden fork to aerate the soil around the plant. This helps improve drainage and allows excess water to escape.
- Incorporate organic matter like compost or perlite into the soil to improve its drainage properties.
Step 5: Let the plant dry out
Give the plant time to dry out completely.
This should take a few days, and it’s essential for the plant to recover before addressing other issues.
Step 6: Improve airflow
Ensure good airflow around the plant to prevent further moisture buildup and promote healthy growth.
Prune away dead, dying, or diseased parts of your plants.
If your plants have dense foliage, thin them out to allow for better airflow.
Step 7: Monitor and adjust
Overwatered soil can lead to fungal growth. Monitor for signs like mushrooms or changes in soil color.
Once the plant has recovered, adjust your watering schedule to ensure it doesn’t happen again.
Use a soil moisture meter if necessary to gauge the soil’s water levels.
- Read also: Watering Can vs. Hose: Which One Is Best for Your Garden?
- Read also: Unveiling the Wonders of Water Beads for Thriving Plants
Conclusion
Overwatering is a common issue for plant owners, but it doesn’t have to be a death sentence for your plants.
By understanding the signs of overwatering and taking swift action, you can often save your plants and even prevent the problem from occurring in the future.
Remember, the key to successful plant care is finding the right balance in watering, ensuring that your plants have the moisture they need without drowning their roots.
FAQs
The frequency of watering depends on the type of plant, the size of the pot, the climate, and the season. Generally, it’s best to water when the top inch of soil feels dry to the touch.
After repotting an overwatered plant, water it lightly. Allow the soil to dry out between waterings to avoid further overwatering.
Root rot is a condition where roots decay due to excess moisture and lack of oxygen. To prevent it, ensure your plant’s soil has good drainage and avoid overwatering.
While both can harm plants, underwatering is often easier to correct than overwatering. It’s generally better to err on the side of underwatering and adjust based on the plant’s needs.