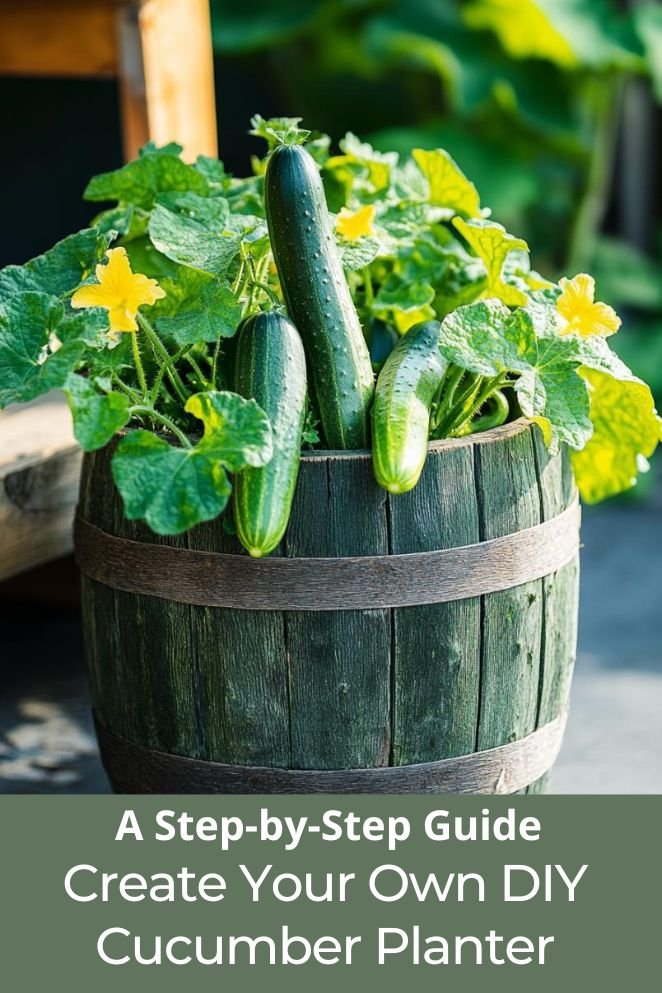
Cucumbers are a refreshing, versatile vegetable that can be grown easily at home, even if you have limited space.
Creating a DIY cucumber planter is a fun, cost-effective way to enjoy homegrown cucumbers right from your garden, patio, or balcony.
In this guide, we’ll walk you through the process of making your own cucumber planter, what materials you’ll need, and how to maintain your planter for a bountiful harvest.
Let’s get started!
Materials Needed
Before you start building your cucumber planter, gather all the necessary materials.
Here’s a list of what you’ll need:
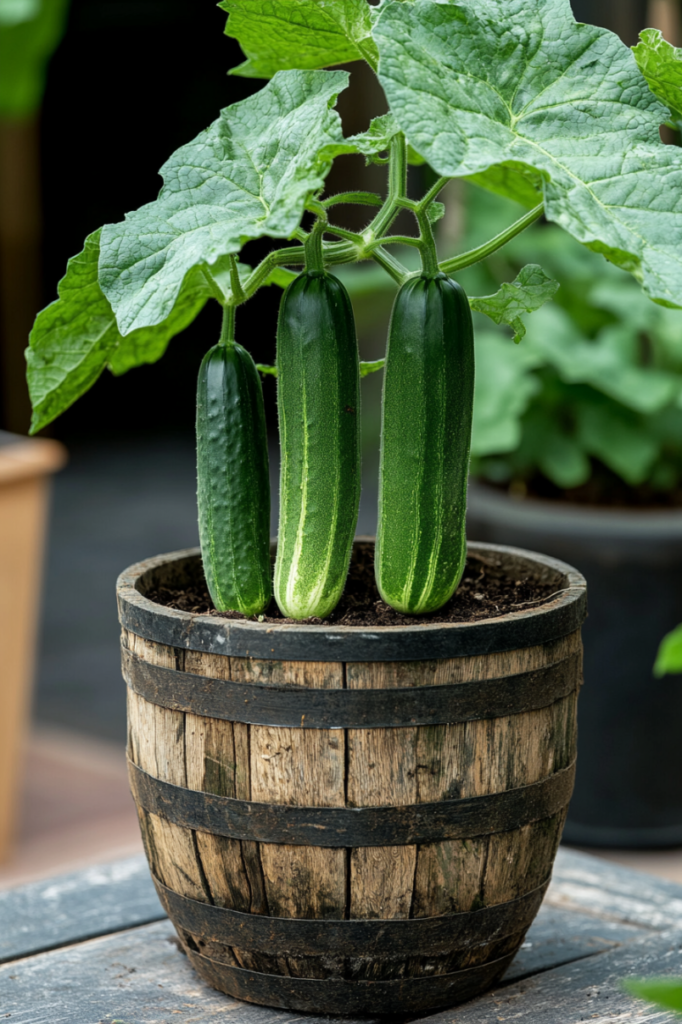
- Container or pot: Choose a container that is at least 12 inches deep and wide enough to support the growth of cucumber vines.
- Potting mix: Opt for a high-quality potting mix that is well-draining. Cucumbers thrive in soil that is rich in organic matter, so consider adding compost or organic fertilizer.
- Cucumber seeds or seedlings: Depending on your preference, you can start from seeds or buy young cucumber plants.
- Trellis or stakes: Cucumbers are vining plants, so they need support to grow upward. A trellis or a set of stakes will help keep the vines off the ground.
- Watering can or hose: Regular watering is crucial for healthy cucumber plants, especially in containers where soil dries out quickly.
- Mulch (optional): Adding a layer of mulch on top of the soil can help retain moisture and keep weeds at bay.
Step-by-Step Instructions
Now that you have your materials ready, let’s go through the steps to create your DIY cucumber planter.
Step 1: Prepare the container
Start by ensuring your container has adequate drainage.
If there are no drainage holes, drill several at the bottom.
Good drainage prevents water from pooling at the bottom, which can lead to root rot.
Step 2: Add potting mix
Fill the container with potting mix, leaving about 2 inches of space at the top.
If you’re using compost, mix it into the soil at this stage.
Cucumbers need nutrient-rich soil to thrive, so don’t skimp on this step.
Step 3: Plant the seeds or seedlings
If you’re planting seeds, create small holes about 1 inch deep in the soil.
Place 2-3 seeds in each hole, spaced about 6 inches apart, and cover them with soil.
If you’re using seedlings, dig small holes big enough to fit the root ball and gently place the seedlings in the soil.
Space the seedlings about 12 inches apart to allow them room to grow.
Step 4: Install the trellis or stakes
Place your trellis or stakes in the container near the seedlings or where the seeds are planted.
As the cucumber plants grow, gently guide the vines to climb the support.
This vertical growth not only saves space but also improves air circulation around the plants, reducing the risk of fungal diseases.
Step 5: Water the plants
Water the soil thoroughly after planting, ensuring it’s evenly moist but not waterlogged.
Cucumbers need consistent moisture, so water them regularly, especially during dry spells.
However, avoid overwatering, as this can lead to root rot and other issues.
Step 6: Mulch the surface (Optional)
If you’re using mulch, apply a thin layer on top of the soil.
Mulch helps to retain moisture, keep the soil temperature stable, and reduce weed growth.
Organic mulch like straw or shredded leaves is ideal for cucumber plants.
Maintenance Tips
Maintaining your cucumber planter is key to a successful harvest.
Here are some tips to keep your plants healthy and productive:
Watering
Cucumbers need consistent moisture to thrive, but it’s important not to overdo it.
Aim to keep the soil evenly moist but avoid making it waterlogged.
Water your plants early in the morning so that the soil has time to absorb the water, and the plants have the whole day to dry off.
This helps prevent diseases and allows the plants to take up nutrients more effectively.
Fertilizing
Cucumbers are known for their high nutrient needs, so regular feeding is crucial.
Fertilize your plants every 2 to 3 weeks with a balanced fertilizer that provides equal parts nitrogen, phosphorus, and potassium.
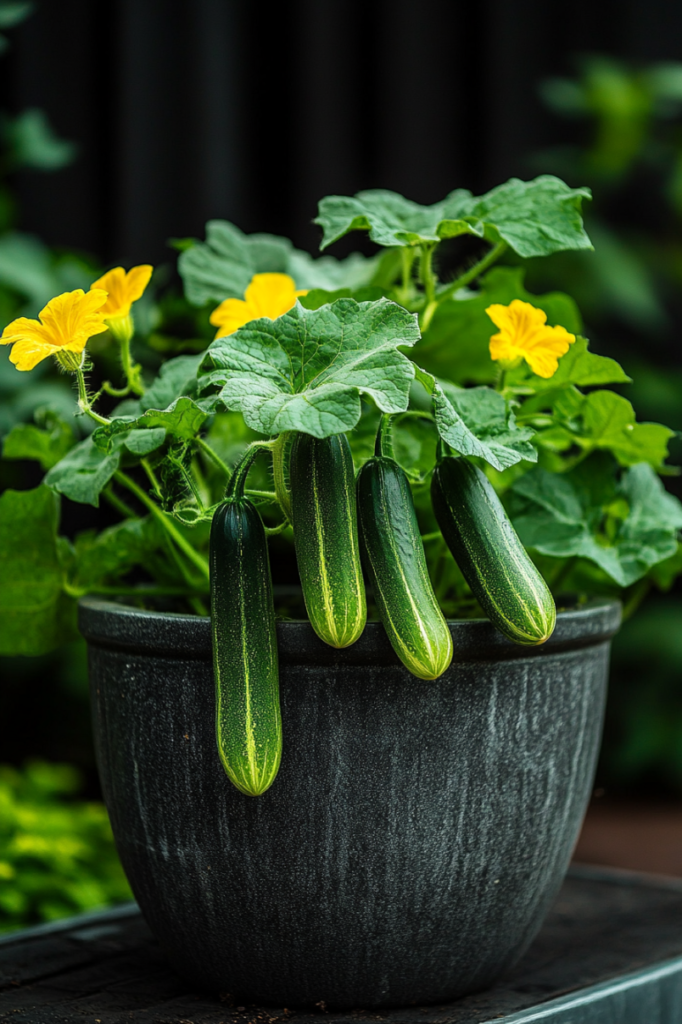
If you notice that the leaves are turning yellow, this could be a sign of nutrient deficiency.
In such cases, switch to a liquid fertilizer for a quicker nutrient boost.
The right fertilizer will help your cucumbers grow strong and produce more fruit.
Pruning
Regular pruning helps keep your cucumber plants healthy and productive.
Remove any yellow or dead leaves to prevent diseases and promote better air circulation.
Additionally, if your cucumbers are growing on a trellis, pinch off the tips of the vines once they reach the top.
This encourages the plant to grow more side branches and produce more cucumbers, rather than focusing all its energy on reaching the top.
Pest control
Cucumbers are susceptible to various pests, including aphids, cucumber beetles, and spider mites.
Keeping an eye out for these pests and dealing with them early is crucial.
Organic methods, such as neem oil or insecticidal soap, are effective and safer options for managing pests.
Regularly inspect your plants and take action as needed to keep these nuisances under control.
Harvesting
Timing your harvest is key to enjoying the best cucumbers. Pick them when they are firm and green.
If cucumbers are left on the vine too long, they can become bitter and develop seeds, which affects their taste and texture.
Frequent harvesting encourages the plant to keep producing more cucumbers, so make it a habit to check your plants regularly and harvest the cucumbers when they’re at their peak.
Final Thoughts
Creating a DIY cucumber planter is an enjoyable and rewarding project that allows you to grow fresh, delicious cucumbers even in small spaces.
By following the steps outlined above, you can set up a thriving cucumber planter that will yield bountiful harvests throughout the growing season.
With proper care and maintenance, your cucumber plants will flourish, providing you with a continuous supply of homegrown vegetables.


