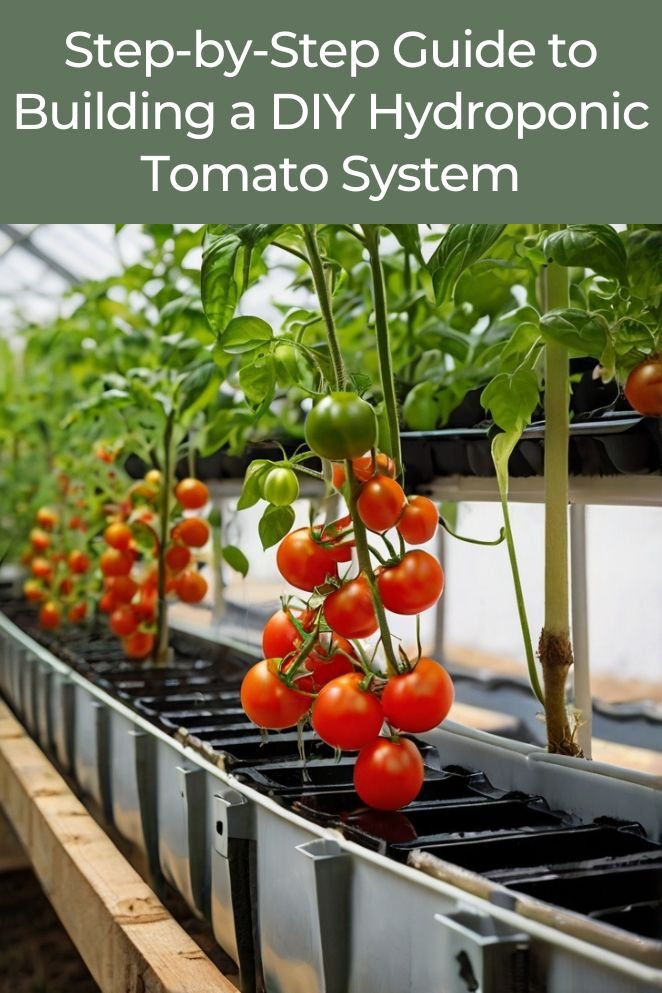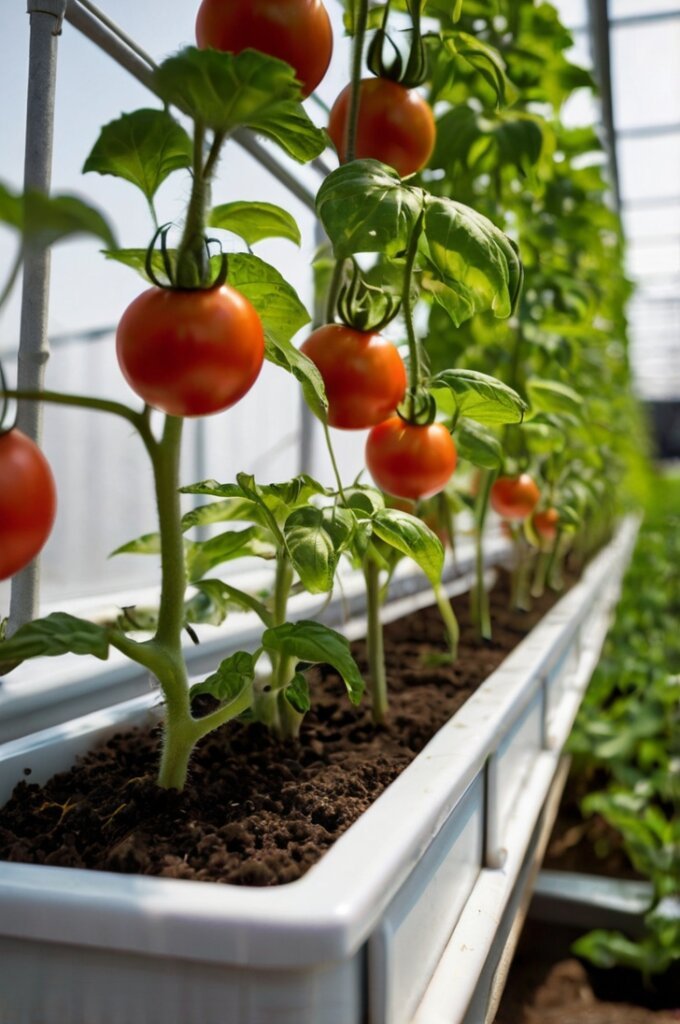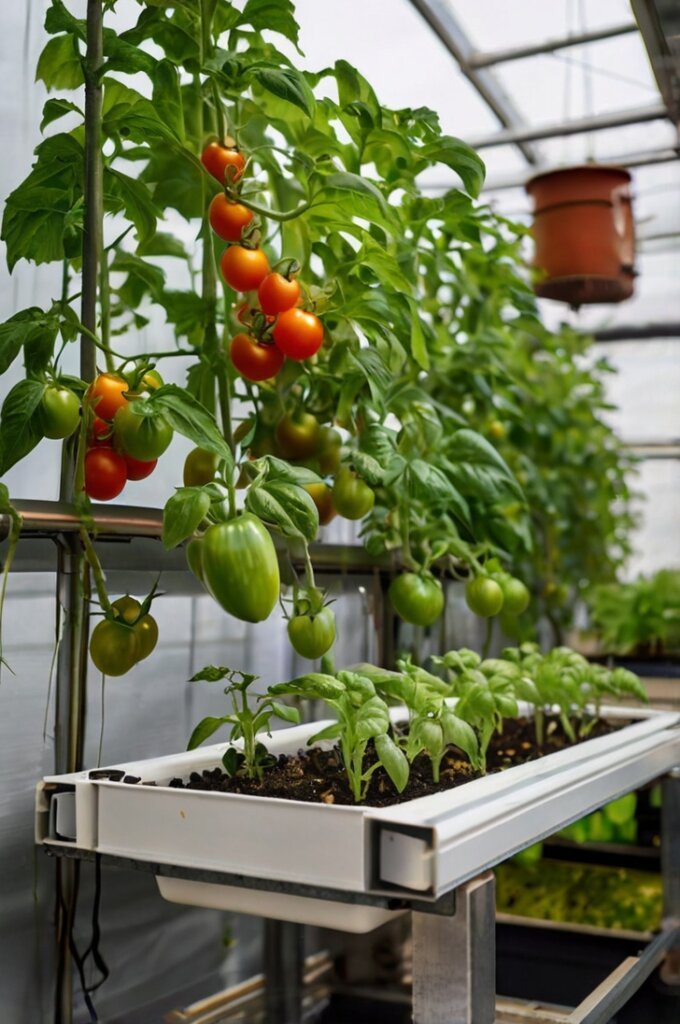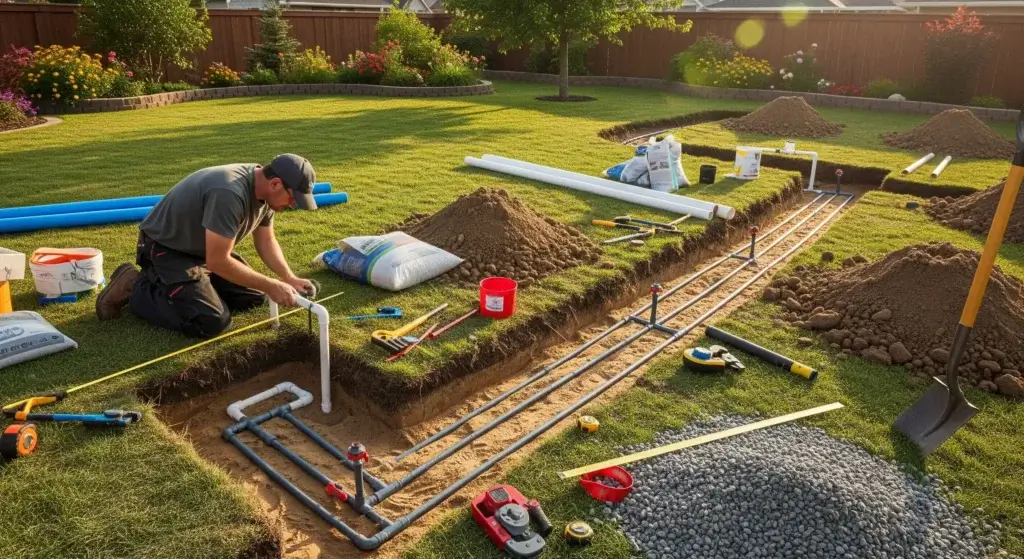
Imagine growing fresh, juicy tomatoes right in your own home, regardless of the season.
With a DIY hydroponic tomato system, this is entirely possible.
Hydroponics is a method of growing plants without soil, using nutrient-rich water instead. It’s an efficient way to produce vegetables indoors, and tomatoes are one of the best crops to grow hydroponically.
In this guide, we’ll walk you through the benefits of setting up your own DIY hydroponic tomato system, the materials you’ll need, and step-by-step instructions to get started.
We’ll also cover some challenges and practical considerations and provide tips to ensure your success.
Benefits of DIY Hydroponic Tomato Systems
Growing tomatoes hydroponically comes with several advantages:
- Year-round growth: Hydroponic systems allow you to grow tomatoes indoors, regardless of the weather outside.
- Faster growth: Plants grown in hydroponic systems often grow 30-50% faster than those grown in soil due to the direct access to nutrients and oxygen.
- Higher yields: Hydroponic tomatoes tend to produce more fruit because the plants are in an optimal environment with controlled light, temperature, and nutrient levels.
- Water efficiency: Hydroponic systems use up to 90% less water compared to traditional soil gardening, making it an environmentally friendly choice.
- Pest and disease control: Growing tomatoes indoors in a controlled environment reduces the risk of pests and soil-borne diseases.
- Space efficiency: Hydroponic systems can be set up in small spaces, making them ideal for urban gardening.
Materials Needed
Before you start building your DIY hydroponic tomato system, you’ll need to gather some materials. Here’s a basic list to get you started:
- Hydroponic grow tray or container: This will hold your tomato plants and the nutrient solution.
- Net pots: These are small pots with holes in the bottom, allowing the roots to reach the nutrient solution.
- Growing medium: Use materials like rock wool, coco coir, or perlite to support the plants in the net pots.
- Water pump: A small pump will circulate the nutrient solution through the system.
- Air pump and air stone: These will oxygenate the nutrient solution, ensuring the roots get enough oxygen.
- Nutrient solution: This is a specially formulated liquid that contains all the essential nutrients your tomatoes need to grow.
- pH meter: To ensure the nutrient solution is at the correct pH level (ideally between 5.5 and 6.5).
- Grow lights: If you’re growing indoors, you’ll need full-spectrum LED grow lights to mimic sunlight.
- Timer: To automate the lighting and nutrient circulation schedule.
- Tomato seeds or seedlings: Choose a variety of tomatoes that are well-suited for hydroponic growth, such as cherry or dwarf tomatoes.

- Read also: The Beginner’s Guide: Build DIY Hydroponic Vegetable Garden
- Read also: Grow Fresh Herbs: Create Your Own DIY Hydroponic Herb Garden
Step-by-Step Instructions
Now that you have your materials, let’s get started on building your DIY hydroponic tomato system:
Step 1: Prepare your grow tray
Begin by setting up your grow tray or container in a spot that gets plenty of light.
If you’re growing indoors, you might need to install grow lights.
Place the net pots into the holes in the grow tray. Make sure they fit snugly and are stable.
Step 2: Add the growing medium
Next, fill each net pot with the growing medium you’ve chosen.
This medium supports your tomato plants and provides a stable environment for the roots to grow.
Common options include hydroponic grow cubes or perlite.
Step 3: Plant your tomatoes
If you’re starting from seeds, plant them according to the instructions on the seed packet, making sure they are placed at the right depth.
If you’re using seedlings, gently transplant them into the net pots, making sure that the roots are covered by the growing medium but not too compacted.
Step 4: Mix the nutrient solution
Prepare the nutrient solution based on the instructions provided with your hydroponic nutrients.
Use a pH meter to check the pH level of the solution.
Adjust it to ensure it falls between 5.5 and 6.5, which is the ideal range for tomato plants.
Step 5: Set up the water and air pumps
Place the water pump in the reservoir, which will circulate the nutrient solution to the grow tray.
Connect the pump to ensure the solution reaches the plants.
Install the air pump and air stone in the reservoir to add oxygen to the nutrient solution, which is crucial for healthy root development.
Step 6: Install the grow lights
For indoor growing, set up the grow lights above the grow tray.
Position the lights so they evenly cover all the plants.
Set the timer to ensure your tomatoes receive 12-16 hours of light each day.
This mimics natural sunlight and helps the plants grow strong.
Step 7: Monitor and maintain
Regularly check the pH level of the nutrient solution and adjust it as needed.
Keep an eye on your tomato plants and prune them to promote healthy growth.
Remove any dead or yellowing leaves to prevent disease and encourage vigorous new growth.

Challenges of DIY Hydroponic Tomato Systems
While hydroponic systems offer many benefits, there are some challenges to consider:
- Initial setup costs: Building a hydroponic system requires an initial investment in materials and equipment.
- Maintenance: Hydroponic systems require regular monitoring of pH levels, nutrient concentrations, and water levels. Neglecting these tasks can lead to poor plant health.
- Power dependence: Hydroponic systems rely on electricity to run pumps and lights. Power outages can disrupt the system and harm your plants.
- Technical knowledge: Some knowledge of plant biology and hydroponic systems is necessary to achieve the best results.
Practical Considerations for DIY Hydroponic Tomato Systems
When setting up a DIY hydroponic tomato system, it’s important to think about a few practical considerations to ensure your plants grow well and your system operates smoothly.
Here’s what you need to keep in mind:
Space
First, you need to make sure you have enough room for your hydroponic system.
This includes space for the grow tray, reservoir, pumps, and lights.
It’s also important that the area is easily accessible, so you can reach everything for regular maintenance, such as checking pH levels, adding nutrients, or pruning your plants.
If your space is too cramped, it can be difficult to maintain the system properly, which could affect your plants’ growth.
Ventilation
Good air circulation is crucial in a hydroponic setup.
Without proper ventilation, the air around your plants can become stagnant, leading to issues like mold and mildew, which can harm your tomatoes.
Ensuring that there’s a steady flow of fresh air helps keep your plants healthy and reduces the risk of these problems.
If you’re growing indoors, you might need to use fans or open windows to keep the air moving.
For outdoor setups, make sure the area is well-ventilated and not too enclosed.
Temperature control
Tomatoes grow best in temperatures between 65-85°F.
Keeping your plants within this range is essential for their growth and fruit production.
If the temperature is too low, your plants might grow slowly or stop growing altogether. If it’s too high, they could become stressed and fail to produce fruit.
Depending on where you live, you might need to use fans to cool down the area during hot weather or heaters to keep the temperature up during cooler times.
Monitoring the temperature regularly will help you make adjustments as needed to keep your tomatoes thriving.

- Read also: DIY Tomato Trellis Ideas: Make Your Garden a Blast from the Past
- Read also: Saving Your Harvest: Solutions for Yellow Leaves on Tomato Plants
Tips for Success with DIY Hydroponic Tomato Systems
To maximize your success with hydroponic tomatoes, follow these tips:
- Start small: If you’re new to hydroponics, start with a small system and gradually expand as you gain experience.
- Choose the right tomato variety: Some tomato varieties are better suited for hydroponic growth, such as cherry tomatoes or dwarf varieties.
- Regular pruning: Keep your tomato plants pruned to ensure proper air circulation and light penetration, which can help prevent diseases.
- Monitor water quality: Regularly check the pH and nutrient levels of your water to ensure your plants are getting the optimal conditions for growth.
- Rotate crops: After harvesting, rotate your crops or allow the system to rest to prevent nutrient depletion and reduce the risk of disease.
Final Thoughts
Creating your own DIY hydroponic tomato system is a rewarding project that can provide you with fresh, homegrown tomatoes year-round.
While there are some challenges, the benefits far outweigh them, especially when it comes to the quality and convenience of having your own sustainable garden.
With the right setup and regular maintenance, you’ll be enjoying juicy, flavorful tomatoes in no time.


