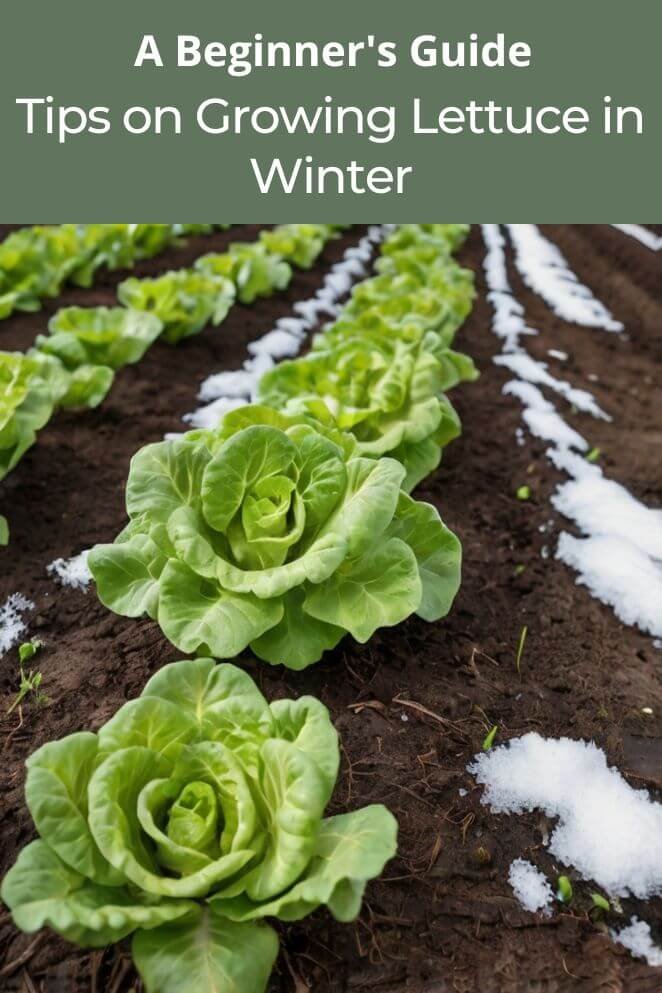
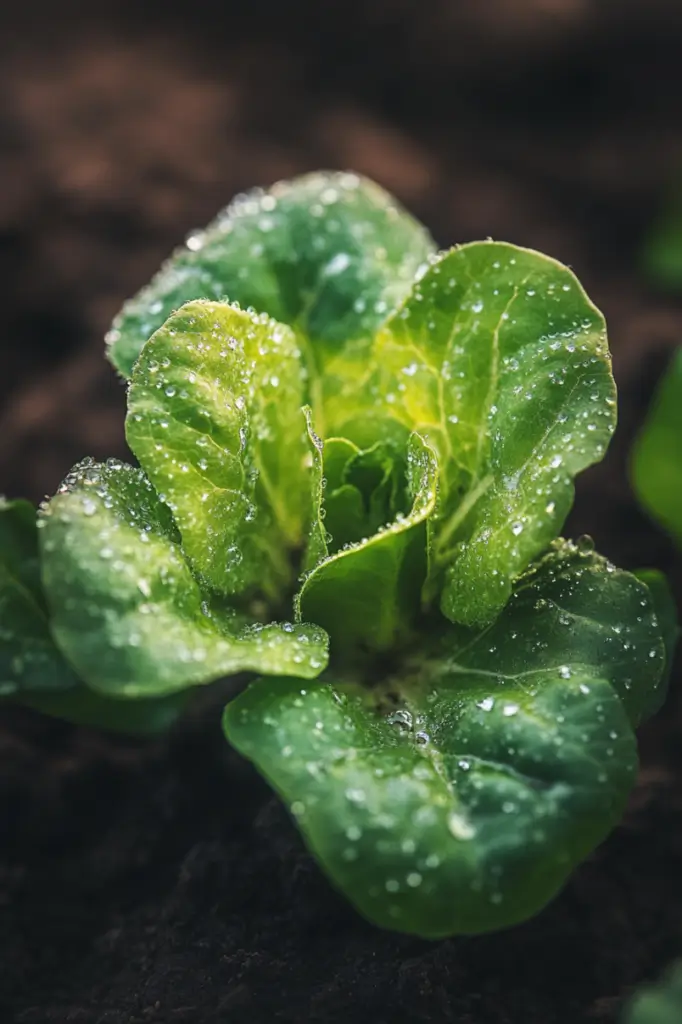
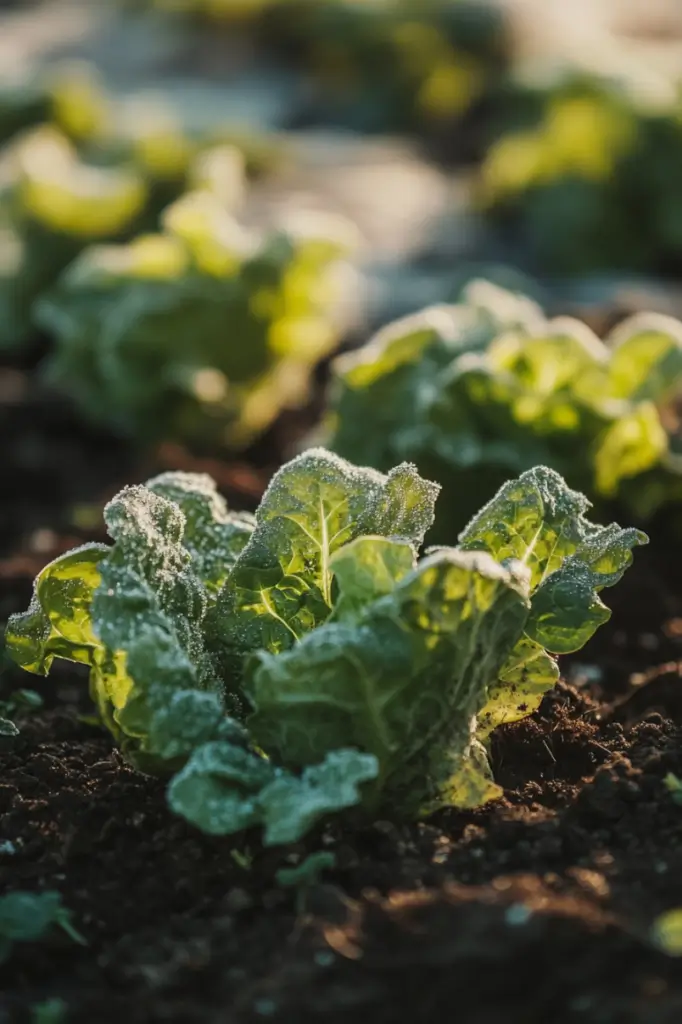
Growing lettuce in winter is a sustainable practice that can provide fresh, crisp greens even during the coldest months.
Many gardeners focus on growing their crops during the warmer seasons.
However, with a bit of planning and effort, you can enjoy fresh, homegrown lettuce even in the winter.
This guide will show you how to grow lettuce during the colder months.
Learn how to tackle winter’s challenges and ensure a steady supply of fresh greens from your garden.
Challenges of Growing Lettuce in Winter
Growing lettuce in winter presents unique challenges that can deter many gardeners.
However, with proper planning and the right techniques, you can successfully grow lettuce during the colder months.
Let’s delve into the primary obstacles and how to overcome them:
- Read also: Watering Lettuce in Pots: A Simple Guide for Beginners
- Read also: Tips for a Thriving Harvest: Watering Lettuce in the Garden
Cold temperatures
Lettuce is a cool-season crop, but extreme cold can damage or even kill the plants.
Here’s a deeper look at how cold temperatures affect lettuce:
- Frost damage: Lettuce can tolerate light frost, but prolonged exposure to freezing temperatures can cause the leaves to wilt and the plants to die.
- Cold wind: Winter winds can strip moisture from the leaves, leading to dehydration and frost damage.
Shorter daylight hours
During winter, the days are shorter, and there is less sunlight, which is crucial for plant growth.
Lettuce needs a good amount of light to grow well, and reduced daylight can lead to:
- Slower growth: With less sunlight, photosynthesis slows down, meaning the plants grow more slowly.
- Smaller yields: Limited light can result in smaller, less vigorous plants, and consequently, lower yields.
Soil conditions
Lettuce prefers well-draining, fertile soil.
In winter, the soil may be colder and wetter, which can affect the plant’s growth and increase the risk of root rot.
Balancing adequate moisture with preventing waterlogged conditions is crucial.

Lettuce Growing in Every Season
Lettuce is primarily a cool-weather crop that thrives in temperatures between 45°F and 75°F (7°C and 24°C).
This makes it an ideal choice for spring and fall gardens.
However, with the right strategies, you can extend your lettuce harvest into the winter months and even through the summer.
Spring
Spring is a fantastic time to grow lettuce.
The moderate temperatures and longer daylight hours create perfect conditions for fast growth.
To get a head start, begin by planting seeds indoors about 4-6 weeks before the last expected frost.
Summer
Growing lettuce in the summer can be tough because the higher temperatures often cause the plants to bolt and become bitter.
There’s also more pest activity. But you can still have a successful summer harvest with the right strategies.
Opt for heat-tolerant varieties and use shade cloth to shield the plants from the intense sun.
Fall
Cooler temperatures and shorter days are perfect for growing lettuce, and there are fewer pests than in the summer.
Plant seeds directly in the garden about 8-10 weeks before the first expected frost.
To protect your plants from early frosts, use row covers or cloches.
Winter
Cold temperatures and shorter days can slow down lettuce growth, and there’s a risk of frost or freeze damage.
To get ahead of the cold, plant seeds in late summer or early fall.
Using cold frames, cloches, or greenhouses can help create a warmer environment for your plants.

Tips Growing Lettuce in Winter
To grow lettuce in winter, you need to provide adequate protection and create a microclimate that supports its growth.
Here are some effective methods:
Selecting the right varieties
Certain lettuce varieties are more cold-tolerant than others.
Choose frost-tolerant lettuce varieties such as oakleaf, iceberg, romaine, leaf lettuces, Bibb, and butterheads.
These varieties can handle the cold weather and continue to grow slowly during the winter months.
Sowing seeds indoors
Begin sowing seeds indoors 4-6 weeks before you plan to transplant them outside.
This gives the seedlings a head start. Use seed trays or small pots filled with a quality seed-starting mix.
This mix is designed to provide good drainage and nutrients for young seedlings.
Place the seed trays or pots in a bright location where they receive plenty of natural light.
If sunlight is limited, consider using grow lights to ensure your seedlings get enough light.
Hardening off
Hardening off helps your seedlings adjust to the outdoor conditions they will face once transplanted.
This process reduces transplant shock and helps the plants acclimate.
Start hardening off about a week before you plan to move the seedlings outside.
Gradually expose your seedlings to outdoor conditions.
Start by placing them in a sheltered, sunny spot for a few hours each day.
Slowly increase their exposure to wind and cooler temperatures over the week.
How to Protect Lettuce in Winter
Protecting your lettuce from the harsh winter elements is crucial for a successful harvest.
Here are some methods:
Row covers
Row covers or frost blankets can provide an extra layer of protection against cold and frost.
They allow sunlight to reach the plants while keeping the cold air out.
While you can create a basic row cover, commercial options are often more durable, lightweight, and effective.
However, if you have specific needs or limited resources, here’s a basic approach. First, collect materials like:
- Lightweight, breathable fabric: Consider options like old bed sheets, cheesecloth, or non-woven fabric.
- PVC pipes or rebar: For creating a frame (optional).
- Staples or clips: To secure the fabric to the frame.
Follow a step by step:
Step 1: Measure your garden bed
Determine the dimensions to cut the fabric accordingly.
Step 2: Prepare the fabric
Wash and dry the fabric to remove any chemicals or residues.
Step 3: Create a frame (optional)
If you want to create a more structured row cover, bend PVC pipes or drive rebar into the ground to create a frame.
Step 4: Drape the fabric
Lay the fabric over your garden bed or frame. Ensure it covers the entire area you want to protect.
Step 5: Secure the fabric
If using a frame, staple or clip the fabric securely to the structure. For a simpler approach, you can use rocks or soil to anchor the edges of the fabric.
Cold frames
A cold frame is a bottomless box with a clear top or covered with clear plastic or glass that captures solar energy and creates a microclimate around your plants.
You can DIY a cold frame using untreated lumber and an old window or purchase a frame made from polycarbonate.
Some cold frames are lightweight and can be moved around the garden as needed.
Here’s a basic guide on how to build one, first collect materials:
- Wood (2x4s or similar)
- Clear plastic sheeting
- Hinges
- Screws or nails
- Saw
- Drill
- Tape measure
Follow the instructions:
Step 1: Design and measurements
Decide on the size of your cold frame based on your garden space. Sketch out a plan to visualize the dimensions.
Step 2: Build the frame
Cut the wood to the desired size for the base and sides. Assemble the frame using screws or nails.
Step 3: Create the Lid
Build a frame for the lid using similar wood. Cover it with clear plastic sheeting, securing it with staples or tape. Attach hinges to one side of the lid to allow for opening and closing.
Step 4: Position the cold frame
Choose a sunny spot in your garden. Place the cold frame on the ground, ensuring good drainage.
Step 5: Ventilation
Consider adding props or vents to the lid to control temperature and humidity.
Hoophouse
A hoophouse is another effective way to grow lettuce in winter.
A mini hoop tunnel is easy to DIY and consists of hoops and a cover.
Hoops should be made from sturdy materials like 1/2” PVC conduit or 1/2” metal conduit.
The hoops are covered with row cover or polyethylene sheeting.
For added protection, you can use a double layer of covers, starting with a lightweight row cover and adding a sheet of polyethylene overtop as the weather cools.
Before making a hoophouse, we need to collect materials such as:
- PVC pipes or metal conduit for hoops
- Wood for the base (optional)
- Plastic sheeting
- Ground anchors or stakes
- Tools: saw, drill, tape measure, etc.
Here’s a step-by-step guide:
Step 1: Choose a location
Select a level, sunny spot for your hoop house.
Step 2: Determine size
Decide on the length and width of your hoop house based on the space available and the number of plants you want to protect.
Step 3: Prepare the base
If desired, create a wooden base for added stability. Otherwise, you can anchor the hoops directly into the ground.
Step 4: Create hoops
Cut PVC pipes or metal conduit into the desired length for your hoops. You’ll need enough for the width of your hoop house.
Step 5: Assemble hoops
Bend the pipes into a hoop shape. You can use a bending jig or create a simple one using wood and screws.
Step 6: Install hoops
Insert the hoops into the ground or attach them to the wooden base. Space them evenly along the length of the hoop house.
Step 7: Secure hoops
Use ground anchors or stakes to secure the hoops in place.
Step 8: Cover with plastic
Drape the plastic sheeting over the hoops. Make sure it covers the entire structure and overlaps the ground to prevent water entry.
Step 9: Secure plastic
Use clips, clamps, or twine to secure the plastic to the hoops and base.
Ventilation: Consider adding vents or roll-up sides for proper ventilation.
Greenhouse
If you have a greenhouse, you’re in luck! Greenhouses provide an excellent environment for winter gardening.
A greenhouse, also known as a glasshouse or hothouse, allows sunlight to enter while maintaining a warmer and more stable internal environment compared to the outside.
Greenhouse is like a hoophouse with a more permanent structure with a solid foundation and often made of glass or polycarbonate panels.
Greenhouse offers a wider range of uses, including starting seeds, growing specific crops year-round, and commercial production.
Can be equipped with advanced climate control systems, including heating, cooling, and humidity control.
Typically, more expensive to build and maintain due to materials and potential climate control systems.

- Read also: Different Lettuce Types: Everything You Need to Know
- Read also: Growing Green: A Guide to Natural Pesticides for Lettuce
Conclusion
Growing lettuce in winter is not only possible but also rewarding.
By choosing the right varieties, starting seeds indoors, and using methods like row covers, cold frames, greenhouses, and hoophouses, you can enjoy fresh, home-grown lettuce even in the coldest months.
With a little effort and planning, you’ll be able to overcome the challenges and savor the taste of homegrown greens all winter long.
FAQs
Water your lettuce regularly to keep the soil moist but avoid overwatering as this can lead to root rot.
Varieties like ‘Winter Density,’ ‘Arctic King,’ and ‘Rouge d’Hiver’ are well-suited for winter growing.
Yes, use a balanced fertilizer to ensure your lettuce gets the necessary nutrients for healthy growth.