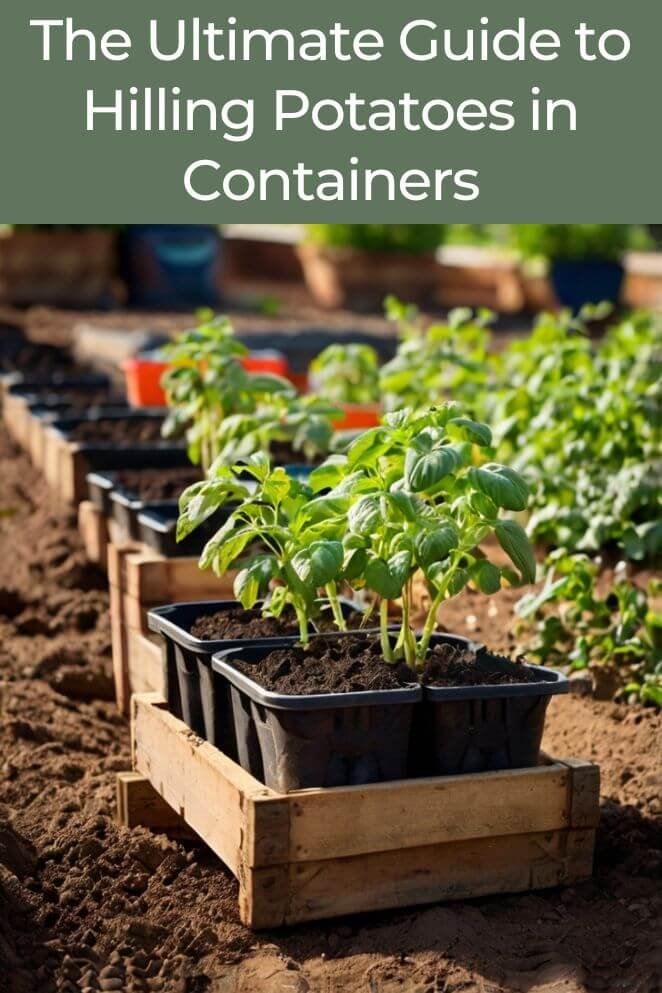
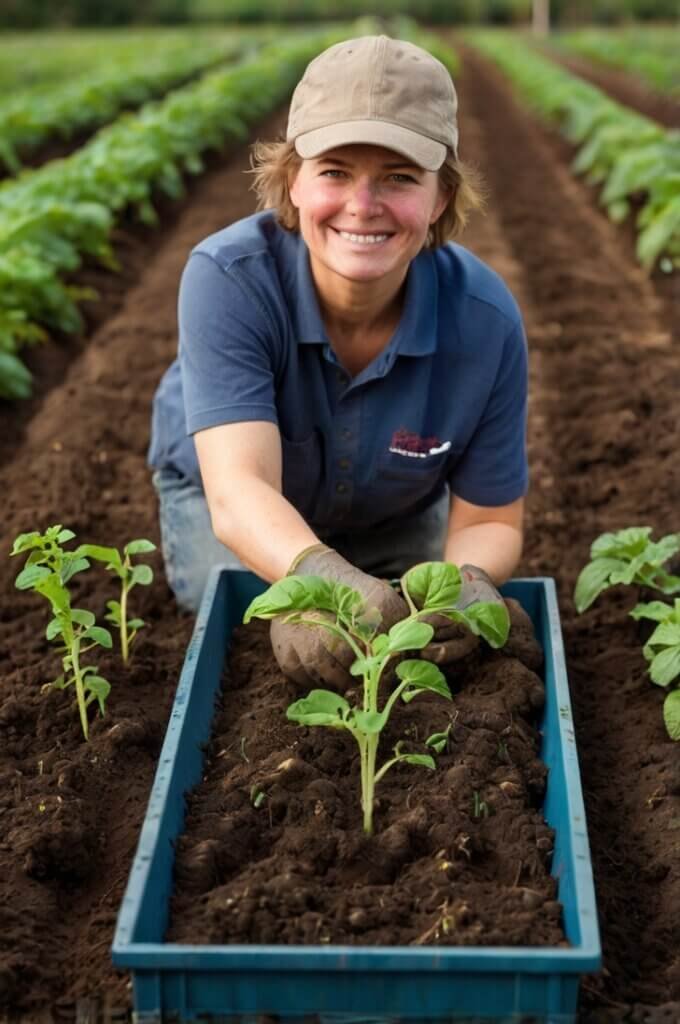
Growing your own potatoes can be incredibly rewarding, even if you have limited space.
Container gardening offers a practical solution, and a key technique to maximizing your harvest is hilling.
This process involves gradually building up soil around the base of your potato plants, providing numerous benefits for your crop.
Let’s explore why and how to master this essential gardening practice.
Why Grow Potatoes in Containers?
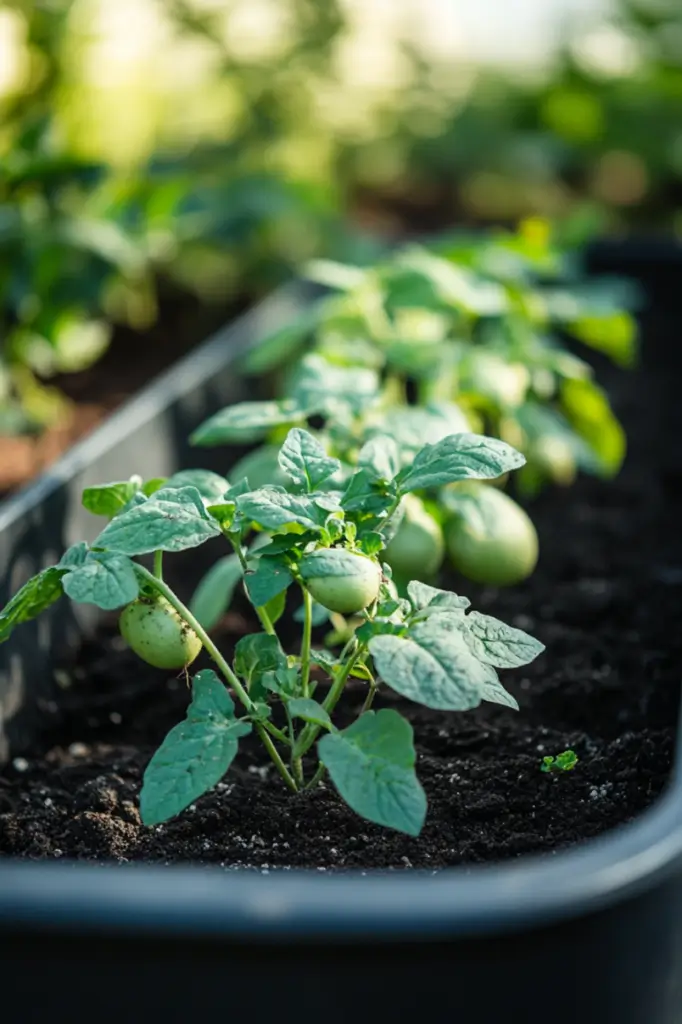
Container gardening offers a practical and efficient way to cultivate these starchy delights, even if you only have a balcony or patio.
Growing potatoes in containers provides several advantages:
- Space efficiency: You don’t need a large garden plot. A balcony, patio, or even a small backyard can suffice.
- Mobility: Containers can be moved around to catch the best sunlight or to protect plants from harsh weather.
- Pest control: Growing in containers can help manage pests and diseases more effectively.
- Ideal for urban gardening: If you live in an urban area with limited outdoor space, containers are perfect.
Choosing the Right Container
Selecting the right container is the first step in successful potato gardening. Here’s what to consider:
Size
Opt for a container that is at least 15-20 gallons.
This size allows ample space for the potatoes to grow both down and out, giving the roots and tubers room to develop.
Larger containers mean more space for tubers to grow, which can lead to a higher yield.
If you have the space, bigger is often better.
- Read also: The Ultimate Guide to Companion Plant for Luscious Potatoes
- Read also: Spudtacular Sprouts: The Ultimate DIY Potato Grow Bag Guide
Material
- Plastic containers: These are lightweight, widely available, and generally inexpensive. They retain moisture well but ensure they have adequate drainage holes.
- Fabric pots (Grow bags): These are excellent for aeration, which promotes healthy root growth and prevents waterlogging. They are also easy to move and store when not in use.
- Wooden containers: Sturdy and durable, wooden containers provide good insulation for the roots. However, they can be heavier and may require more maintenance to prevent rot.
- Upcycled containers: You can repurpose items like old laundry baskets, barrels, or large buckets. Just make sure they are clean and safe for food gardening.
Drainage
Proper drainage is crucial because potatoes dislike sitting in waterlogged soil, which can lead to rot and disease.
Ensure your container has several drainage holes at the bottom.
If your chosen container doesn’t have holes, you can drill them yourself.
Consider elevating the container slightly off the ground using bricks or pot feet to allow excess water to escape more easily.
Using a well-draining soil mix is also essential.
You can improve drainage by adding perlite, coarse sand, or small gravel to your soil mix.

Selecting Seed Potatoes
Choosing the right seed potatoes is crucial for a healthy crop.
Here’s how to select and prepare them:
Certified seed potatoes
Certified seed potatoes are inspected and tested to be free from diseases and pests.
Using these ensures you start with healthy, disease-free plants.
Purchase certified seed potatoes from reputable garden centers, nurseries, or online suppliers.
Avoid using grocery store potatoes, as they are often treated to prevent sprouting and may carry diseases.
Varieties
When choosing potato varieties, consider what’s available locally and what suits your taste and growing conditions.
Planting early, mid, and late-season varieties can ensure you have a continuous harvest. For instance:
- Yukon gold: This is a popular choice due to its creamy texture and buttery flavor. It’s versatile in the kitchen and performs well in containers.
- Red pontiac: Known for its red skin and white flesh, Red Pontiac potatoes are great for boiling and mashing. They are also well-suited to container growing.
- Fingerling: These small, elongated potatoes have a unique shape and rich flavor. They are perfect for roasting and also do well in confined spaces like containers.
Preparation
Here are some steps you might take to prepare:
- Selecting seed potatoes: Choose firm, healthy-looking potatoes with multiple eyes (the small, dormant sprouts on the surface). Avoid any that are soft, shriveled, or show signs of disease.
- Cutting: If your seed potatoes are larger than a golf ball, cut them into smaller pieces. Each piece should have at least one or two eyes. This allows you to get more plants from each potato.
- Curing: After cutting, let the pieces cure for one to two days in a cool, dry place. This allows the cut surfaces to form a protective layer, which helps prevent rotting when planted. Place the cut potatoes in a well-ventilated area out of direct sunlight. The ideal temperature for curing is around 60-70°F (15-21°C).
Planting Potatoes in Containers
Once you have your container and seed potatoes ready, it’s time to plant.
Here’s a step-by-step guide to ensure your potatoes get off to a great start:
Step 1: Filling the container
Start by filling your container with about 4-6 inches of your prepared soil mix. This initial layer provides a base for the seed potatoes.
Step 2: Placing the seed potatoes
Place the seed potatoes cut side down, with the eyes facing up. Space them about 4-6 inches apart.
This spacing ensures that each plant has enough room to grow and produce tubers.
Step 3: Covering the potatoes
Gently cover the seed potatoes with another 4-6 inches of soil.
Be careful not to pack the soil too tightly, as loose soil encourages better root development.
Step 4: Planting depth
The total planting depth should allow the seed potatoes to be buried sufficiently to start sprouting, while still leaving room for hilling as the plants grow.
Hilling Potatoes: The Process
Why hill potatoes
Hilling is a crucial practice in potato cultivation that offers several benefits:
- Protection from light: Potatoes exposed to light can develop a green skin and become bitter or even toxic. Hilling covers the developing potatoes, shielding them from sunlight.
- Increased yield: By burying the lower part of the plant, you encourage the plant to produce more tubers (potatoes).
- Weed control: Hilling can help suppress weed growth around the potato plants.
- Soil temperature regulation: Hilling can help to maintain a cooler soil temperature, which is beneficial for potato growth.
When to hill potatoes
The timing of hilling depends on the growth of your potato plants.
When the plants are about 6-8 inches tall, it’s time for the first hilling.
Repeat the process about 2-3 weeks later, or when the plants have grown another 6-8 inches.
You might need to hill a third time, depending on the variety of potato and growing conditions.
How to hill potatoes
Hilling is a simple process:
Step 1: Gather soil
Collect loose soil from between the potato plants or use compost or well-rotted manure.
Step 2: Build mounds
Gently pile the soil around the base of the potato plants, covering the lower stems.
Step 3: Create a hill
Continue adding soil until the plants are almost completely covered, leaving only the top leaves exposed.
Care After Hilling
After hilling your potatoes, they still need consistent care to ensure a healthy and productive crop.
Here’s how to maintain your plants:
Watering
Potatoes require evenly moist soil, particularly during the critical stages of tuber formation.
Water deeply and consistently, ensuring that the soil remains damp but not soggy.
Letting the soil dry out completely can stress the plants and reduce yield.
Check the soil moisture regularly, especially during hot or dry periods.
Use a watering can or a hose with a gentle spray nozzle to water the base of the plants.
This helps to avoid splashing water on the foliage, which can promote fungal diseases.
Fertilizing
Use a balanced, slow-release fertilizer that provides essential nutrients over time.
Look for fertilizers with equal parts nitrogen, phosphorus, and potassium (e.g., 10-10-10).
Organic fertilizers like compost, well-rotted manure, or fish emulsion are excellent choices.
They improve soil health and provide a steady nutrient supply.
Fertilize every 4-6 weeks during the growing season.
Follow the recommended dosage on the fertilizer package to avoid over-fertilizing, which can harm the plants.
Apply fertilizer around the base of the plants, avoiding direct contact with the foliage.
Gently work it into the top layer of soil, and water well afterward to help nutrients reach the root zone.
Pest and disease management
Watch for pests such as aphids, potato beetles, and wireworms.
These can damage the foliage and tubers, reducing yield and plant health.
Ensure good air circulation around your plants to prevent fungal diseases like blight and powdery mildew.
Space containers apart and avoid overhead watering.
Use organic pesticides, such as neem oil or insecticidal soap, to control pest populations.
Always follow the manufacturer’s instructions for safe and effective use.
Keep your garden clean by removing dead leaves and debris.
Rotate crops each year to reduce the buildup of pests and diseases in the soil.
- Read also: Spudtacular Sprouts: Build Your Own DIY Potato Tower Planter
- Read also: DIY Potato Planter Box: A Step-by-Step Guide to Growing Spuds
Conclusion
Hilling potatoes in containers is a rewarding and practical way to grow this versatile crop, especially if you have limited space.
By following these steps and giving your plants the care they need, you can enjoy a bountiful harvest of homegrown potatoes.
Happy gardening!
FAQs
Use light, well-draining soil or compost for hilling. Avoid heavy or compacted soils, as they can restrict tuber growth and reduce yield.
If you see the stems of the potato plants growing above the soil line by more than a few inches, it’s time to add more soil or compost to keep them covered and promote tuber growth.
Yes, you can use straw, hay, or other organic mulch materials for hilling. Mulch helps retain moisture, suppress weeds, and protect the developing potatoes from sunlight.