Gardening is a rewarding hobby, but it can be time-consuming, especially when it comes to watering plants.
If you have container gardens, you know how crucial consistent watering is for healthy plant growth.
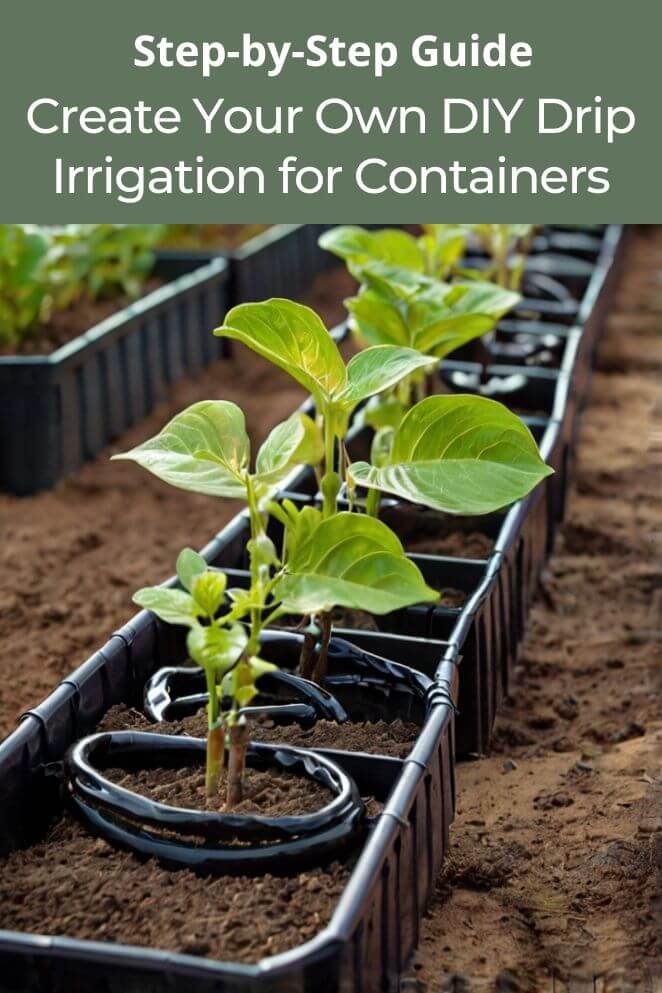
Drip irrigation is a fantastic solution that ensures your plants receive the right amount of water directly to their roots, minimizing waste and maximizing efficiency.
In this blog post, we’ll explore how you can set up a DIY drip irrigation system for your container garden, discuss its benefits, and provide troubleshooting and maintenance tips.
Benefits of Drip Irrigation for Containers
Drip irrigation offers numerous advantages for container gardening, making it a popular choice among gardeners:
Water efficiency
Drip irrigation is all about using water wisely.
Instead of soaking the entire area, it delivers water straight to the roots of your plants.
This method cuts down on evaporation and runoff, saving up to 50% more water compared to traditional watering methods, according to the Environmental Protection Agency (EPA).
- Read also: Herbs on Autopilot: DIY Drip Irrigation For Herb Garden
- Read also: Save Water, Grow More! DIY Drip Irrigation for Raised Beds
Healthier plants
With drip irrigation, your plants get a consistent and controlled supply of water.
This prevents the problems of overwatering or underwatering, which can cause root rot or dehydration.
By keeping the right moisture level, drip irrigation helps your plants grow strong and healthy.
Time-saving
With drip irrigation, your plants get a consistent and controlled supply of water.
This prevents the problems of overwatering or underwatering, which can cause root rot or dehydration.
By keeping the right moisture level, drip irrigation helps your plants grow strong and healthy.
Weed reduction
Drip irrigation focuses water directly on the plant roots, leaving the surrounding soil dry.
This lack of moisture helps keep weeds at bay since they thrive in wet conditions.
Fewer weeds mean less maintenance and more room for your plants to grow.
Scalability
Drip irrigation systems are flexible and easy to expand.
Whether you have a few containers or a large garden, you can adjust and grow the system to fit your needs.
This makes it a practical choice as your garden evolves.
Materials Needed
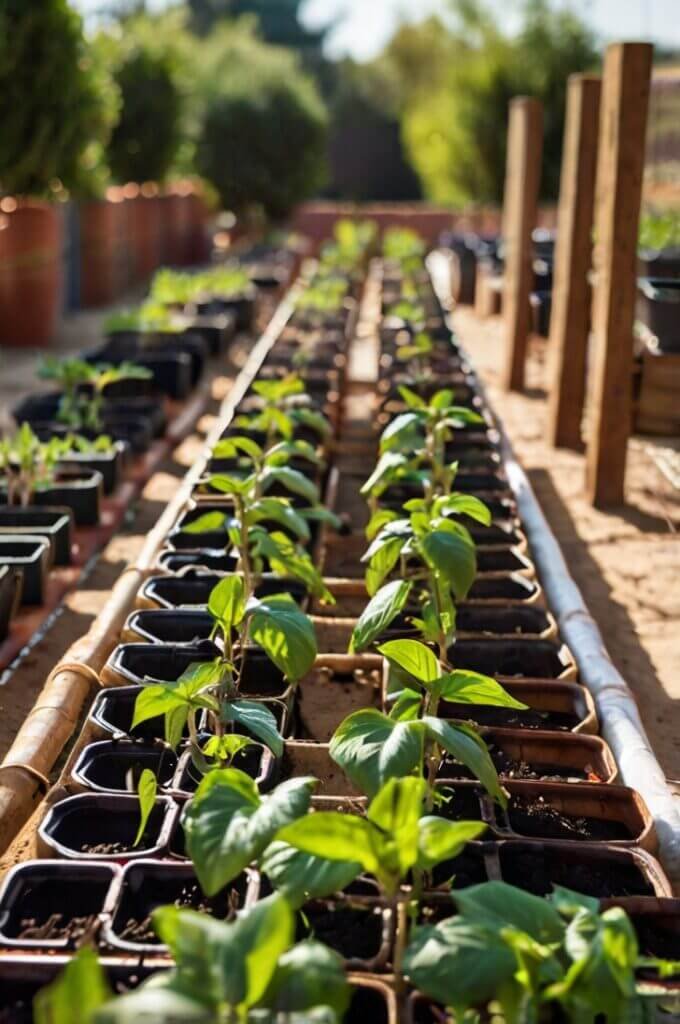
Before you start setting up your drip irrigation system, gather the following materials:
- Drip irrigation kit: These kits typically include tubing, emitters, connectors, stakes, and a pressure regulator.
- Timer: An automatic timer ensures your plants are watered at regular intervals.
- Scissors: For cutting the tubing to the desired length.
- Punch tool: Used to create holes in the tubing for the emitters.
- End caps: To seal the ends of the tubing.
Step-by-Step Guide
Here’s a simple, step-by-step guide to setting up your own drip irrigation system for container gardening:
Plan your layout
Start by deciding where you want your containers to be placed.
Measure the distances between each container so you can cut your tubing to the right lengths.
This planning step ensures that every container will receive water efficiently.
Cut the tubing
Using a pair of scissors, cut the tubing according to your measurements.
Make sure you cut enough tubing to reach each container from the main line.
It’s a good idea to have a bit extra just in case.
Install the timer
Attach a timer to your water source, like an outdoor faucet.
The timer will allow you to set a watering schedule, so you don’t have to turn the water on and off manually.
This is key to keeping your plants watered consistently.
Connect the tubing to the timer
Take the main tubing and connect it to the timer.
This main line will deliver water to all the other lines in your system.
Make sure the connection is secure to avoid leaks.
Run the tubing to your containers
Lay out the main tubing along the path of your containers.
Use stakes to keep the tubing in place and prevent it from shifting.
From this main line, you’ll branch out smaller lines to each container, ensuring every plant gets its share of water.
Punch holes for emitters
Use a punch tool to create small holes in the main tubing where you want to place your emitters.
These holes will be the spots where water will be directed to your plants.
Make sure the holes are evenly spaced and positioned where you want the water to flow.
Insert the emitters
Once you’ve made the holes, insert the emitters into them.
Emitters are small devices that control the flow of water, delivering it directly to the base of each plant.
Ensure that each emitter is securely fitted into the tubing so there are no leaks.
Connect secondary tubing
If your setup includes several containers, you might need to connect additional tubing from the main line to each individual container.
Use connectors to branch off from the main line and direct water to each container.
This step ensures that every plant receives water.
Seal the tubing
To prevent water from leaking out, seal the ends of the main tubing with end caps.
These caps close off the ends of the tubing and ensure that all the water flows through the emitters and reaches your plants.
Test the system
Finally, turn on the water and check the system to make sure everything is working properly.
Look for any leaks in the tubing and confirm that all emitters are delivering water to your plants as expected.
Adjust any emitters or connections if needed to ensure every plant gets the right amount of water.
Troubleshooting Common Issues
Even with a well-set-up drip irrigation system, you might run into some common issues.
Here’s how to troubleshoot and fix them:
Uneven water distribution
If you notice that some of your plants are getting too much water while others aren’t getting enough, the problem might be with clogs in the emitters or tubing.
To fix this, check all the emitters and tubing for blockages.
Clean any clogged parts or replace them if necessary.
This should help ensure that water is distributed evenly to all your plants.
Leaks
Leaks can happen where the tubing connects or within the tubing itself.
Regularly inspect your system for any signs of leaking. If you find a leak, check the connections and tubing for damage.
Replace any damaged parts to stop the leak and keep your system working efficiently.
Low water pressure
If you’re experiencing low water pressure, it could be due to problems with the timer or pressure regulator.
Make sure these components are functioning properly.
Sometimes, adjusting the number of emitters or their flow rate can help balance the water pressure and ensure adequate watering for all plants.
Emitter blockage
Emitters can become blocked by dirt or debris over time.
This blockage can prevent water from flowing correctly.
To avoid this issue, clean your emitters regularly.
Removing any dirt or debris will help maintain a consistent water flow and keep your plants well-watered.
Maintenance Tips
To keep your drip irrigation system running smoothly, follow these maintenance tips:
Regular inspection
Check your irrigation system once a week to catch any issues early.
Look for leaks, clogs, or other problems.
Fixing these problems quickly will help avoid water waste and keep the system running efficiently.
Clean emitters
Emitters can get clogged with dirt or mineral deposits over time.
To prevent blockages, clean them regularly.
You can soak them in vinegar to help break down and remove mineral build-up.
After soaking, rinse them thoroughly before reinserting them into the tubing.
Winterizing
If you live in a region where temperatures drop below freezing, it’s important to winterize your system.
Drain all the water from the tubing and store it indoors to avoid damage from freezing.
This step will help prolong the life of your irrigation system.
Adjust watering schedule
Your plants’ water needs can change with the seasons.
In the hotter months, you might need to water more frequently.
Adjust your watering schedule based on the current weather and the specific needs of your plants to ensure they stay healthy and well-watered.
- Read also: Step-by-Step Guide: DIY Drip Irrigation For Trees
- Read also: The Ultimate Guide to DIY Drip Irrigation for Houseplants
Conclusion
Setting up a DIY drip irrigation system for your container garden is a practical and efficient way to ensure your plants receive the right amount of water.
This method saves time, conserves water and promotes healthier plant growth.
With the right materials and a little effort, you can create a customized irrigation system that meets the needs of your garden.


