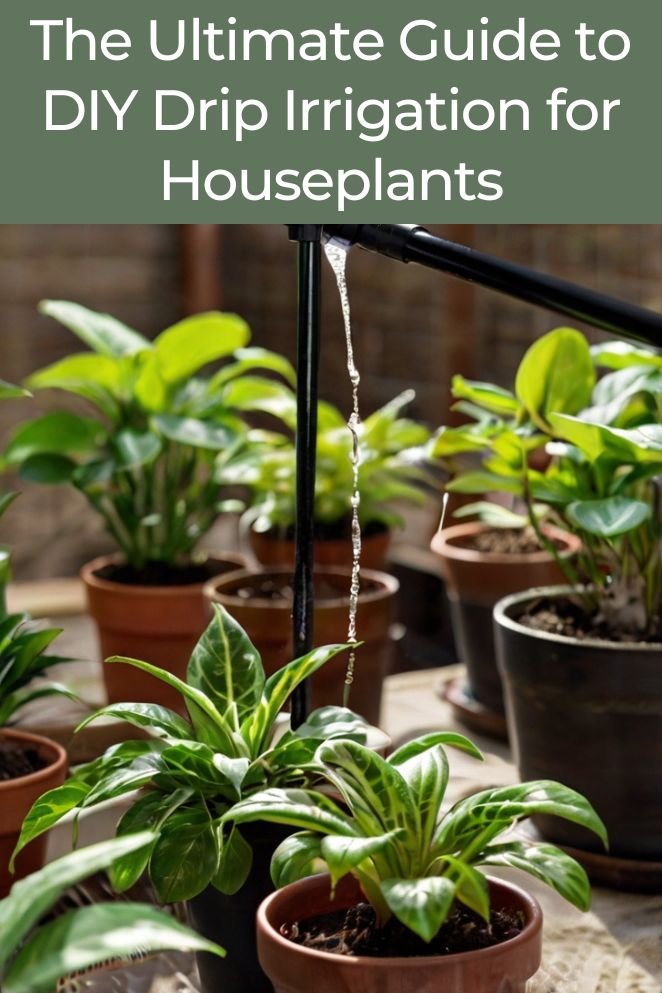
Keeping houseplants healthy and thriving can sometimes be a challenge, especially when it comes to maintaining consistent watering schedules.
A DIY drip irrigation system can be an excellent solution, ensuring your plants get the right amount of water, even when you’re away.
This guide will walk you through the process of setting up your own drip irrigation system for houseplants, highlighting its benefits, the materials you’ll need, and a step-by-step guide to installation.
Benefits of Drip Irrigation
Drip irrigation offers several advantages that can make your plant care routine more efficient and effective:
Consistent watering
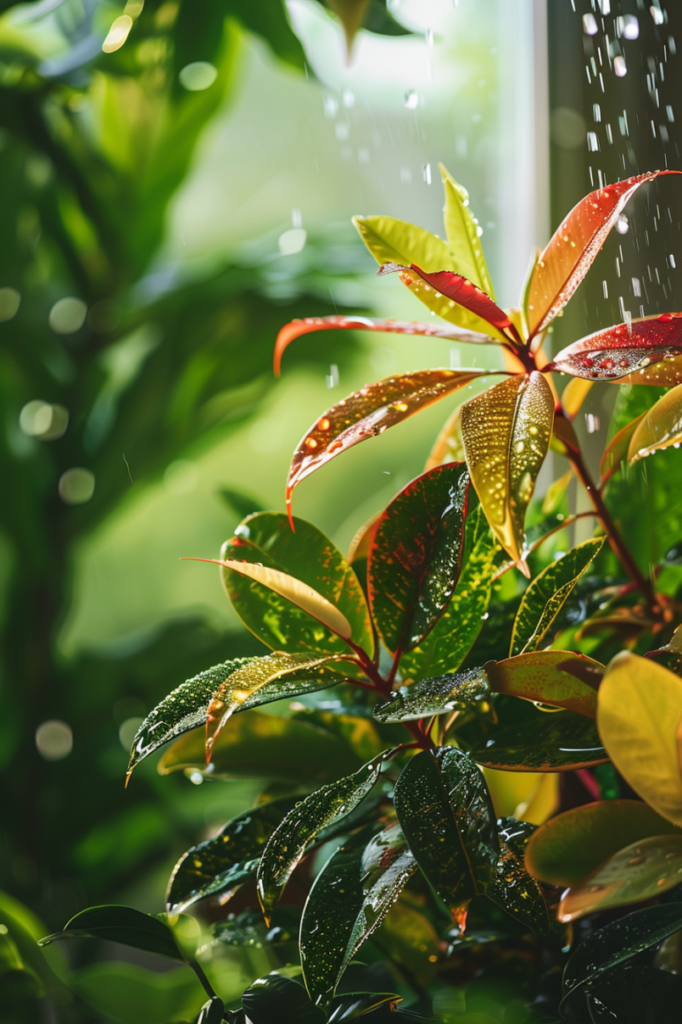
Drip irrigation ensures your plants receive a steady and reliable supply of water.
This helps avoid the issues of overwatering, which can lead to root rot, and underwatering, which can cause plants to wilt.
By delivering water directly to the roots, drip irrigation keeps plants well-hydrated and healthy, making sure they get the right amount of moisture.
- Read also: A Guide: Mastering the Art of Drip Irrigation for Tomatoes
- Read also: Herbs on Autopilot: DIY Drip Irrigation For Herb Garden
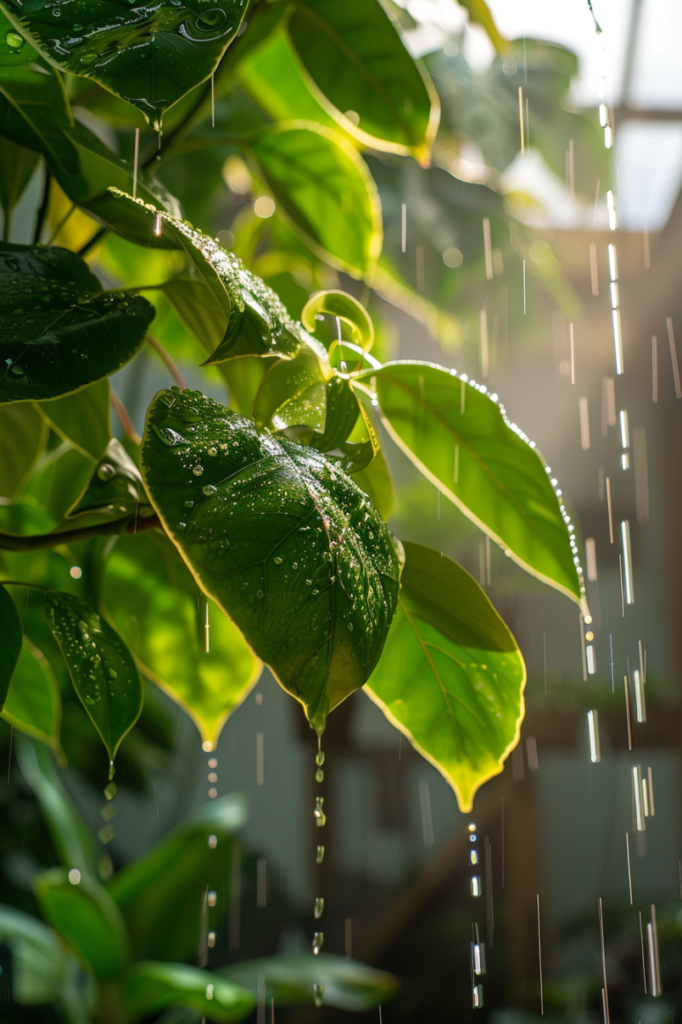
Water conservation
One of the major advantages of drip irrigation is its efficiency.
Unlike traditional watering methods that often waste water through evaporation and runoff, drip irrigation delivers water right to the plant’s root zone.
This targeted approach can save up to 50% more water compared to sprinklers.
This makes it a more eco-friendly option, helping you conserve water and reduce waste.
Time savings
Once you’ve set up your drip irrigation system, it can save you a lot of time.
You won’t have to water your plants manually every day or worry about their needs throughout the day.
The system handles the watering for you, allowing you to spend less time on plant care and more time enjoying other activities.
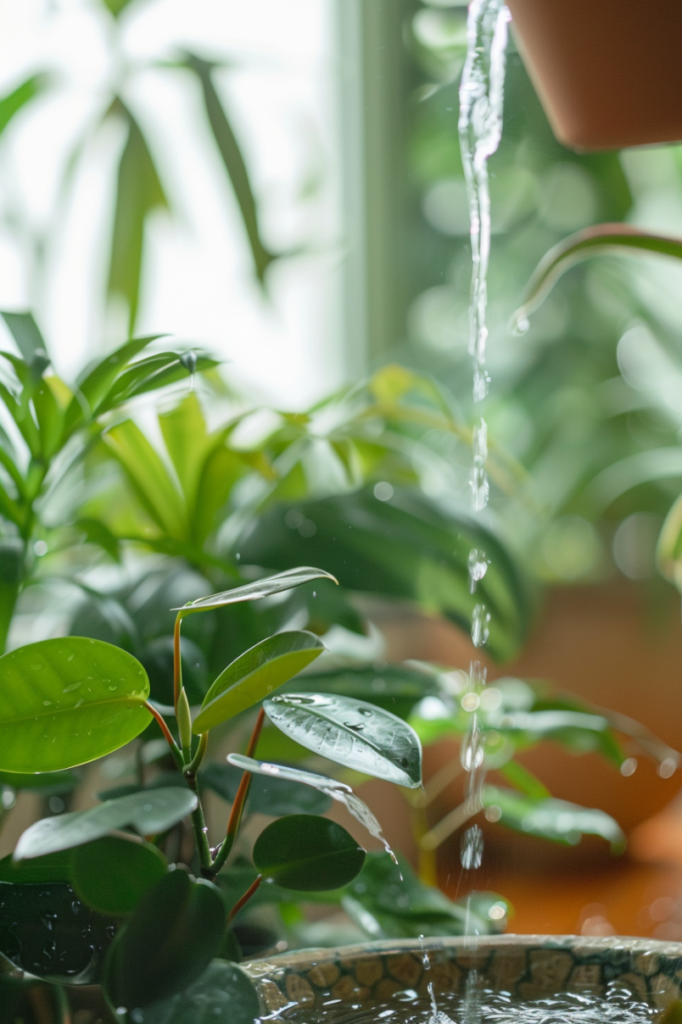
Healthier plants
With drip irrigation, your plants receive a consistent and appropriate amount of water.
This direct delivery to the roots promotes stronger, healthier plant growth.
It helps plants develop deeper roots and reduces the risk of diseases that can be caused by inconsistent watering.
Materials Needed
Before you start setting up your DIY drip irrigation system, gather the following materials:
- Plastic tubing: This will carry water from your water source to your plants. Flexible plastic tubing, typically 1/4 inch or 1/8 inch in diameter, is usually a good choice.
- Drippers or emitters: These control how much water each plant receives. You can choose adjustable drippers if you want to fine-tune the flow or fixed drippers if you prefer a standard flow rate.
- Connector fittings: These pieces connect different sections of tubing. You’ll need T-connectors to branch out, elbow connectors for turns, and end caps to seal the ends.
- Filter: This keeps debris out of the system, which helps prevent clogging. You can use an inline filter or a small mesh filter.
- Pressure regulator: This tool maintains a steady water flow and prevents high pressure from causing damage. Choose a pressure-regulating valve designed for drip irrigation.
- Water source: This is where the water comes from. It could be a faucet, a rain barrel, or any other container you have available.
- Hose or tube stakes: These stakes help keep the tubing in place and prevent it from shifting. Plastic stakes or clips are usually effective.
- Drill with bits: If you need to create holes in pots or containers for the tubing, a drill with appropriate bits will be necessary.
- Scissors or tubing cutter: Use these to cut the tubing to the right lengths for your setup.
- Watering timer (optional): A timer can automate the watering process by setting specific times for the system to operate, which adds convenience.
Step-by-Step Guide
Step 1: Plan your system
Start by planning how you want your drip irrigation system to work.
Decide how many plants you need to water and where they are located.
This planning will help you figure out how much tubing you need and how many emitters you’ll require.
Think about the layout so you can efficiently deliver water to each plant.
Step 2: Cut the tubing
Next, take your scissors or tubing cutter and cut the plastic tubing to the lengths you need.
Make sure each piece is long enough to reach from your water source to each plant.
It’s a good idea to cut a little extra just in case, as you can always trim it down later.
Step 3: Connect the tubing
Connect one end of the main tubing to your water source.
If you’re using a container like a rain barrel, drill a hole near the bottom of the container and insert the tubing.
Secure the tubing with a waterproof sealant if needed to prevent leaks.
This will ensure a steady flow of water into the tubing.
Step 4: Attach the emitters
Install the emitters onto the tubing where each plant is located.
Emitters are small devices that control the flow of water, releasing it slowly to the roots.
Position them at the intervals that match the location of your plants to ensure each one gets the right amount of water.
Step 5: Secure the tubing
Use stakes or clips to hold the tubing in place.
This will keep the tubing close to the soil and prevent it from moving around.
Properly secured tubing ensures that water is evenly distributed and reaches each plant effectively.
Step 6: Test the system
Turn on the water source and test your system.
Check to make sure that all emitters are working correctly, and that water is flowing as it should.
Look out for any leaks or blockages in the tubing and fix them if necessary.
Adjust the emitters if needed to ensure each plant gets the right amount of water.
Step 7: Set up the timer
If you have a watering timer, set it up to automate your watering schedule.
Program the timer based on your plants’ needs, considering factors like the type of plants, their size, and the environment.
This will save you time and ensure your plants receive consistent watering.
Troubleshooting Common Issues
While a drip irrigation system is generally reliable, you might encounter some common issues.
Here’s how to troubleshoot them:
Uneven water distribution
If you notice that some plants are getting too much water while others aren’t getting enough, the problem could be with the tubing or emitters.
Start by checking the tubing for any kinks or blockages that might be affecting water flow.
Make sure all the emitters are functioning properly and are placed correctly.
Sometimes, adjusting the position of the emitters can help distribute water more evenly.
Leaks
Leaks can happen at the connection points between different parts of your system.
If you spot water leaking from any connectors or fittings, check to make sure everything is securely attached.
If you find loose connections, tighten them.
For persistent leaks, you might need to apply waterproof sealant or plumber’s tape to create a better seal and stop the leaks.
Clogged emitters
Emitters, the small devices that release water, can get clogged over time with dirt or mineral deposits.
To clean them, you can soak the emitters in vinegar to dissolve any buildup.
If an emitter is too clogged and doesn’t clean well, it’s often easier to replace it with a new one.
Regular cleaning and maintenance of emitters will help keep your system running smoothly.
Low water pressure
Low water pressure can affect how well your drip system operates.
If you notice that the water isn’t flowing strongly enough, check the water source to ensure its fully open.
If you’re connecting your system to a faucet with high water pressure, using a pressure regulator can help manage and stabilize the water pressure, preventing damage to your system and ensuring consistent watering.
- Read also: Step-by-Step Guide: DIY Drip Irrigation For Trees
- Read also: Save Water, Grow More! DIY Drip Irrigation for Raised Beds
Conclusion
Setting up a DIY drip irrigation system for your houseplants is a smart and efficient way to ensure they receive consistent and adequate watering.
With the benefits of water conservation, time savings, and healthier plants, it’s a worthwhile investment for any plant lover.
By following the step-by-step guide and troubleshooting tips provided, you’ll have a functional drip irrigation system in no time, keeping your houseplants happy and thriving.
FAQs
Yes, drip irrigation systems can be adjusted to suit the watering needs of various houseplants, from succulents to tropical plants.
The frequency depends on the specific needs of your plants and environmental conditions. Generally, most houseplants benefit from being watered every few days, but this can vary.
Yes, you can manually turn the water source on and off, but a timer adds convenience by automating the process and ensuring consistent watering schedules.
Regular maintenance is key. Clean the emitters periodically by soaking them in vinegar to dissolve mineral deposits and check for debris that may cause blockages.
Absolutely. Drip irrigation systems are versatile and can be used for both indoor houseplants and outdoor garden beds, ensuring efficient water usage and healthy plant growth.


