Flower stands are a fantastic way to display your favorite plants and add a touch of nature to your home decor.
Whether you’re an avid gardener or just love the look of fresh flowers in your home, a DIY flower stand can be a fun and rewarding project.
Not only do you get to create something beautiful with your own hands, but you can also customize it to perfectly match your style and space.
In this guide, we’ll walk you through the materials you’ll need, step-by-step instructions, and some handy tips and variations to make your flower stand unique.
Materials Needed
Before you start your DIY flower stand project, gather the following materials:
- Wooden planks or reclaimed wood
- Screws or nails
- Wood glue
- Sandpaper
- Paint or wood stain
- Paintbrushes
- Measuring tape
- Saw (hand saw or circular saw)
- Drill or hammer
- L-brackets (optional for added stability)
- Protective gloves and goggles (for safety)
Optional materials for customization
- Decorative elements like stencils or decals
- Additional wood for shelves or tiers
- Wheels for mobility
- Hooks for hanging plants
Step-by-Step Instructions
Creating a flower stand can be a fun and rewarding project.
Here’s a detailed step-by-step guide to help you through the process:
- Read also: Elevate Your Green Haven: DIY Plant Stands Indoor for Every Style
- Read also: Elevate Your Greenery: DIY Plant Stand Outdoor Ideas
Plan your design
Start by deciding what kind of flower stand you want.
Think about how tall you want it to be, how wide, and how many levels (or tiers) you’d like.
Sketch out your design on paper, including measurements for the legs and shelves.
Cut the wood
With your design in mind, cut the wooden planks to the lengths you need.
For a basic three-tier stand, you’ll typically cut:
- Four pieces for the legs (these determine the height of your stand).
- Three pieces for the shelves (these determine the width and number of levels).
Sand the wood
After cutting, use sandpaper to smooth out any rough edges or surfaces.
This step is important to prevent splinters and prepare the wood for painting or staining later on.
Take your time to ensure all edges are smooth.
Assemble the frame
Start building by attaching the legs to the shelves.
Apply wood glue along the edges where the legs will meet the shelves.
Then, carefully position the legs and secure them in place using screws or nails.
Repeat this process for each shelf, stacking them to create your stand.
Add stability
To ensure your stand is sturdy, especially if it’s tall, use L-brackets at the corners where the legs meet the shelves.
These brackets reinforce the structure and help support the weight of your plants, ensuring everything stays steady.
Paint or stain
Once the frame is assembled and secure, it’s time to add your desired finish.
Use paint or wood stain to match your decor or personal style.
Apply the paint evenly with a brush, covering all surfaces.
Let it dry completely according to the instructions on the paint or stain you’re using.
Customize
This is where you can get creative!
Consider adding decorative elements like hooks for hanging plants, or wheels for easy mobility.
Make the stand uniquely yours by adding any extra features that suit your needs and preferences.
Tips and Variations
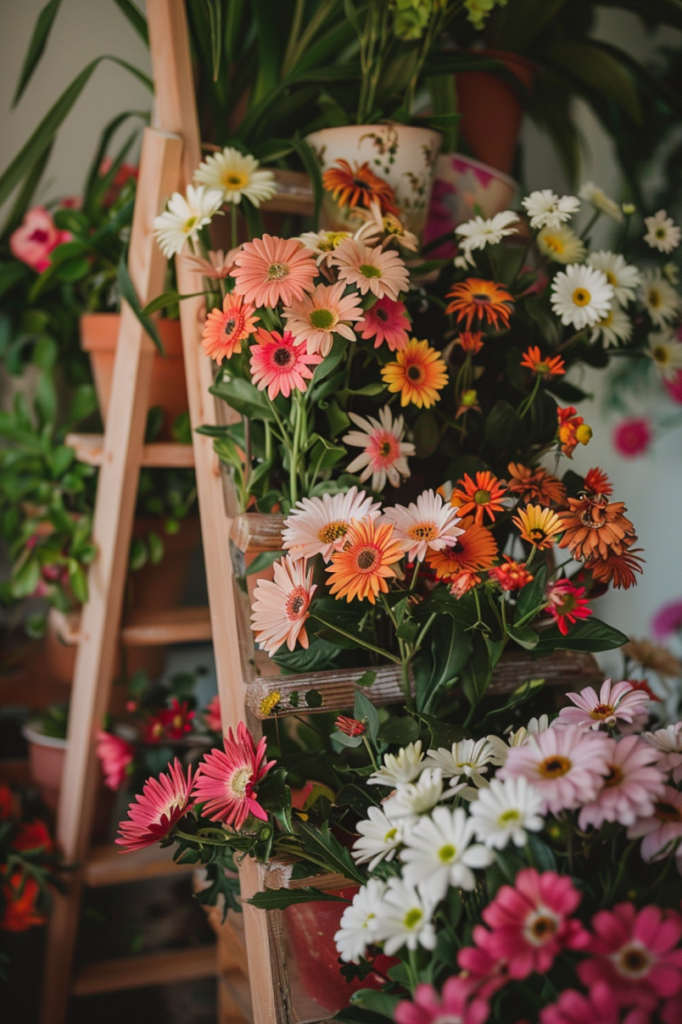
Repurpose old furniture
If you like a rustic or eclectic look, consider repurposing parts of old furniture.
For example, you can use chair backs as the sides of your stand or repurpose a small table into a tiered plant display.
This adds character and a unique touch to your flower stand.
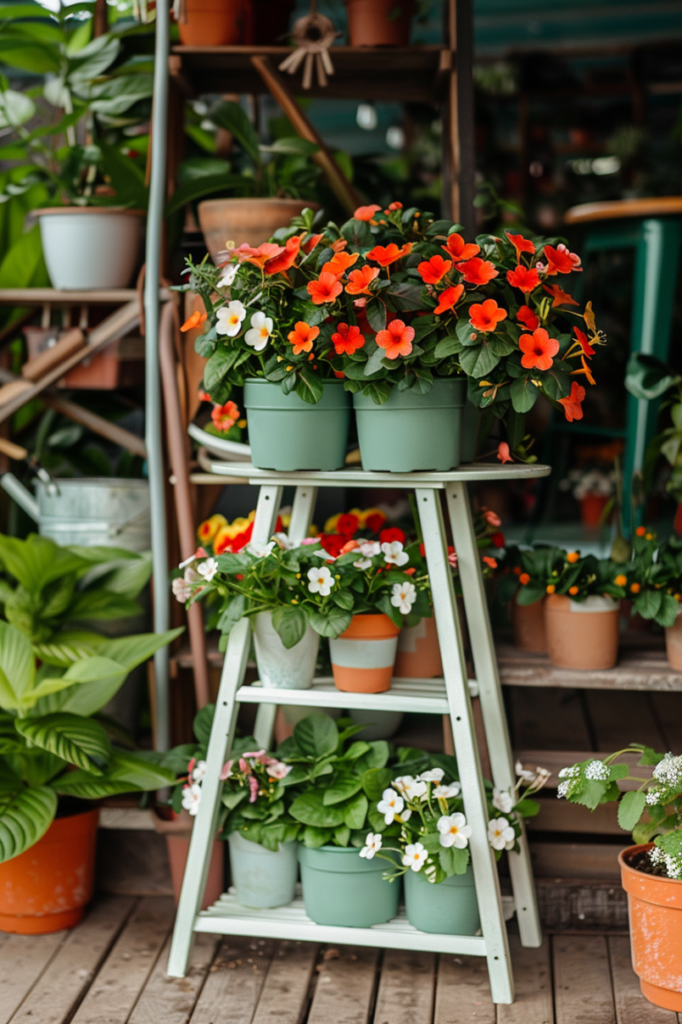
Multi-tier designs
Creating multiple tiers allows you to showcase a variety of plants at different heights.
This not only looks visually appealing but also maximizes space, making it easier to organize and display your plant collection effectively.
Indoor/outdoor use
Decide where you want to place your flower stand.
If it will be outdoors, choose weather-resistant materials like cedar or treated pine to withstand the elements.
For indoor stands, you have more flexibility with materials, but ensure they complement your indoor decor.
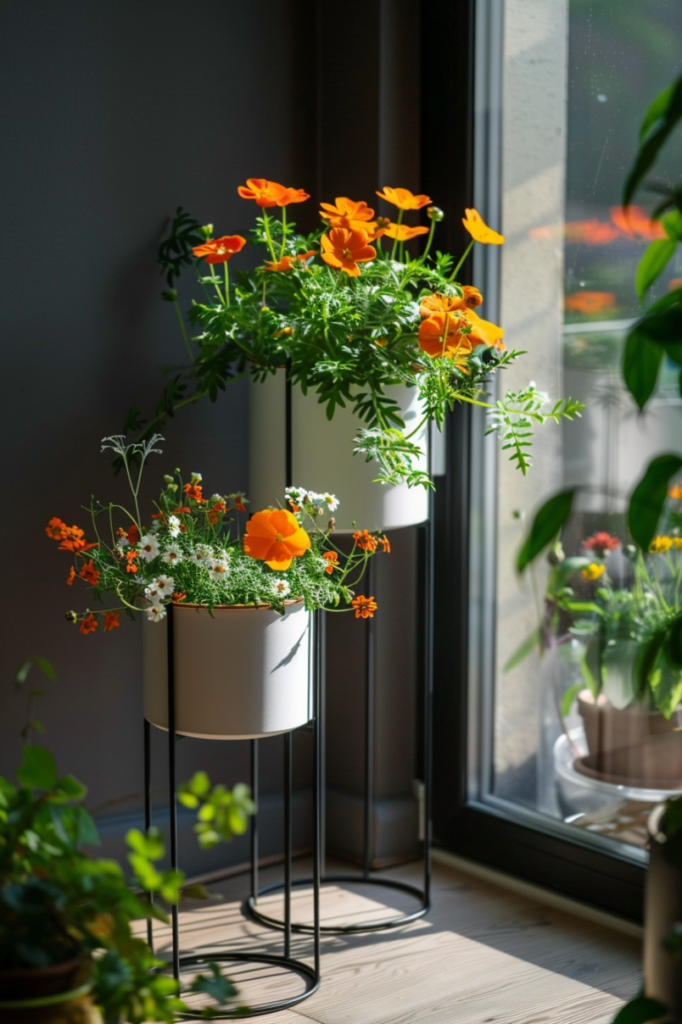
Use vertical space
If floor space is limited, opt for a vertical design.
Vertical flower stands take advantage of height rather than width, allowing you to display more plants without using up valuable floor space.
This is perfect for small apartments or rooms with limited space.
Portable stands
Adding wheels to the base of your flower stand makes it easy to move around.
This is useful for adjusting the position of plants to catch sunlight throughout the day or for cleaning purposes.
Choose sturdy wheels that can support the weight of the stand and plants.
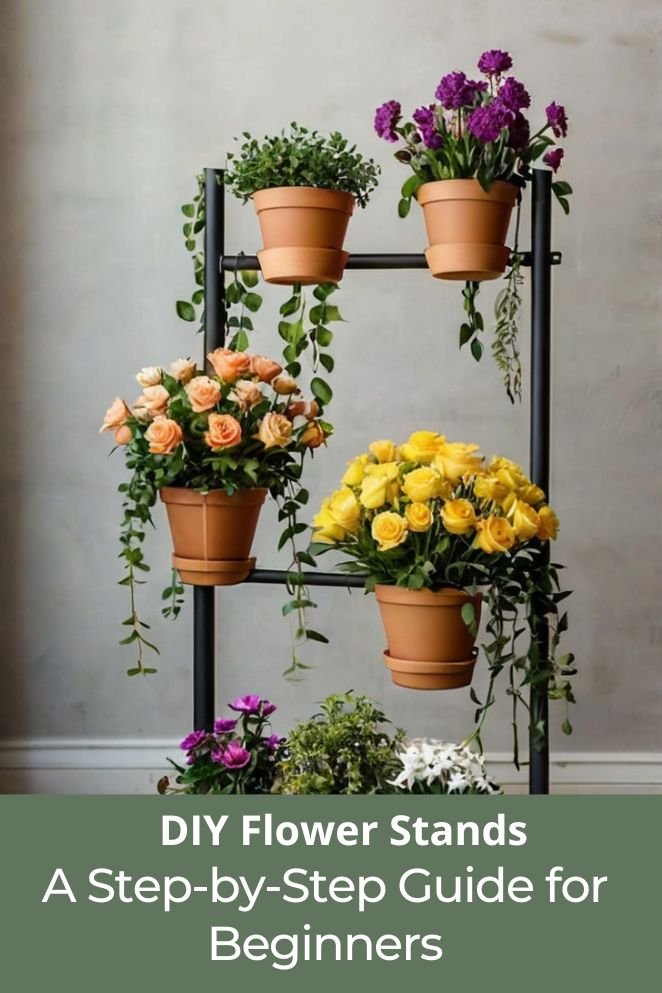
Hanging options
To add versatility to your flower stand, consider attaching hooks or a rod to the top tier.
This allows you to hang trailing plants, decorative items like wind chimes, or even small hanging baskets.
It adds a dynamic element to your display and can enhance the overall aesthetic.
- Read also: Hang it High: Crafting DIY Plant Hangers with Rope
- Read also: Crafting Green Elegance: DIY Plant Hanger with Yarn
Conclusion
Creating your own DIY flower stand is a wonderful way to combine creativity with practicality.
Not only will you have a beautiful piece to display your plants, but you’ll also have the satisfaction of knowing you made it yourself.
With a few basic materials and some simple steps, you can create a flower stand that suits your style and needs.
Plus, you can customize it with various tips and variations to make it truly unique.


