Growing your own herbs at home is a rewarding and practical way to enhance your cooking and enjoy fresh, aromatic herbs year-round.
But what if you could take your herb garden with you, wherever you go?
Enter the mobile herb garden, a versatile and convenient solution for urban gardeners, renters, and anyone with limited space.
In this blog post, we’ll explore the benefits of a mobile herb garden, different design options, and step-by-step instructions to create your own. Let’s get started!
Benefits of Having a Mobile Herb Garden
A mobile herb garden offers practical advantages that improve gardening and cooking experiences:
Convenience
One of the top benefits of a mobile herb garden is its convenience.
You can effortlessly move it to different spots to ensure your herbs get optimal sunlight throughout the day.
This flexibility also lets you protect your plants from bad weather like strong winds or heavy rain.
Plus, you can place the garden closer to your kitchen, making it easy to pick fresh herbs right when you need them for cooking.
- Read also: From Trash to Table: DIY Container Ideas For Herbs
- Read also: Trash to Treasure: DIY Herb Garden From Recycled Materials
Space-saving
If you have limited gardening space, a mobile herb garden is a great solution.
It maximizes the use of your available space by allowing you to move it around as necessary.
Whether you have a small outdoor area, balcony, or sunny indoor spot, you can adjust the garden’s location.
When not in use, you can simply move it out of the way or rearrange it to fit different spaces, making the most of your living or garden area.
Freshness
Growing herbs in a mobile garden ensures you always have fresh, flavorful herbs at hand.
Freshly picked herbs are known for their robust flavors, aromatic scents, and nutritional benefits.
Using home-grown herbs can significantly enhance the taste of your dishes compared to store-bought varieties that may have been stored for a while.
Accessibility
Another advantage of a mobile herb garden is its accessibility.
You can set it up at a height that’s comfortable for harvesting, which is especially beneficial for people with mobility challenges or those who prefer gardening without bending over.
This accessibility makes it easier to care for your herbs, water them, and prune them when needed, promoting healthier and more abundant growth.
Choosing Your Mobile Herb Garden Design
When it comes to designing your mobile herb garden, there are several creative options to choose from.
Here, we’ll look at three popular designs: a repurposed caddy with wheels, a tiered herb planter on a stand, and a hanging herb planter.
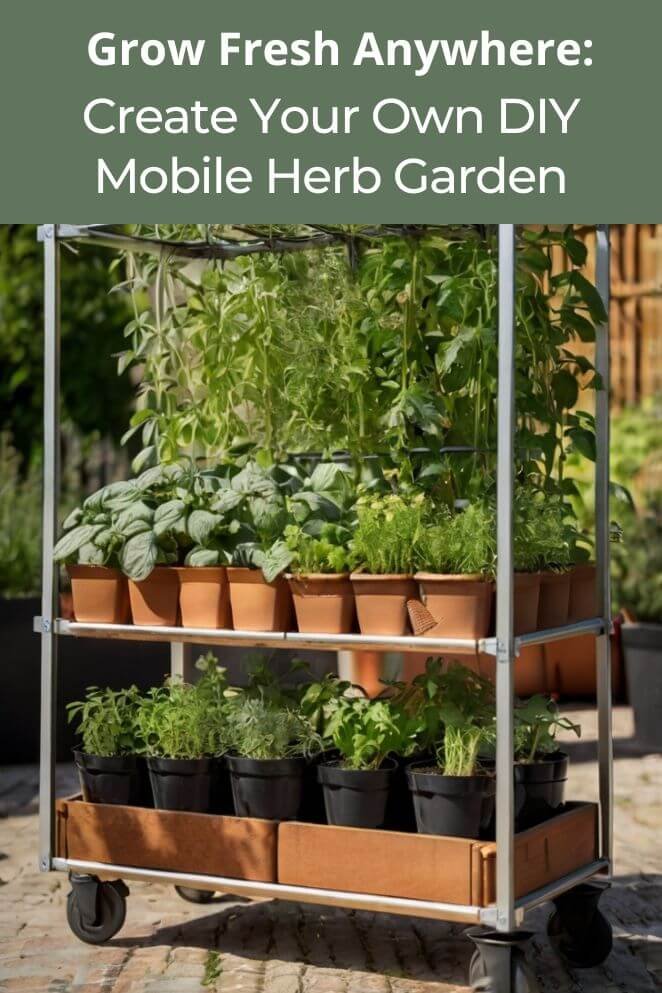
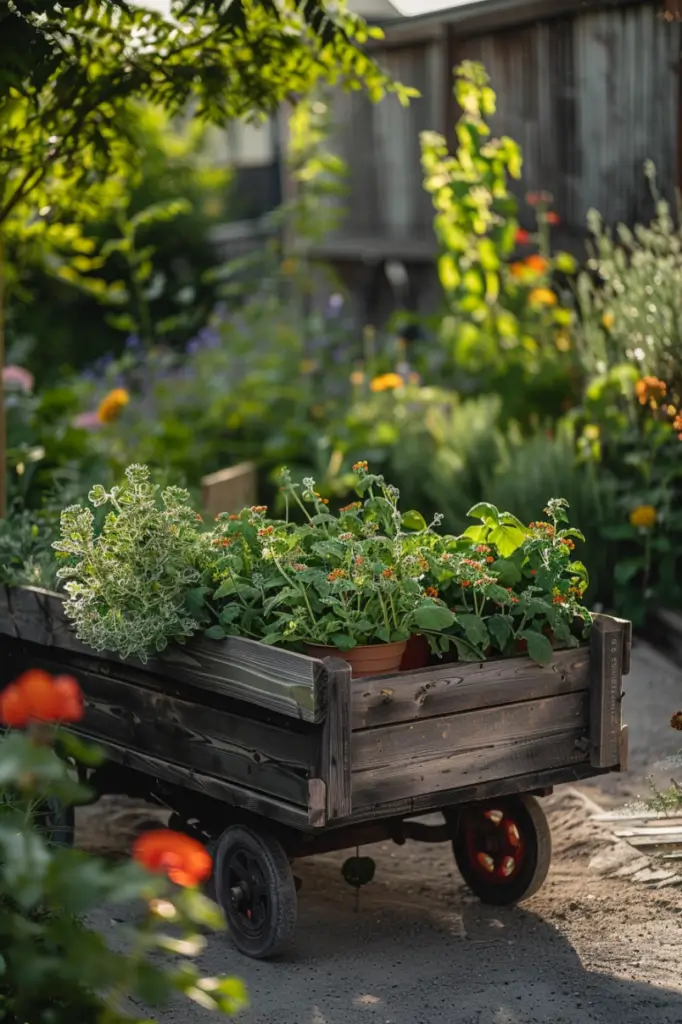
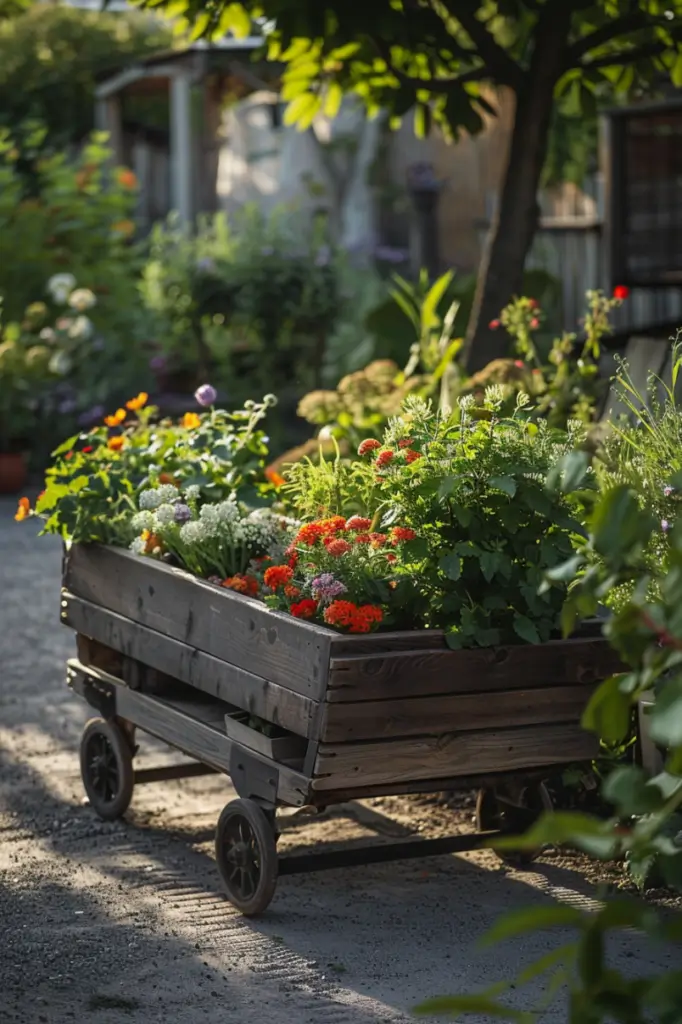
Option 1: Repurposed caddy with wheels
Materials list
- Old caddy or cart with wheels: Find a sturdy caddy or cart that you can repurpose for your herb garden. It should have wheels for easy mobility.
- Planter boxes or pots: Choose planter boxes or pots that fit securely on the caddy. Ensure they are the right size and won’t tip over when the caddy is moved.
- Potting soil: Use quality potting soil suitable for growing herbs. Ensure it’s well-draining to prevent waterlogging.
- Herb seedlings or seeds: Select your favorite herbs to grow. Common choices include basil, parsley, mint, and thyme.
- Small watering can: Have a small watering can handy for watering your herbs.
Step-by-step instructions
Prepare the caddy
- Clean the caddy thoroughly to remove any dirt or debris.
- Optionally, paint or decorate the caddy to match your style and preferences.
Arrange planters
- Place the planter boxes or pots securely on the caddy.
- Arrange them so they are stable and won’t tip over when the caddy is moved.
Fill with soil
- Add potting soil into each planter box or pot, filling them about two-thirds full.
- Ensure the soil level is sufficient for planting your herb seedlings or seeds.
Plant herbs
- Follow the planting instructions on the seed packets or nursery containers.
- Plant your herb seedlings or sow seeds evenly in the soil.
- Press them gently into the soil and cover lightly with additional soil as needed.
Water
- Water the herb plants thoroughly after planting to settle the soil.
- Use your small watering can to water gently, ensuring the soil is evenly moist but not waterlogged.
- Herbs prefer soil that drains well, so avoid overwatering to prevent root rot.
Position the caddy
- Move the caddy to a sunny location where your herbs can receive at least 6 hours of sunlight daily.
- Ensure the caddy is easily accessible for watering and harvesting.
Enjoy your mobile herb garden
- Watch your herbs grow and thrive in their new mobile garden home.
- Harvest fresh herbs as needed for cooking, garnishing, or herbal teas directly from your convenient and stylish herb garden.
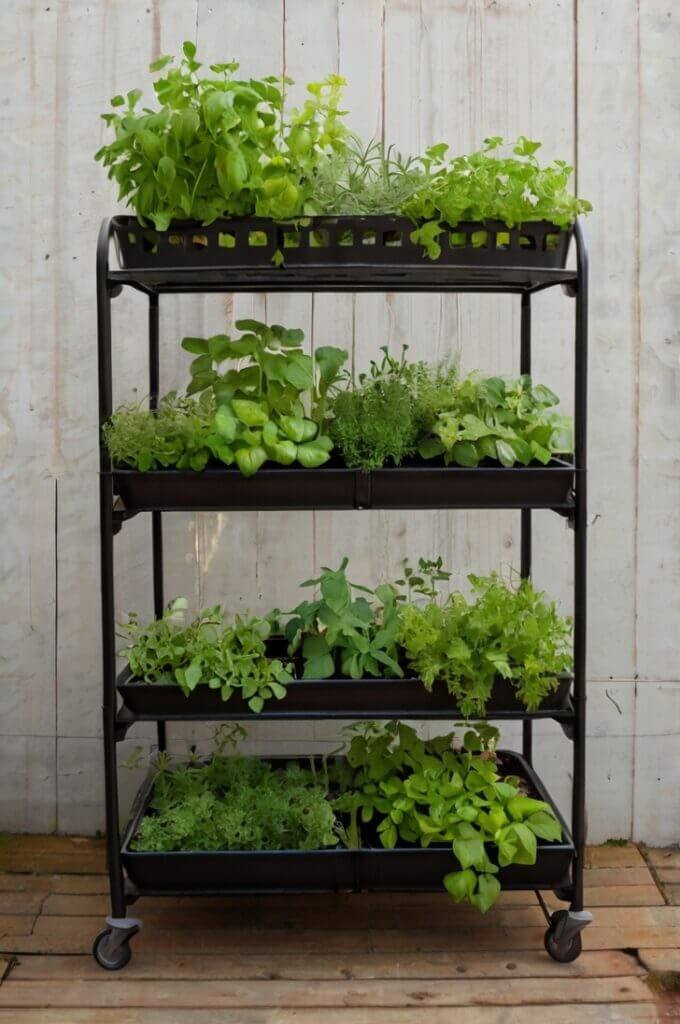
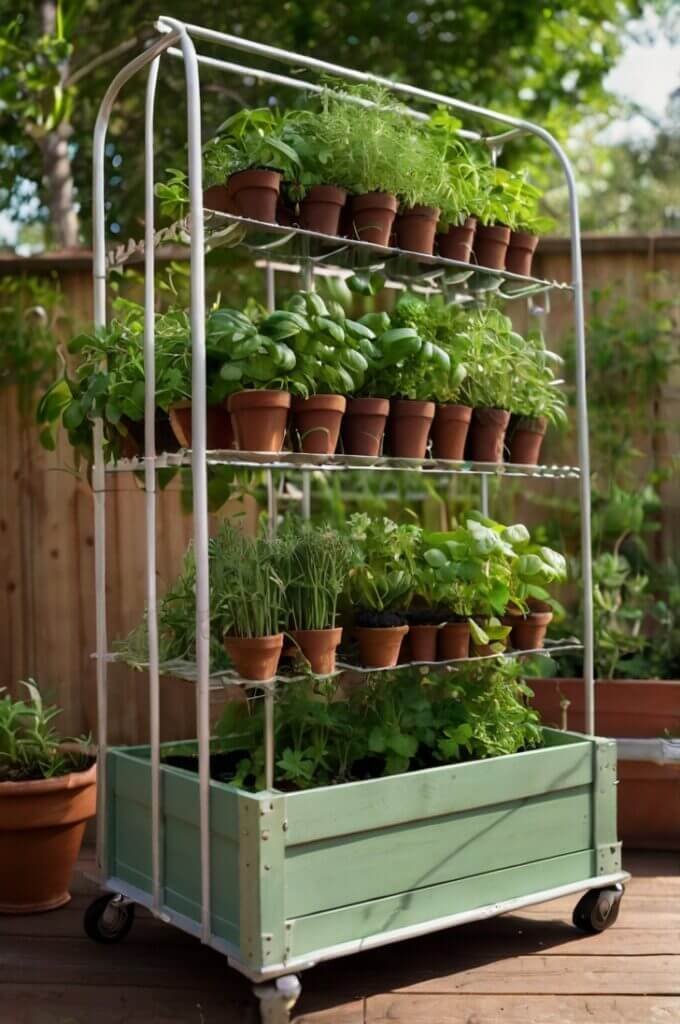
Option 2: Tiered herb planter on a stand
Materials list
- Tiered stand or plant stand: Choose a sturdy tiered stand that can accommodate multiple pots of various sizes.
- Multiple pots of various sizes: Select pots that fit securely on each tier of the stand. Larger pots should be placed at the bottom for stability, with smaller pots on the upper tiers.
- Potting soil: Use quality potting soil suitable for growing herbs. Ensure it provides good drainage to prevent waterlogging.
- Herb seedlings or seeds: Decide on the herbs you want to grow. You can use seedlings from a nursery or start from seeds.
- Watering can: Have a watering can ready for watering your herbs.
Step-by-step instructions
Choose a stand
Select a tiered stand that fits your space and aesthetic preferences.
Ensure it’s strong enough to support the weight of multiple pots filled with soil.
Arrange pots
- Place the pots on each tier of the stand. Start with the largest pots at the bottom to provide stability.
- Arrange smaller pots on the upper tiers of the stand. Ensure all pots fit securely without tipping over.
Fill with soil
Add potting soil into each pot, filling them about two-thirds full. The soil level should provide enough space for planting your herb seedlings or seeds.
Plant herbs
- Follow the planting instructions provided for each herb variety. Plant seedlings or sow seeds evenly in the soil of each pot.
- Press the seedlings gently into the soil and cover lightly with additional soil if needed.
Water
- Water the herbs thoroughly after planting to settle the soil and help the roots establish.
- Use your watering can to water gently, ensuring the soil is evenly moist but not saturated. Herbs prefer soil that drains well, so avoid overwatering.
Position the stand
- Place the tiered herb planter in a sunny area where your herbs can receive at least 6 hours of sunlight daily.
- The tiered design ensures that all plants get adequate light, promoting healthy growth and development.
Option 3: Hanging herb planter
Materials list
- Hanging planters or baskets: Select hanging planters that are suitable for growing herbs.
- Potting soil: Use quality potting soil that provides good drainage for your herbs.
- Herb seedlings or seeds: Decide on the herbs you want to grow. You can use seedlings from a nursery or start from seeds.
- Hooks or mounting hardware: Secure hooks or mounting hardware in a location that receives plenty of sunlight and can support the weight of the hanging planters.
- Watering can: Have a watering can ready for watering your herbs.
Step-by-step instructions
Select hanging planters
Choose hanging planters or baskets that fit your space and aesthetic preferences. Ensure they are suitable for growing herbs and have adequate drainage.
Install hooks
Securely install hooks or mounting hardware in a location that receives at least 6 hours of sunlight daily.
Ensure the hooks are strong enough to support the weight of the planters when filled with soil and water.
Fill with soil
Fill the hanging planters with potting soil, leaving some space at the top to accommodate watering and plant growth.
Ensure the soil level is sufficient for planting your herb seedlings or seeds.
Plant herbs
Plant your herb seedlings or sow seeds evenly in the soil of each hanging planter.
Press the seedlings gently into the soil and cover lightly with additional soil if needed.
Water
Water the herbs regularly, as hanging planters can dry out faster than pots on the ground.
Use your watering can to water gently, ensuring the soil is evenly moist but not waterlogged.
Hang planters
Hang the filled planters on the hooks or mounting hardware.
Adjust the height and position as needed to ensure they are secure and receive adequate sunlight for healthy growth.
Planting and Care Tips
Sunlight
Most herbs thrive in full sunlight, so place your mobile herb garden where it can get 6-8 hours of sunlight each day.
If indoors, choose a bright, sunny window.
Watering
Herbs prefer soil that drains well.
Water them when the top inch of soil feels dry to the touch.
Avoid overwatering, as herbs can suffer from root rot in soggy soil.
Pruning
Regular pruning is beneficial for herbs.
Trim the top growth to encourage bushier plants and prevent them from flowering too early.
Flowering can affect the flavor and quality of the leaves.
Fertilizing
Use a balanced, water-soluble fertilizer every few weeks during the growing season.
This helps provide essential nutrients for healthy herb growth.
Follow the manufacturer’s instructions for proper dilution and application.
Pest control
Monitor your herbs for pests such as aphids or spider mites.
Use organic methods like neem oil or insecticidal soap to treat any infestations.
These are effective and safe for use on herbs destined for consumption.
- Read also: Balcony Heaven: DIY Vertical Herb Garden For Balcony
- Read also: Easy Elegance: DIY Herb Garden With Mason Jars
Conclusion
A mobile herb garden is a fantastic way to enjoy fresh, home-grown herbs no matter where you live.
Whether you choose a repurposed caddy, a tiered stand, or a hanging planter, the benefits of having a mobile herb garden are numerous. It’s convenient, space-saving, and provides a constant supply of flavorful herbs.
By following the steps and tips outlined in this guide, you can create your own mobile herb garden and enhance your culinary creations with ease.


