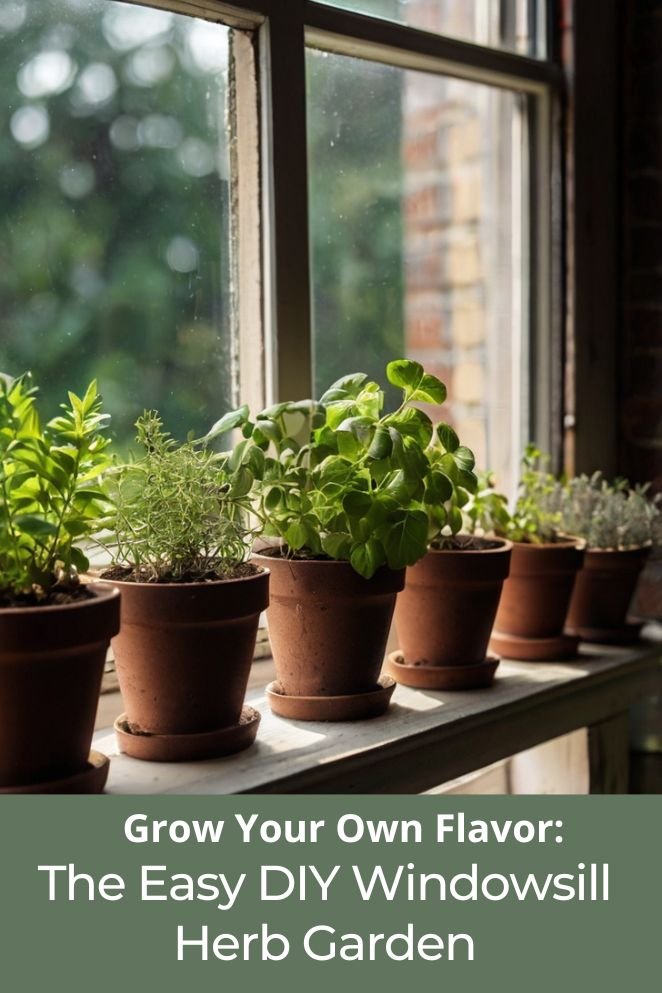
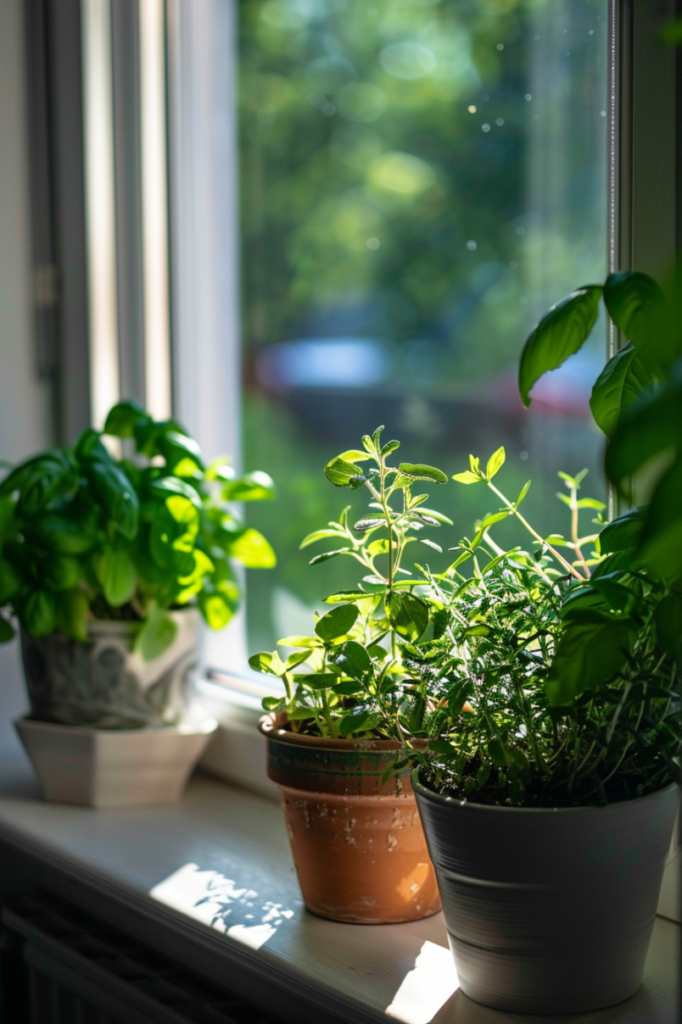
Imagine plucking fresh basil leaves for your pasta, or mint for your tea, right from your windowsill.
Growing your own herb garden at home is not only convenient but also incredibly rewarding.
Whether you’re a seasoned gardener or a complete beginner, creating a DIY windowsill herb garden is a fantastic way to bring a bit of nature into your home.
This guide will take you through the benefits, planning, and steps to create and maintain your very own herb garden.
Benefits of Having a Windowsill Herb Garden
Growing herbs on your windowsill brings a host of benefits that can enhance both your cooking and well-being:
Fresh Herbs Year-Round
Having a windowsill herb garden means you can enjoy fresh herbs anytime, regardless of the season.
Fresh herbs not only add vibrant flavors to your dishes but also pack more nutrients compared to dried herbs bought from stores.
- Read also: No Yard Needed! DIY Herb Garden for Small Apartment
- Read also: Balcony Heaven: DIY Vertical Herb Garden For Balcony
Space-saving
A windowsill herb garden is perfect if you have limited space.
It cleverly utilizes vertical space, making it accessible even for apartment dwellers or those without outdoor gardening areas.
You can grow several varieties of herbs in compact containers right by your window.
Cost-effective
Growing your own herbs is cost-effective in the long run. Instead of buying herbs repeatedly, a single packet of seeds can provide a continuous supply of fresh herbs.
This saves money while ensuring you always have herbs on hand whenever you need them for cooking.
Eco-friendly
Homegrown herbs contribute to environmental sustainability by reducing plastic packaging waste and minimizing transportation emissions associated with store-bought herbs.
You’re making a positive impact by reducing your carbon footprint.
Therapeutic benefits
Taking care of a windowsill herb garden can be a therapeutic experience.
Gardening is known to reduce stress levels and improve mental well-being.
It’s a satisfying feeling to nurture plants and watch them thrive, adding a calming rhythm to your daily routine.
Planning Your Herb Garden
Planning your windowsill herb garden involves careful consideration and preparation to ensure your herbs thrive and provide you with fresh flavors year-round.
Here’s how to get started:
Choosing a location
Select a spot that receives at least 6-8 hours of sunlight daily.
South-facing windows are best for maximum sunlight exposure, but east or west-facing windows can also work well.
Ensure the location is easy to access for watering and caring for your herbs daily.
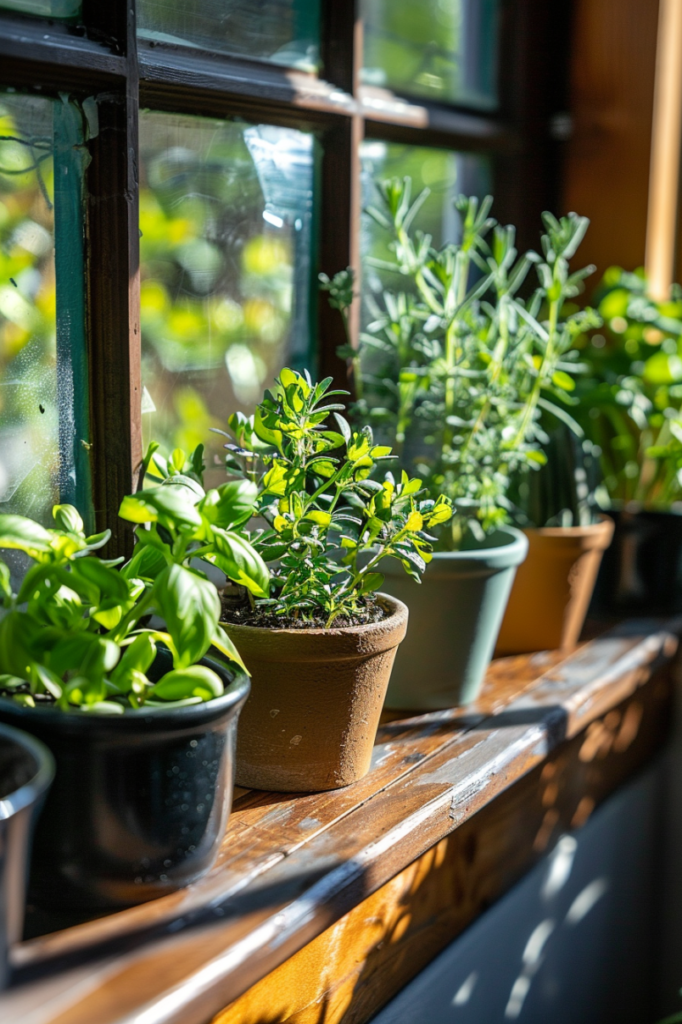
Selecting herbs
Choose herbs based on your culinary preferences and the growing conditions of your chosen location.
Popular herbs for windowsill gardens include:
- Basil: Adds a fresh, sweet flavor to Italian dishes.
- Mint: Perfect for refreshing teas and desserts.
- Thyme: Ideal for seasoning meats, poultry, and vegetables.
- Parsley: Versatile and widely used in cooking and garnishing.
- Chives: Adds a mild onion flavor to salads and as a garnish.
- Cilantro: Essential for adding zest to Mexican and Asian cuisines.
Select herbs that you enjoy using in your cooking to make the most of your garden’s yield.
Materials and supplies
Gather the necessary materials to set up your herb garden:
- Containers: Choose pots or containers with drainage holes to prevent water from pooling and causing root rot.
- Potting soil: Use a high-quality potting mix that provides good drainage and nutrient retention.
- Herb seeds or seedlings: Decide whether to start from seeds or purchase young plants (seedlings) for quicker results.
- Watering can or spray bottle: You’ll need a way to water your herbs regularly without over-soaking the soil.
- Fertilizer: Consider using a balanced, water-soluble fertilizer to provide essential nutrients for healthy growth.
Step-by-Step Guide
Setting up your windowsill herb garden is an enjoyable and rewarding process. Here’s a step-by-step guide to help you get started:
Step 1: Prepare the containers
Choose containers or pots that have drainage holes at the bottom to allow excess water to escape.
This prevents your herbs from sitting in water, which can cause root rot.
Fill each container with potting soil, leaving about an inch of space from the top to allow room for watering.
Step 2: Plant the seeds or seedlings
If you’re starting from seeds, follow the instructions on the seed packet for planting depth and spacing.
Typically, you’ll lightly press the seeds into the soil surface and cover them lightly with more soil.
For seedlings, gently remove them from their nursery pots, being careful not to damage the roots.
Place each seedling into its container and fill around the roots with additional potting soil.
Step 3: Watering
After planting, water the soil thoroughly until you see water draining from the bottom of the containers.
This ensures the soil is evenly moist but not waterlogged.
For delicate seedlings, use a spray bottle to water them gently, avoiding disruption to the soil or roots.
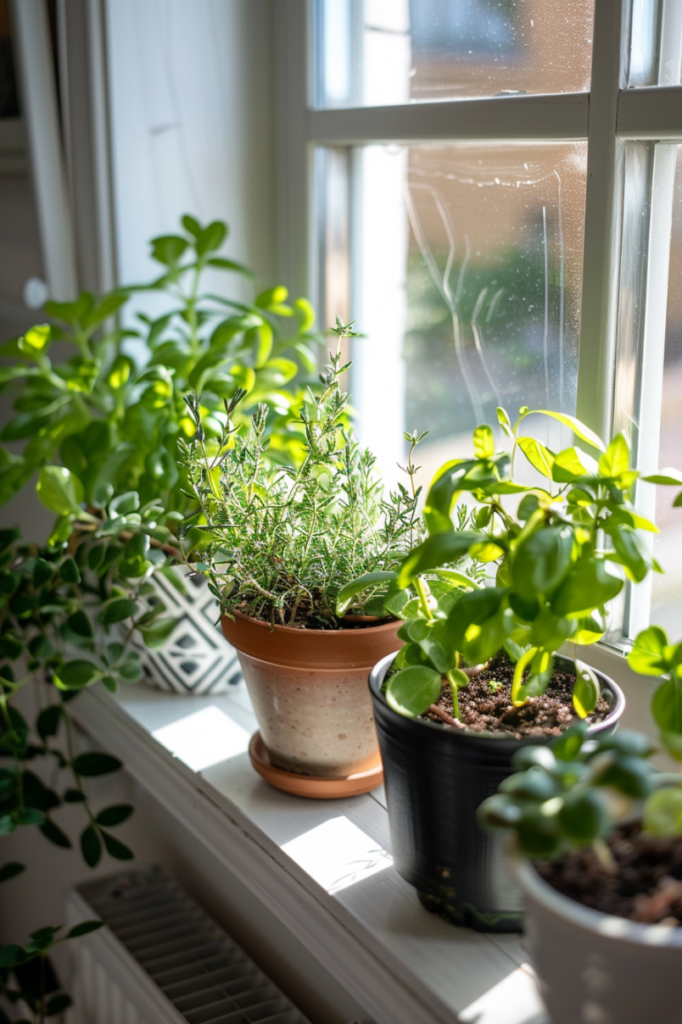
Step 4: Positioning
Place your herb containers on a sunny windowsill that receives at least 6-8 hours of sunlight daily.
South-facing windows are ideal for maximum sunlight exposure, but east or west-facing windows can also work well.
Rotate the containers occasionally to ensure all sides of the herbs receive equal sunlight, promoting balanced growth.
Step 5: Fertilizing
To support healthy growth, fertilize your herbs every few weeks with a balanced fertilizer.
Follow the instructions on the fertilizer package for the correct amount and application method.
Fertilizing helps provide essential nutrients that may be depleted over time in the potting soil, ensuring your herbs grow robustly and produce flavorful leaves.
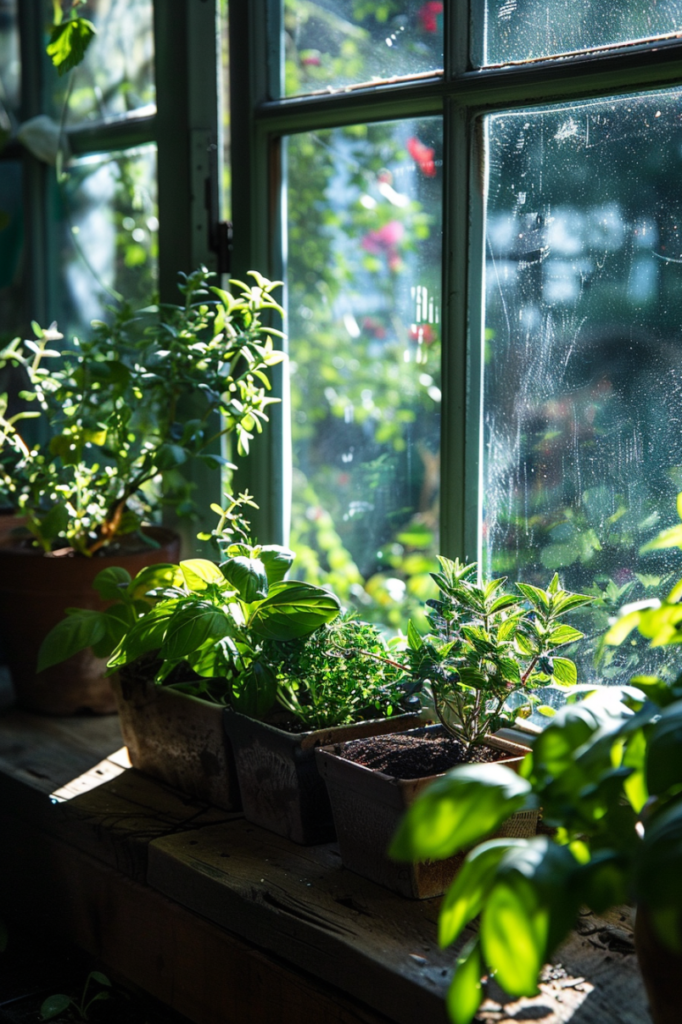
Caring for Your Herb Garden
Taking care of your herb garden ensures it thrives and provides fresh, flavorful herbs for your culinary creations.
Here’s how to care for your herbs step-by-step:
Watering
Herbs prefer soil that is slightly moist but not soggy.
Check the top inch of soil regularly by touching it with your finger.
Water your herbs when this top layer feels dry. Ensure water reaches the roots without overwatering, which can cause root rot and harm your plants.
Pruning
Regularly trim your herbs to promote bushier growth and prevent them from becoming tall and spindly (leggy).
Use clean scissors or pruning shears to snip off the top few inches of each stem.
Harvesting herbs frequently not only keeps them productive but also encourages new shoots to develop.
Pest control
Keep an eye on your herbs for pests like aphids or spider mites, which can damage leaves and stems.
If you spot pests, treat affected plants promptly with a natural insecticidal soap or remove pests by hand.
This helps maintain the health of your herbs without using harsh chemicals.
Sunlight
Ensure your herbs receive sufficient sunlight each day, ideally 6-8 hours.
Place them on a sunny windowsill or consider using a grow light if natural light is limited.
Rotate the pots occasionally to expose all sides of the plants to sunlight evenly, promoting balanced growth and preventing one-sided leaning.
Rotation
Rotate your herb pots every few days to ensure all parts of the plants receive adequate sunlight.
This practice helps prevent uneven growth and encourages herbs to develop uniformly.
It’s especially important if your window provides light from only one direction.
- Read also: Easy Elegance: DIY Herb Garden With Mason Jars
- Read also: DIY Herb Spiral Garden: The Perfect Solution for Small Spaces
Conclusion
Creating a DIY windowsill herb garden is a rewarding and practical way to enjoy fresh herbs year-round.
By carefully planning your garden, choosing the right location and herbs, and following a few simple steps, you can successfully grow and maintain a thriving herb garden.
Not only will you have a convenient source of fresh herbs, but you’ll also enjoy the many benefits that come with gardening.


