Drying your own herbs can be a simple and cost-effective way to preserve your favorite flavors and aromas.
Not only does it allow you to have a constant supply of fresh herbs throughout the year, but it also helps to reduce waste and save money on store-bought herbs.
In this article, we’ll guide you through the process of creating a DIY herb drying rack and provide tips for selecting the right herbs, preparing them for drying, and monitoring the drying process.
Benefits of Drying Your Own Herbs
Drying your own herbs at home offers several advantages that can enhance your culinary experience:
Cost-effective
Buying herbs from the store can add up over time, especially if you cook frequently or prefer fresh ingredients.
Drying herbs at home is a cost-effective alternative that saves money in the long run.
You can buy fresh herbs in bulk or grow them in your garden, then dry and store them for later use without worrying about frequent trips to the store.
- Read also: No Yard Needed! DIY Herb Garden for Small Apartment
- Read also: Trash to Treasure: DIY Herb Garden From Recycled Materials
Freshness
Dried herbs can retain much of the flavor and aroma of fresh herbs when prepared properly.
By drying your own herbs, you ensure they are at their peak freshness when harvested.
This allows you to enjoy the full spectrum of flavors in your dishes, even when fresh herbs are not in season or readily available.
Variety
Drying herbs at home opens up a world of variety that may not be found in stores.
You can experiment with different types of herbs, including those that are less common or not typically available in your local market.
This variety lets you tailor your culinary creations with unique flavors and aromas that suit your taste preferences.
Control
When you dry your own herbs, you have complete control over the process.
You can choose the best drying method—whether air-drying, using a dehydrator, or even drying in the oven—to preserve the herbs’ quality.
You can also decide how finely to crush or grind them and how to store them to maintain their potency over time.
This level of control ensures that you get the most out of your herbs, both in terms of flavor and nutritional benefits.
Materials Needed
To create a DIY herb drying rack, you’ll need the following materials:
- Wood: You can use any type of wood you like, but cedar or pine are good options because they are naturally resistant to rot and insects.
- Screws: You’ll need screws to assemble the rack.
- Hinges: If you want to make your rack foldable, you’ll need hinges.
- Nails: You’ll need nails to attach the rack to a wall or other surface.
- Herbs: Of course, you’ll need herbs to dry!
Step-by-Step Guide
Creating your own herb drying rack is a practical and rewarding project that allows you to preserve herbs for culinary use.
Here’s how you can make one:
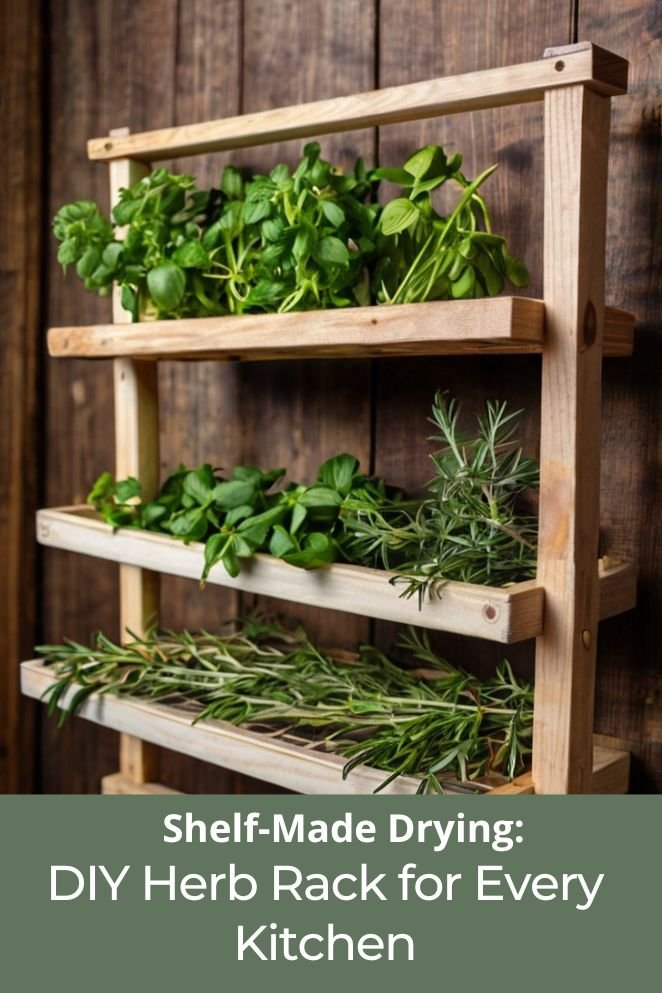
Choose your drying rack design
Decide on the design of your herb drying rack based on your space and needs.
You can opt for a simple rack made from wood slats, a foldable design for easy storage, or even a rack with trays to catch herbs as they dry.
Prepare your materials
Gather your materials based on the design you’ve chosen.
You’ll need wood of appropriate dimensions for the rack, screws for assembly, sandpaper to smooth out rough edges, and optionally, hinges if you’re making a foldable rack.
- Wood selection: Choose a sturdy wood like pine or cedar that can withstand the weight of herbs without bending or breaking.
- Cutting and sanding: Measure and cut the wood to the desired lengths and widths for your rack. Use sandpaper to smooth any rough spots or sharp edges to prevent snagging delicate herb leaves.
Assemble the rack
Begin assembling your drying rack by laying out the pieces according to your design plan.
Use screws to secure the pieces together, ensuring the rack is stable and can support the weight of herbs evenly distributed across its surface.
- Sturdiness: Ensure each joint is securely fastened with screws to prevent wobbling or instability when loaded with herbs.
- Spacing: Leave enough space between slats or trays to allow adequate air circulation, which is crucial for effective herb drying.
Add hinges (optional)
If you’ve chosen a foldable design for easy storage, attach hinges to one side of the rack.
This allows you to fold the rack flat when not in use, saving space in your kitchen or storage area.
- Hinge placement: Position hinges evenly along one edge of the rack to ensure smooth folding and unfolding.
Attach the rack to a surface
Decide where you want to install your herb drying rack.
Use nails or screws to securely attach the rack to a wall, ceiling, or other surface where it will be stable and accessible.
- Location consideration: Place the rack in a well-ventilated area away from direct sunlight to prevent herbs from losing their flavor compounds too quickly.
Add finishing touches (optional)
For added protection and aesthetic appeal, consider applying a coat of varnish or paint to the drying rack.
This helps seal the wood against moisture and enhances its durability over time.
- Varnish application: Use a brush to apply varnish evenly over the wood surface. Allow it to dry completely before using the rack to avoid transferring any chemicals to your herbs.
Tips for Drying Herbs
Drying herbs is a straightforward way to preserve their flavor and aroma for culinary use.
Here are essential tips to ensure successful drying:
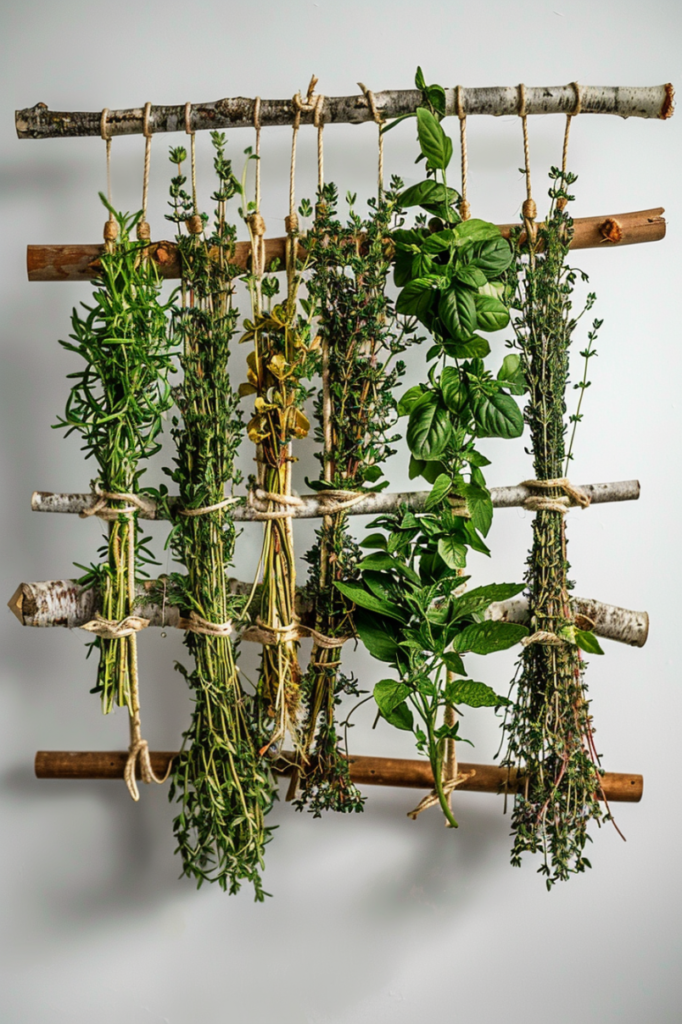
Selecting the right herbs
Choose herbs that are known for their flavor and are suitable for drying. Popular choices include basil, oregano, thyme, rosemary, and mint. Harvest herbs in the morning when their essential oils are most concentrated for optimal flavor.
- Herb quality: Select herbs that are healthy, free from pests or diseases, and at their peak freshness. Avoid herbs that are wilted or damaged.
Preparing the herbs
Prepare the herbs by rinsing them gently under cold water to remove any dirt or debris.
Pat them dry with a clean towel or paper towel. Remove tough stems and any discolored or damaged leaves.
For woody herbs like rosemary or thyme, strip the leaves from the stems.
- Cutting herbs: Cut large herbs into smaller pieces to facilitate even drying. This helps speed up the drying process and ensures uniform drying.
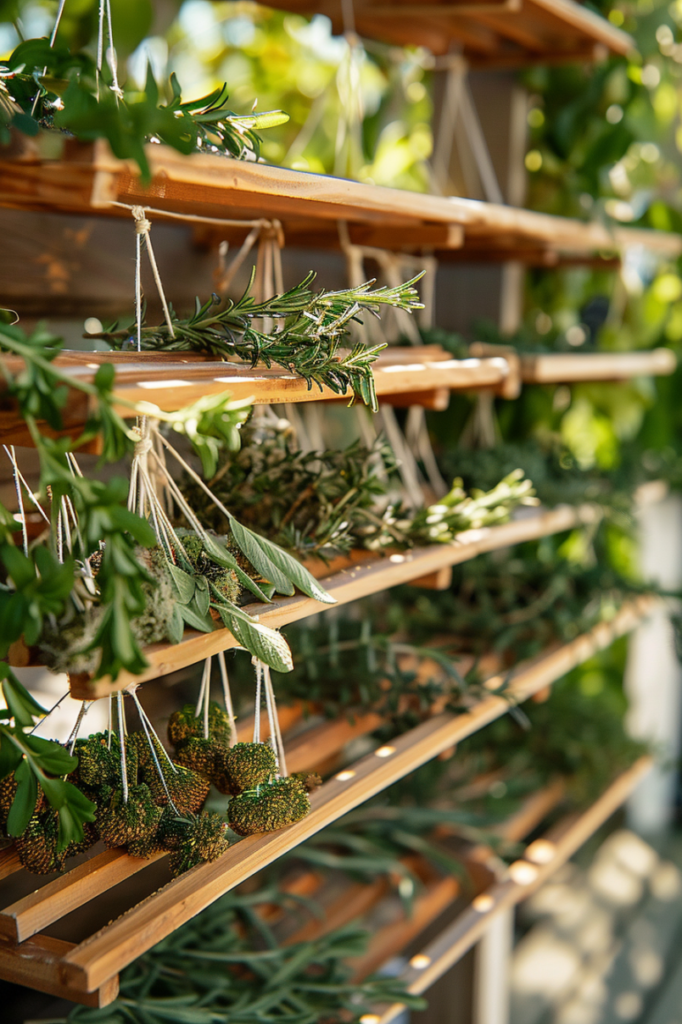
Arranging herbs on the rack
Arrange the prepared herbs on your drying rack in a single layer. Ensure that the herbs are spread out evenly and not overlapping.
This allows air to circulate around each herb, promoting even drying.
- Spacing: Leave enough space between herbs to prevent them from touching each other, which can trap moisture and delay drying.
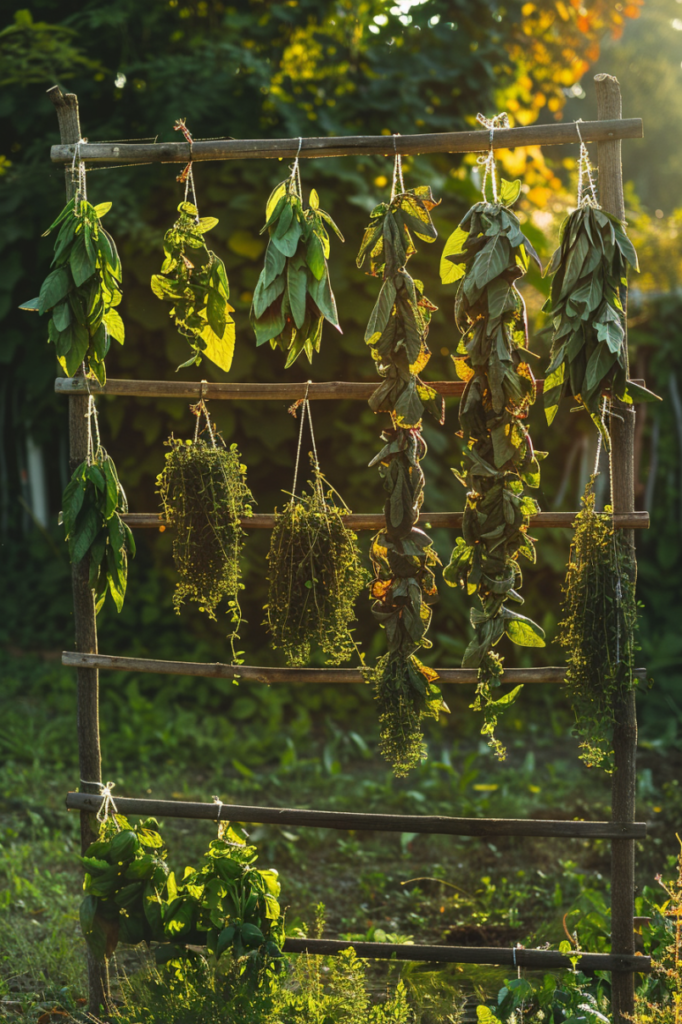
Finding the perfect drying location
Choose a drying location that is warm, dry, and well-ventilated.
Avoid areas with high humidity or direct sunlight, as this can cause herbs to lose their flavor and color prematurely.
- Ideal conditions: A room with good air circulation, such as a kitchen or pantry, is ideal. You can also use a dehydrator or oven set to low heat for quicker drying.
Monitoring the drying process
Check the herbs regularly during the drying process to ensure they are drying evenly and without developing mold or mildew.
Herbs are sufficiently dry when they crumble easily between your fingers.
- Drying time: Drying times vary depending on the herb and drying conditions. It can take anywhere from a few days to a week or more.
Storing dried herbs
Once dried, store herbs in airtight containers such as glass jars or sealed bags to preserve their flavor and potency.
Label containers with the herb name and date of drying for easy identification.
- Storage conditions: Store dried herbs in a cool, dark place away from heat and moisture. Properly stored herbs can retain their quality for several months to a year.
- Read also: Grow Fresh Herbs: Create Your Own DIY Hydroponic Herb Garden
- Read also: Easy Elegance: DIY Herb Garden With Mason Jars
Conclusion
Creating a DIY herb drying rack is a simple and cost-effective way to preserve your favorite herbs.
By following these steps and tips, you can create a rack that is functional, durable, and easy to use.
Remember to choose the right herbs, prepare them properly, and monitor the drying process to ensure the best results.
FAQs
Cedar or pine are good options because they are naturally resistant to rot and insects.
Cut the herbs into small pieces and remove any stems or leaves that are not suitable for drying.
Check the herbs regularly to ensure they are drying evenly and not developing mold or mildew.


