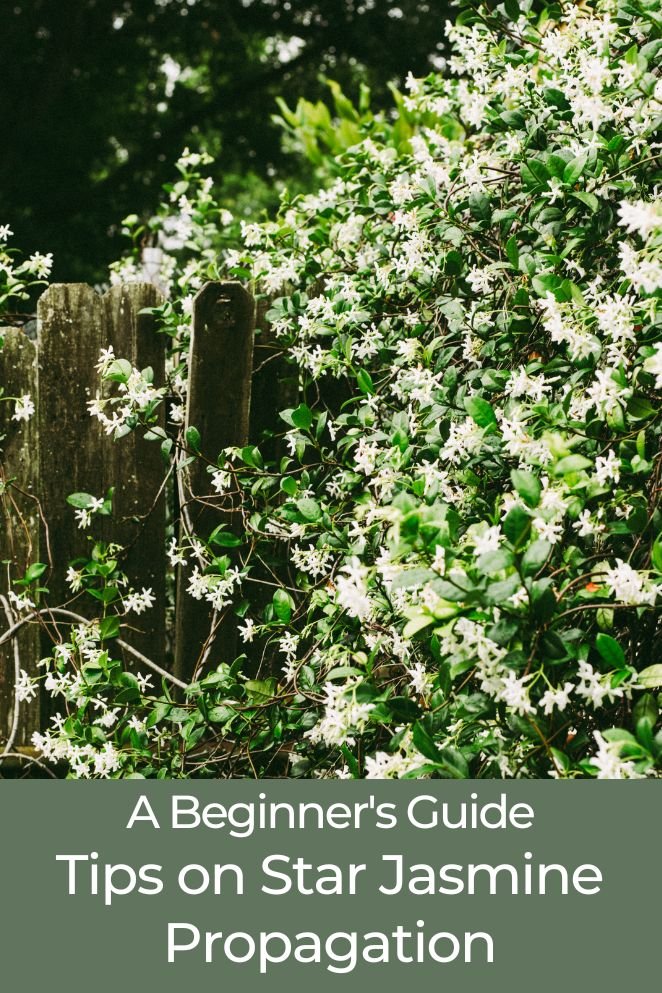
Star jasmine (Trachelospermum jasminoides) is a popular ornamental plant known for its fragrant white flowers and evergreen foliage.
Propagating star jasmine can be a rewarding experience for gardeners, allowing them to grow new plants from existing ones.
In this blog post, we will discuss different propagation methods for star jasmine, including stem cuttings, layering, and seeds.
Different Propagation Methods for Star Jasmine
Star jasmine can be propagated using three main methods: stem cuttings, layering, and seeds.
Each method has its own advantages and challenges, and the choice of method depends on the gardener’s preferences and resources.
- Read also: A Guide on How to Propagate Umbrella Plant
- Read also: How to Propagate Prickly Pear Cactus
Stem cuttings

Stem cuttings are a popular method for propagating star jasmine.
This method involves taking a cutting from a mature plant and rooting it in a growing medium.
How to Propagate Star Jasmine with Stem Cuttings
Choose the right time
Timing is crucial when propagating star jasmine with stem cuttings.
Optimal timing is during the growing season, typically in spring or summer when the plant is actively growing and more receptive to rooting.
Take the cutting
Select a healthy, woody stem from the star jasmine plant.
Ensure the stem has several leaves and is free from any signs of disease or damage.
Use sharp, clean pruning shears to cut the stem at a 45-degree angle, making a clean cut that is approximately 4 inches long.
Rooting hormone
To encourage root growth, dip the cut end of the stem into a rooting hormone powder or gel.
Rooting hormone contains plant hormones that stimulate the development of roots, increasing the chances of successful propagation.
Plant the cutting
Prepare a pot filled with a well-draining growing medium, such as a soilless mix or a combination of perlite and peat moss.
Make a hole in the growing medium with a pencil or similar tool and insert the cut end of the stem into the hole.
Gently firm the soil around the cutting to provide stability.
Care for the cutting
Place the potted cutting in a warm, bright location with indirect sunlight.
Maintain a humid environment around the cutting by covering the pot with a plastic bag or placing it in a propagation tray with a humidity dome.
Water the cutting regularly to keep the growing medium consistently moist but not waterlogged. Avoid overwatering, as excessive moisture can lead to rotting.
Pros and cons
Pros
- Cost-effective: Propagating star jasmine from cuttings is a cost-effective way to obtain new plants.
- Ease of propagation: Stem cuttings are relatively easy to propagate, as they require minimal effort and resources.
- Quick results: Stem cuttings can root and grow quickly, often showing new growth within a few weeks.
- High success rate: Propagating star jasmine from stem cuttings has a high success rate, especially when using semi-hardwood cuttings.
- Flexibility: Stem cuttings can be taken from healthy, growing plants at any time during the growing season, allowing you to propagate throughout the year.
- Adaptable to different conditions: Stem cuttings can be propagated in a variety of growing conditions, including in a greenhouse, indoors, or outdoors.
Cons
- Time-consuming: It takes about 2-3 weeks for the cutting to root and another 3-4 weeks until it is ready for transplanting.
- Requires patience: The process of propagating star jasmine can take several weeks for the cutting to develop new roots and grow into a healthy plant.
- Potential for disease: If the cutting is not handled properly, it can be susceptible to disease, such as fungal growth.
- Limited root growth: When propagating star jasmine from stem cuttings, the roots may not grow as deeply as they would if the plant were grown from seed or layering.
- Potential for poor root growth: In some cases, the roots of star jasmine propagated from stem cuttings may not grow as well as those of plants grown from seed or layering.
- Limited availability of cuttings: Depending on the availability of healthy star jasmine plants, it may be difficult to obtain enough cuttings for propagation.
- Additional care required: Propagating star jasmine from stem cuttings requires more care and attention than other methods, such as growing from seed or layering.
Layering
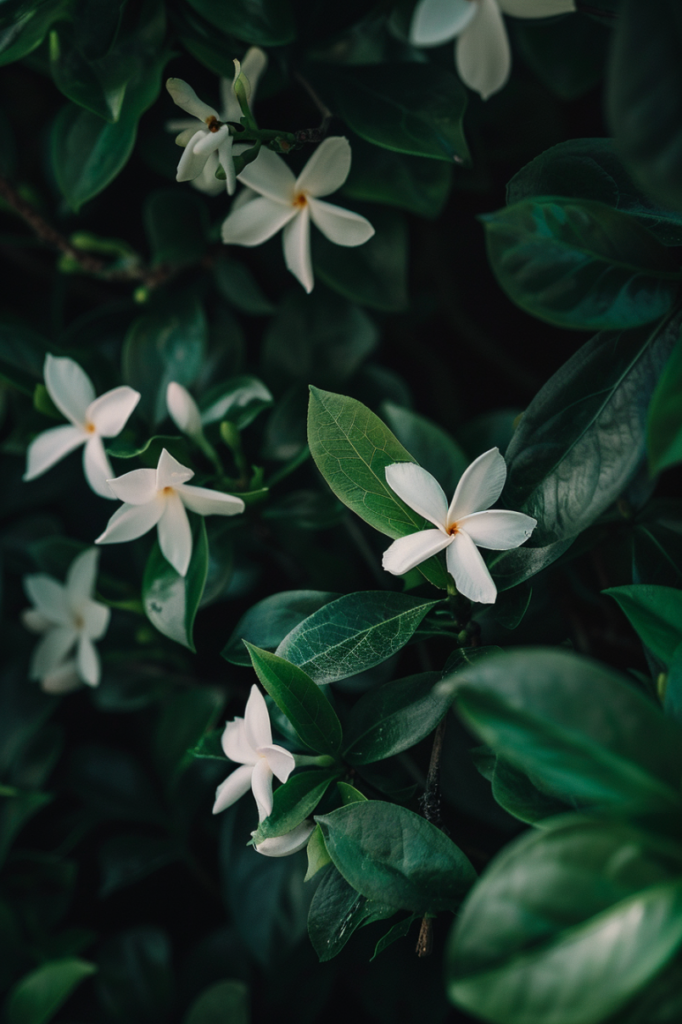
Layering involves bending a branch of the star jasmine plant and rooting it in a growing medium while it is still attached to the parent plant.
This method allows the plant to continue growing while the new roots develop.
How to Propagate Star Jasmine with Layering
Choose the right time
Timing is critical when propagating star jasmine through layering. It’s best done during the growing season, typically in spring or summer.
During this time, the plant is actively growing, which enhances the success rate of layering.
Bend the branch
Identify a healthy, flexible branch on the star jasmine plant that is suitable for layering.
Gently bend the selected branch down to the ground without breaking it.
Ensure that the branch makes contact with the soil surface.
Rooting hormone
To encourage the formation of roots at the point where the branch touches the soil, apply rooting hormone to the cut end of the branch.
Rooting hormone contains substances that stimulate root growth, increasing the chances of successful layering.
Cover with soil
Cover the portion of the branch that is in contact with the soil with a layer of moist soil.
Ensure that the soil covers the area where roots are expected to form while leaving the top leaves exposed.
This promotes root development while allowing the foliage to continue photosynthesis.
Care for the layered branch
Provide proper care for the layered branch to encourage root development.
Keep the soil consistently moist but not waterlogged, as excessive moisture can lead to rotting.
Additionally, provide shade for the layered branch to prevent excessive wilting and sunburn.
Monitor the progress of root growth, which typically occurs within 4-6 weeks.
Pros and cons
Pros
- Faster root growth: Layering allows the plant to draw sustenance from the parent plant while the new roots are developing, resulting in faster root growth.
- Reduced risk of disease: Since the new roots are growing directly on the parent plant, there is less risk of disease and rot.
- Lower maintenance: The plant is already established and supported by the parent plant, reducing the need for additional care during the propagation process.
- Easier to manage: Layering allows for a more controlled growth rate and a better understanding of the plant’s progress.
- Easier to monitor: Layering allows for easier monitoring of the new roots as they develop, making it easier to determine the optimal time for cutting.
- Suitable for various stem types: Layering can be used for both softwood and semi-hardwood stems, providing flexibility in the choice of material for propagation.
- Less reliance on rooting hormone: Layering does not require the use of rooting hormone, which can be an additional cost and step in the propagation process.
- Environmentally friendly: Layering is a more eco-friendly method of propagation, as it does not require the use of plastic bags or other materials that may contribute to waste.
Cons
- Slower process: Layering is a slower method of propagation compared to stem cuttings, as it takes longer for the new roots to develop.
- Requires patience: The process of layering requires patience, as it can take several weeks for the new roots to develop and become strong enough for transplanting.
- Potential for damage: Layering can potentially damage the parent plant if not done carefully, as it involves cutting into the stem and removing a portion of the plant.
- Limited availability of suitable stems: Not all stems may be suitable for layering, as they must be healthy and capable of sustaining a new plant.
- Potential for uneven root growth: Layering may result in uneven root growth, as the roots develop directly on the stem and may not grow evenly in all directions.
- Additional care required: Layering may require additional care, such as keeping the layered stem moist and shaded, to ensure successful root growth.
Seeds
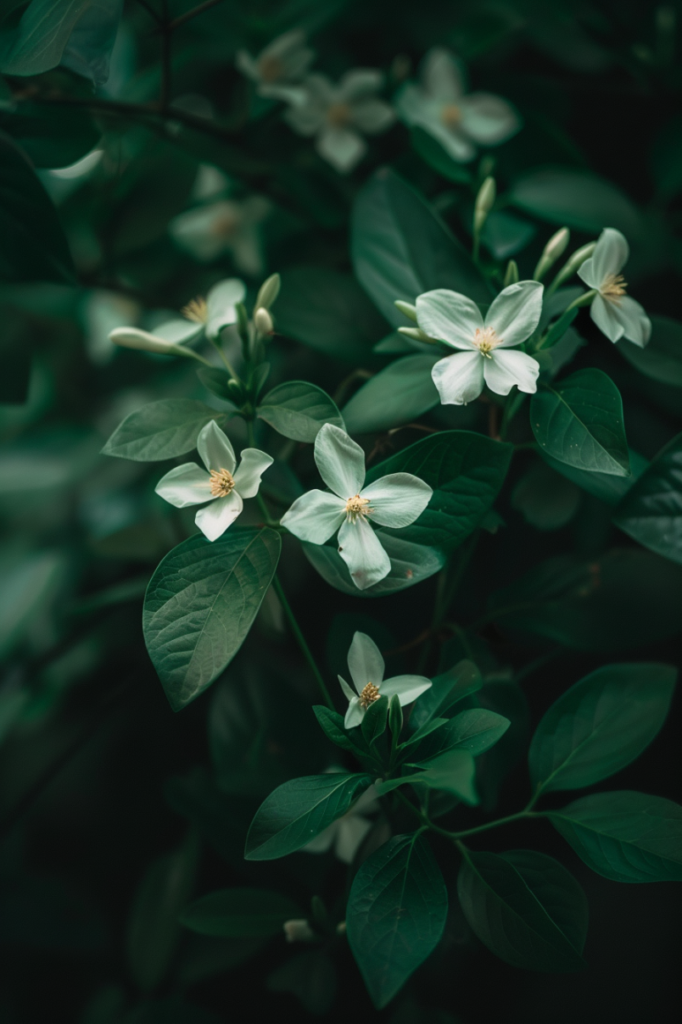
Propagating star jasmine from seeds involves collecting ripe seeds from the plant, sowing them in a growing medium, and providing the necessary conditions for germination and growth.
How to Propagate Star Jasmine with Seeds
Collect ripe seeds
Wait for the star jasmine flowers to mature and turn brown, indicating that they are ripe and ready for seed collection.
Once the flowers have dried out, carefully collect the seeds from the pods or seed heads.
Ensure the seeds are fully matured before harvesting to increase the chances of successful germination.
Sow the seeds
Prepare a pot filled with a well-draining growing medium, such as a soilless mix or a combination of perlite and peat moss.
Plant the star jasmine seeds in the pot, pressing them lightly into the soil surface.
Space the seeds evenly to allow room for growth.
Provide the right conditions
Place the pot of seeds in a warm and humid environment to promote germination.
You can cover the pot with a plastic bag or place it in a propagation tray with a humidity dome to maintain moisture levels.
Keep the soil consistently moist but not waterlogged by watering the seeds regularly.
Germination
With proper care and ideal conditions, germination should occur within 4-6 weeks.
Monitor the pot for signs of seedling emergence, such as tiny sprouts breaking through the soil surface.
Once the seedlings have emerged, continue to provide them with adequate moisture and warmth to support healthy growth.
Transplant the seedlings
Once the seedlings have developed several sets of true leaves, they are ready to be transplanted into individual pots or directly into the garden.
Carefully lift each seedling from the pot, taking care not to disturb the delicate roots.
Plant the seedlings at the same depth as they were in the original pot, spacing them according to their mature size.
Pros and cons
Pros
- Genetic diversity: It allows you to maintain the genetic diversity of the plant, as each new plant will have its unique combination of genes from both parents.
- Cost-effective: Seeds are generally less expensive than other propagation methods, making it a more cost-effective way to obtain new plants.
- Ease of propagation: Star jasmine is a willing rooter, and seeds can germinate in plain water, making the propagation process relatively simple.
- Flexibility: Seeds can be stored for long periods, allowing you to propagate star jasmine at any time of the year.
- Environmentally friendly: Propagating star jasmine with seeds does not require the use of plastic bags or other materials, making it a more eco-friendly method.
Cons
- Slower propagation: It can take several weeks for the seeds to germinate and grow into a healthy plant.
- Lower success rate: This method generally lower than other methods, as not all seeds may germinate or grow into healthy plants.
- Requires patience: It can take several weeks for the seeds to germinate and grow into a healthy plant.
- Potential for poor quality plants: Some plants grown from seeds may not be as vigorous or have the same characteristics as plants grown from cuttings or layering.
- Limited availability of seeds: The availability of star jasmine seeds may be limited, as they are not always readily available for purchase.

- Read also: How to Propagate Snake Plants in Water
- Read also: How To Propagate Spider Plant In Water
Conclusion
Star jasmine can be propagated using stem cuttings, layering, or seeds.
Each method has its own advantages and challenges, and the choice of method depends on the gardener’s preferences and resources.
By understanding these propagation methods, gardeners can successfully grow new star jasmine plants from existing ones.


