Hey there, fellow plant enthusiasts! Are you ready to dive into the wonderful world of summer cuttings?
If you’ve ever dreamed of multiplying your plant collection without breaking the bank, you’re in for a treat.
In this comprehensive guide, we’ll walk you through everything you need to know about taking summer cuttings like a pro.
What are Summer Cuttings
Often referred to as softwood cuttings, they’re a method of propagation used to create new plants from healthy ones.
Essentially, you’re taking a portion of a thriving plant and coaxing it to develop roots, thus kickstarting the growth of a brand-new plant.
- Read also: The Art of How to Grow Climbing Hydrangeas
- Read also: A Guide on How to grow climbing honeysuckle

What are Pros and Cons of Summer Cutting
Pros
Cost-effective
Summer cuttings provide a budget-friendly way to expand your plant collection without having to purchase new plants.
Preservation of desirable traits
By taking cuttings from healthy parent plants, you can preserve desirable traits such as flower color, leaf shape, or growth habit.
This allows you to propagate new plants that closely resemble their parents.
Genetic diversity
Propagating plants through summer cuttings allows you to introduce genetic diversity into your garden.
By selecting different parent plants and taking cuttings from various sources, you can enhance the overall resilience and adaptability of your plant collection.
Rapid growth
Summer cuttings often root quickly and establish themselves faster than seeds, resulting in new plants in a relatively short amount of time.
Ideal growing conditions
Summer provides warm temperatures and longer daylight hours, ideal for promoting root growth and establishment of new plants.
Many plants are actively growing during summer, leading to a higher chance of successful propagation from cuttings.
More time for growth
Taking cuttings early in summer allows the new plants time to establish a strong root system before the arrival of fall and winter.
Cons
Susceptibility to environmental factors
Cuttings are more delicate than established plants and can be sensitive to fluctuations in temperature, humidity, and moisture levels.
Without proper care and attention, they may fail to root or succumb to stressors such as fungal diseases or pest infestations.
Limited success with certain species
While many plants can be propagated successfully through summer cuttings, not all species are equally suited to this method.
Some plants may require specialized techniques or conditions for successful rooting, making propagation more challenging.
Increased water needs
Higher temperatures and sunlight can lead to quicker evaporation from the potting mix, requiring more frequent watering to maintain moisture.
Stress on mother plant
Taking cuttings removes foliage from the parent plant, which can be stressful, especially for younger or weaker plants.

What Plants are Suitable for Summer Cuttings
Many plants respond well to summer cuttings, but here are some of the most popular and easiest to propagate:
| Type of Plant | Plants |
| Herbs |
Rosemary, basil, sage, thyme, oregano, mint.
|
| Flowering plants |
Rose, lavender, geranium, impatiens, petunia, salvia.
|
| Succulents and cacti |
Jade Plant (Crassula ovata), Echeveria.
|
| Shrubs |
Fuchsia, hydrangea, weigela, buddleia (butterfly bush), abelia.
|
| Houseplants |
Pothos, philodendron, snake plant (sansevieria), wandering Jew (tradescantia zebrina).
|
How to Take Summer Cutting
Gather your tools and materials before diving in. What you will need for summer cutting:
- Sharp tool
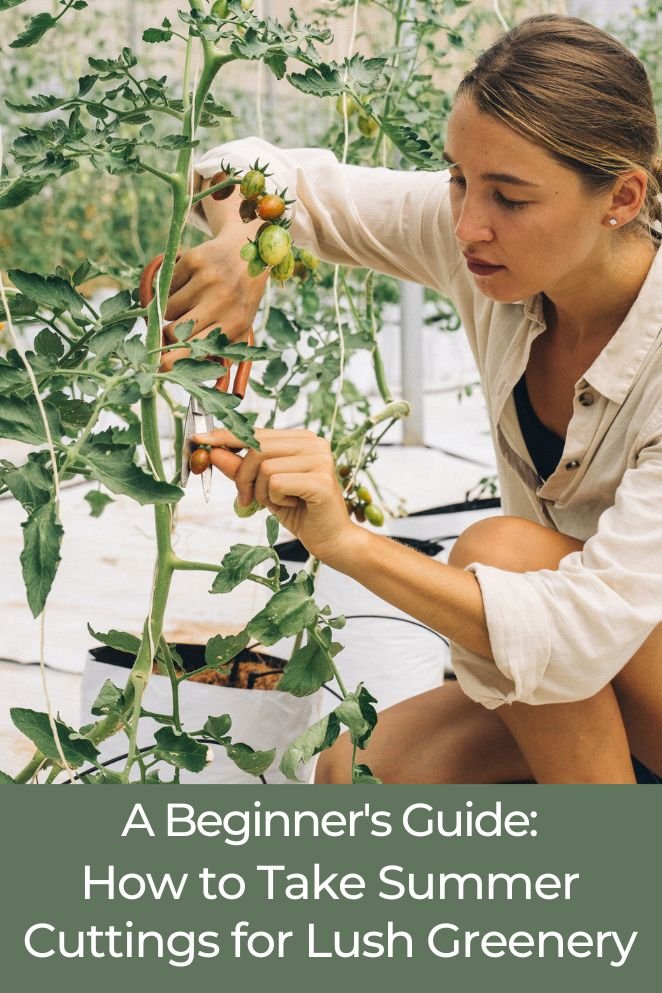
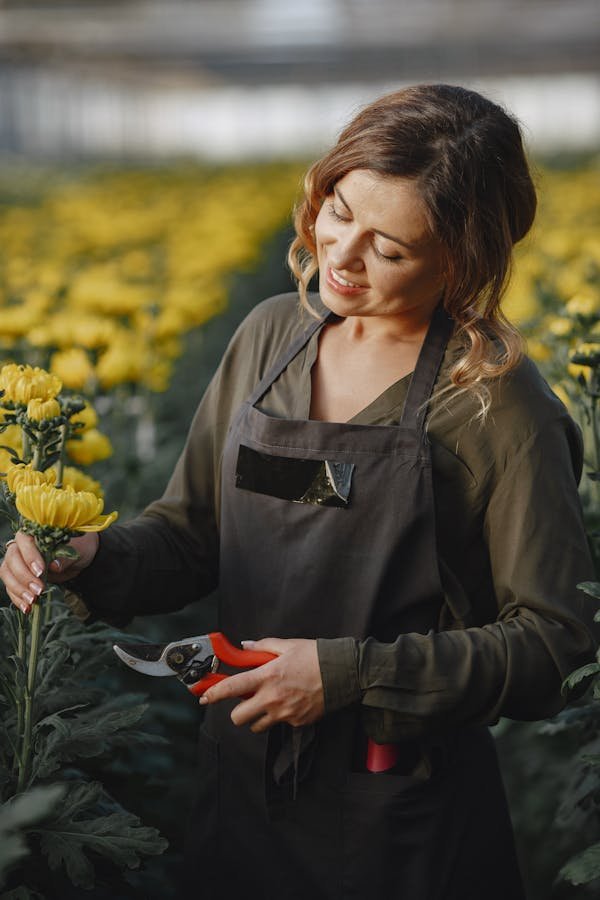
While scissors can work in a pinch, a sharp knife or pruners (secateurs) are ideal for making clean cuts that promote healthy root growth. Consider disinfecting your tool with rubbing alcohol before use to prevent spreading diseases.
- Pots
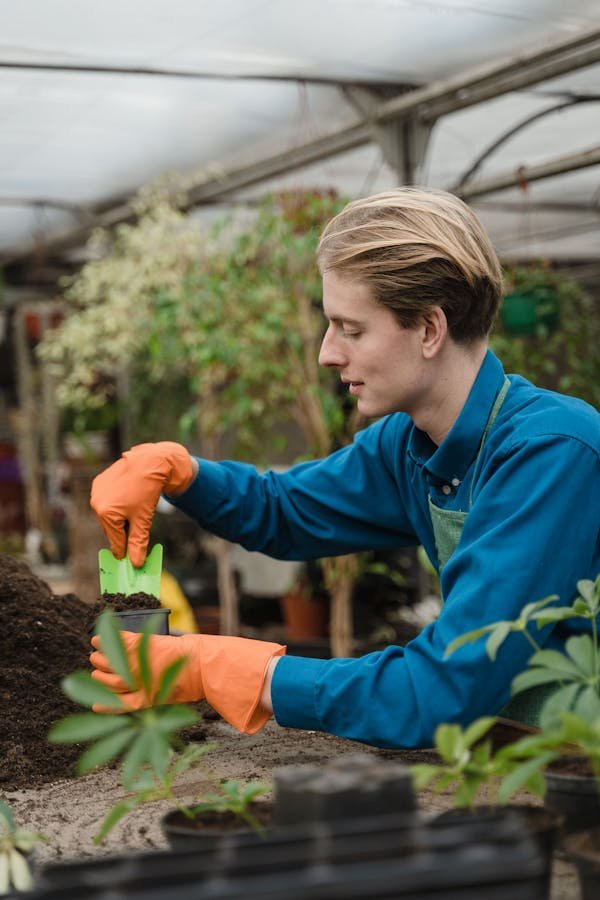
Choose individual pots with drainage holes for each cutting. Small pots (2-3 inches) are suitable for summer cuttings.
- Potting mix
Avoid using just perlite or vermiculite alone. Instead, opt for a well-draining potting mix suitable for the specific plant you’re propagating. Seed starting mix or a mixture of potting soil with perlite or sand are common options.
- Optional: Rooting hormone powder
This can encourage faster root growth, but it’s not always necessary.
- Transparent Plastic Bag: Creates a mini greenhouse environment for stem cuttings (optional for leaf cuttings).
Now, let’s walk through the process step by step. Techniques for taking summer cuttings include stem cuttings and leaf cuttings:
Stem cuttings method
This is the most common and successful method for summer propagation.
Step 1: Selecting the Stem
- Choose healthy, non-flowering shoots with active growth.
- Target stems with a thickness of a pencil or chopstick.
- Aim for a cutting length of 2-4 inches (5-10 cm).
Step 2: Preparing the cutting
- Make a clean, angled cut (45 degrees) just below a leaf node with a sharp, sterilized knife or pruners.
- Remove the lower leaves on the cutting, exposing at least 1-2 inches of bare stem for rooting.
- Optionally, pinch off the growing tip to encourage bushier growth (not always necessary).
Step 3: Planting the stem cutting
- Moisten the potting mix but avoid soaking it.
- Make a hole in the center of the pot deep enough for the cutting.
- Dip the cut end of the stem in rooting hormone powder (optional).
- Gently insert the stem into the hole and firm the mix around the base for support.
- Water gently to settle the mix.
- Create a mini greenhouse by placing a clear plastic bag loosely over the pot.
- Provide bright, indirect sunlight and maintain consistent moisture with misting or watering as needed.

Leaf cutting method
Alternatively, you can opt for the leaf cutting method, where you take a leaf or leaf section from a plant and coax it into rooting.
While not all plants can be propagated this way, this method is less common but successful for specific plants like African violets, succulents, and some begonias.
Step 1: Selecting the Leaf
Choose a healthy, mature leaf with a long, firm petiole (leaf stalk).
Step 2: Preparing the leaf cutting
- For some plants (African violets), cut the leaf at an angle just below the petiole.
- For others (succulents), simply remove a healthy leaf by twisting it gently at the base.
Step 3: Planting the leaf cutting
- Depending on the plant:
- Insert the petiole of the leaf cutting directly into the moist potting mix, ensuring good contact with the soil.
- For succulent leaf cuttings, lay the leaf flat on top of the slightly moistened potting mix, with the growing end slightly buried.
- Cover the pot with a clear plastic bag to maintain humidity.
- Provide bright, indirect sunlight and maintain consistent moisture with misting as needed (avoid overwatering).
Not all plants propagate well from stem or leaf cuttings. Research the specific needs of your chosen plant variety.
Providing Optimal Growing Conditions
Summer cuttings offer a fantastic opportunity to expand your plant collection.
But after the initial steps of taking the cuttings, providing optimal growing conditions is crucial for their success.
Here’s what you need to consider:
Warm environment
Place the cuttings in a warm location where temperatures are consistently mild, ideally between 65-75°F (18-24°C).
Avoid placing them in drafty areas or near air conditioning vents, as extreme temperature fluctuations can stress the plants.
Bright indirect light
Position the cuttings in a spot that receives bright, indirect light.
Direct sunlight can be too intense for delicate cuttings and may cause them to wilt or scorch.
Instead, choose a location with filtered sunlight or artificial grow lights.
Moist growing medium
Keep the growing medium consistently moist, but not waterlogged. Water the cuttings whenever the top inch of the soil feels dry to the touch.
Avoid overwatering, as excessive moisture can lead to root rot and fungal diseases.
Humidity
Maintain a humid environment around the cuttings to prevent them from drying out.
If the air in your home is dry, consider using a humidity tray or a misting bottle to increase moisture levels.
Alternatively, you can cover the cuttings with a clear plastic dome or a plastic bag to create a mini greenhouse effect.
Good air circulation
Ensure adequate air circulation around the cuttings to prevent the buildup of stagnant air, which can promote fungal growth.
Avoid overcrowding the plants, as this can inhibit air flow and increase the risk of disease.

Signs of Successful Summer Cutting
Recognizing signs of successful summer cutting is an exciting milestone in your propagation journey. Here are the indicators to look for:
Signs of root development
Unfortunately, directly observing root growth requires carefully removing the cutting from the pot, which can disrupt the delicate rooting process.
However, indirect signs can be very telling: firmness at the base.
The previously soft stem where the cut was made will start to feel firm and slightly resistant to bending.
This indicates root development anchoring the cutting in the pot.
New leaves emerge
The appearance of new leaves signifies the cutting is actively growing and utilizing its newly formed roots.
Overall plant health
Healthy, well-hydrated leaves that feel plump and firm are a good indication that the cutting is successfully absorbing water through its roots.
New leaves should emerge with the same vibrant color as mature leaves on the parent plant.
Avoid any significant yellowing or browning, which could indicate problems.
- Read also: A Guide to Full Sun Ferns for Lush Gardens
- Read also: A Guide To The Types of Soil for Gardening
Conclusion
By taking the process of summer cutting step by step and providing optimal conditions after that, you can be confident that your summer cuttings are on their way to becoming healthy new plants.
Continue to monitor the cutting closely for any signs of stress or setbacks.
FAQs
While many plants can be propagated through summer cuttings, some may be more challenging than others. It’s best to research the specific needs of the plant you’re interested in propagating.
While rooting hormone can help speed up the rooting process, it’s not always necessary. Some plants root easily without it, so feel free to experiment and see what works best for you.


